



LayerGrab

How to Split a Character Illustration into Parts for Live2D, Spine or After Effects

Rigging a 2D character in Live2D, Spine or After Effects starts with the same chore: cutting one illustration into parts (front hair, back hair, face, eyes, brows, mouth, clothes, arms, legs) and drawing in everything each part used to hide. An AI layer splitter does that first pass for you. Split the full character into its large parts, then split the face again for eyes, brows and mouth, and every part comes back as a transparent layer with its hidden areas painted in, in a PSD your rigging tool can import. It does not draw mouth shapes, blinks or turned poses; those you still add by hand.

Last updated 2026-11-13

What a rig needs from the artwork

Every moving piece on its own layer. Hair that sways, eyes that blink, a skirt that swings: each one is a separate layer, and small pieces such as eyebrows and hair clips count too.

The hidden parts painted in. When an arm swings or the head tilts, what was behind it shows. The torso under the arm and the forehead under the bangs have to exist, or the rig opens holes as it moves.

A layered file the rigging tool can read. In practice that is a PSD with the parts in place and in the right stacking order.

Doing this by hand in Clip Studio Paint, Krita or Photoshop is the slow, careful part of every model. A splitter will not replace that care, but it gets you from one flat picture to a full set of parts in a few minutes.

Body first, then the face

  1. 1

    Upload the full character

    A front-facing illustration on a simple background works best, as PNG, JPG or WebP up to 20 MB. Export it from Clip Studio Paint, Procreate or your generator at the largest size you have.

  2. 2

    List the parts you want, in English

    Type them in the box, separated by commas: “front hair with bangs, twin-tail hair, face, star hair clip, sailor uniform top, red ribbon, pleated skirt, crossbody bag, knee socks, legs, loafer shoes”. Naming the parts is what makes the split follow your rig instead of guessing.

  3. 3

    Split the face a second time

    One split returns at most 16 layers, so the face gets its own pass. Split the face layer from the first pass again and ask for “left eye, right eye, left eyebrow, right eyebrow, mouth, nose, left ear, right ear”. Do the same for long hair if you want separate strands.

  4. 4

    Check every part at full size

    Hide parts to see what was painted in underneath: the skirt behind the bag, the skin under the bangs. Anything the model could not place in a part is collected on one extra layer, so the character still looks complete.

  5. 5

    Download the PSD and rename to your convention

    Layers keep their position and stacking order. Names come back in plain English (“Left Teal Anime Eye”); rename them to your rig’s naming scheme before you import.

  6. 6

    Import into your rigging tool

    Live2D Cubism Editor and Spine both start from a layered PSD. In After Effects, import the PSD as a composition, then add Puppet pins or a Duik rig to the parts.

A real character, split in two passes

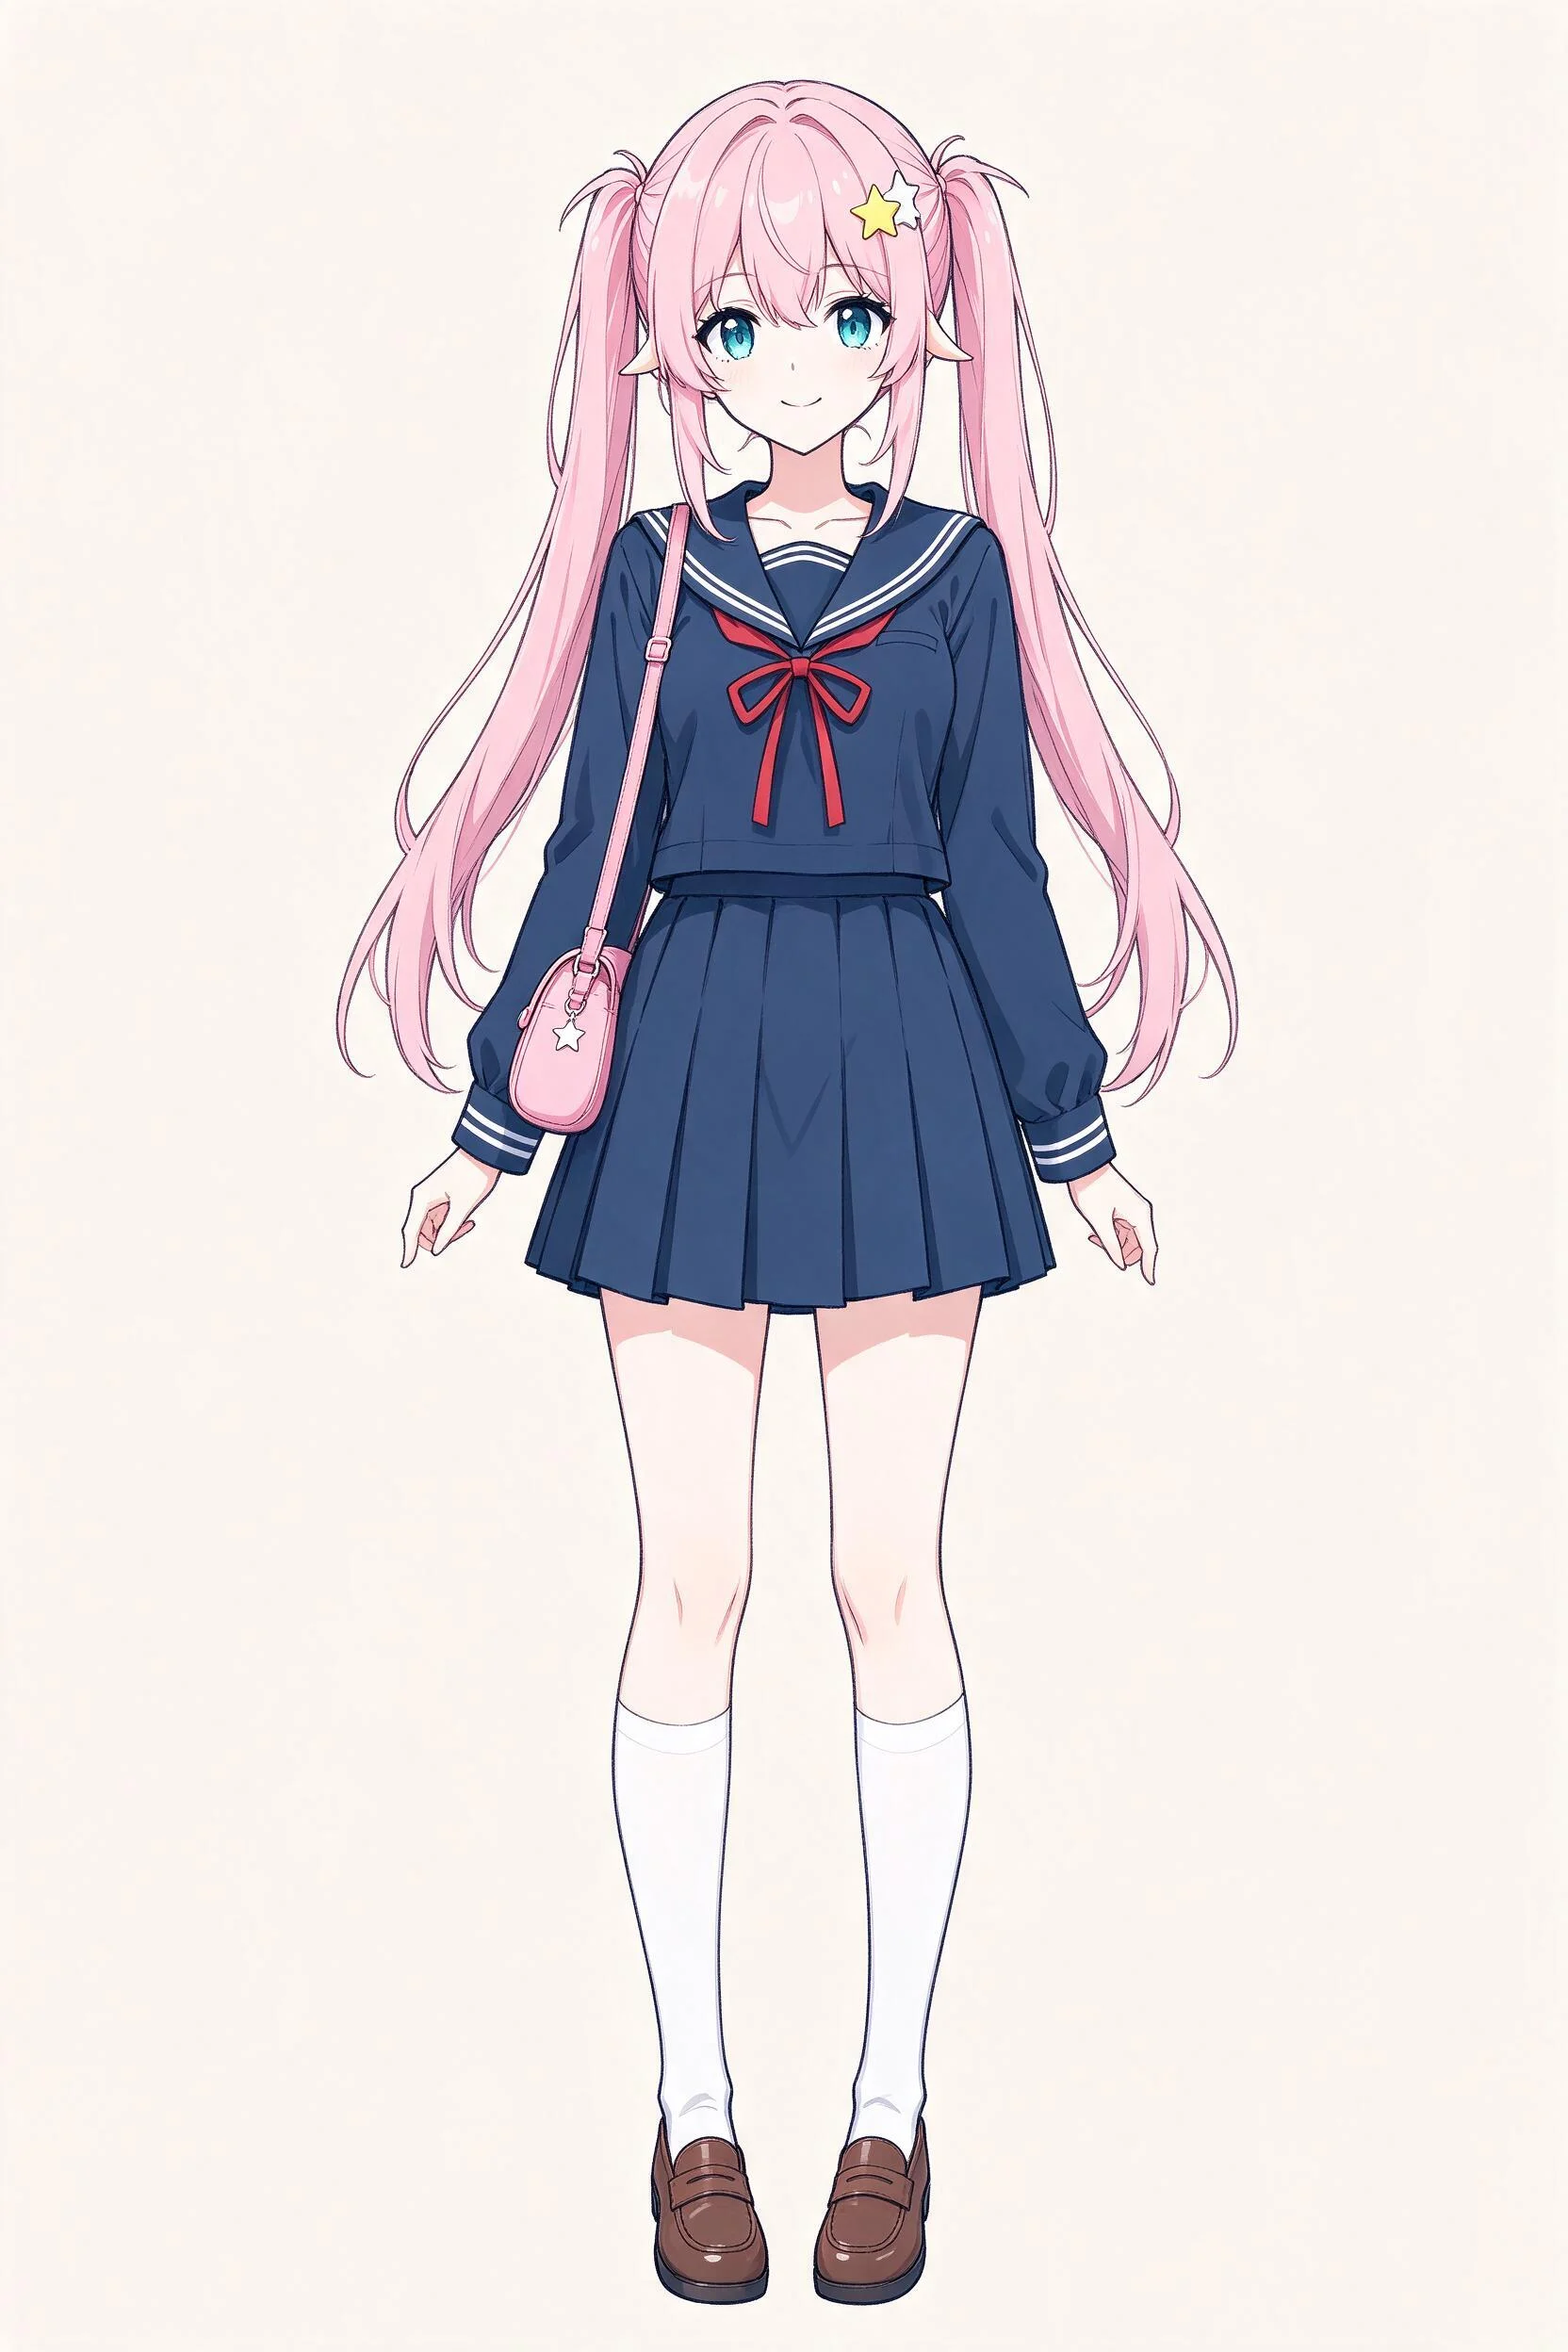
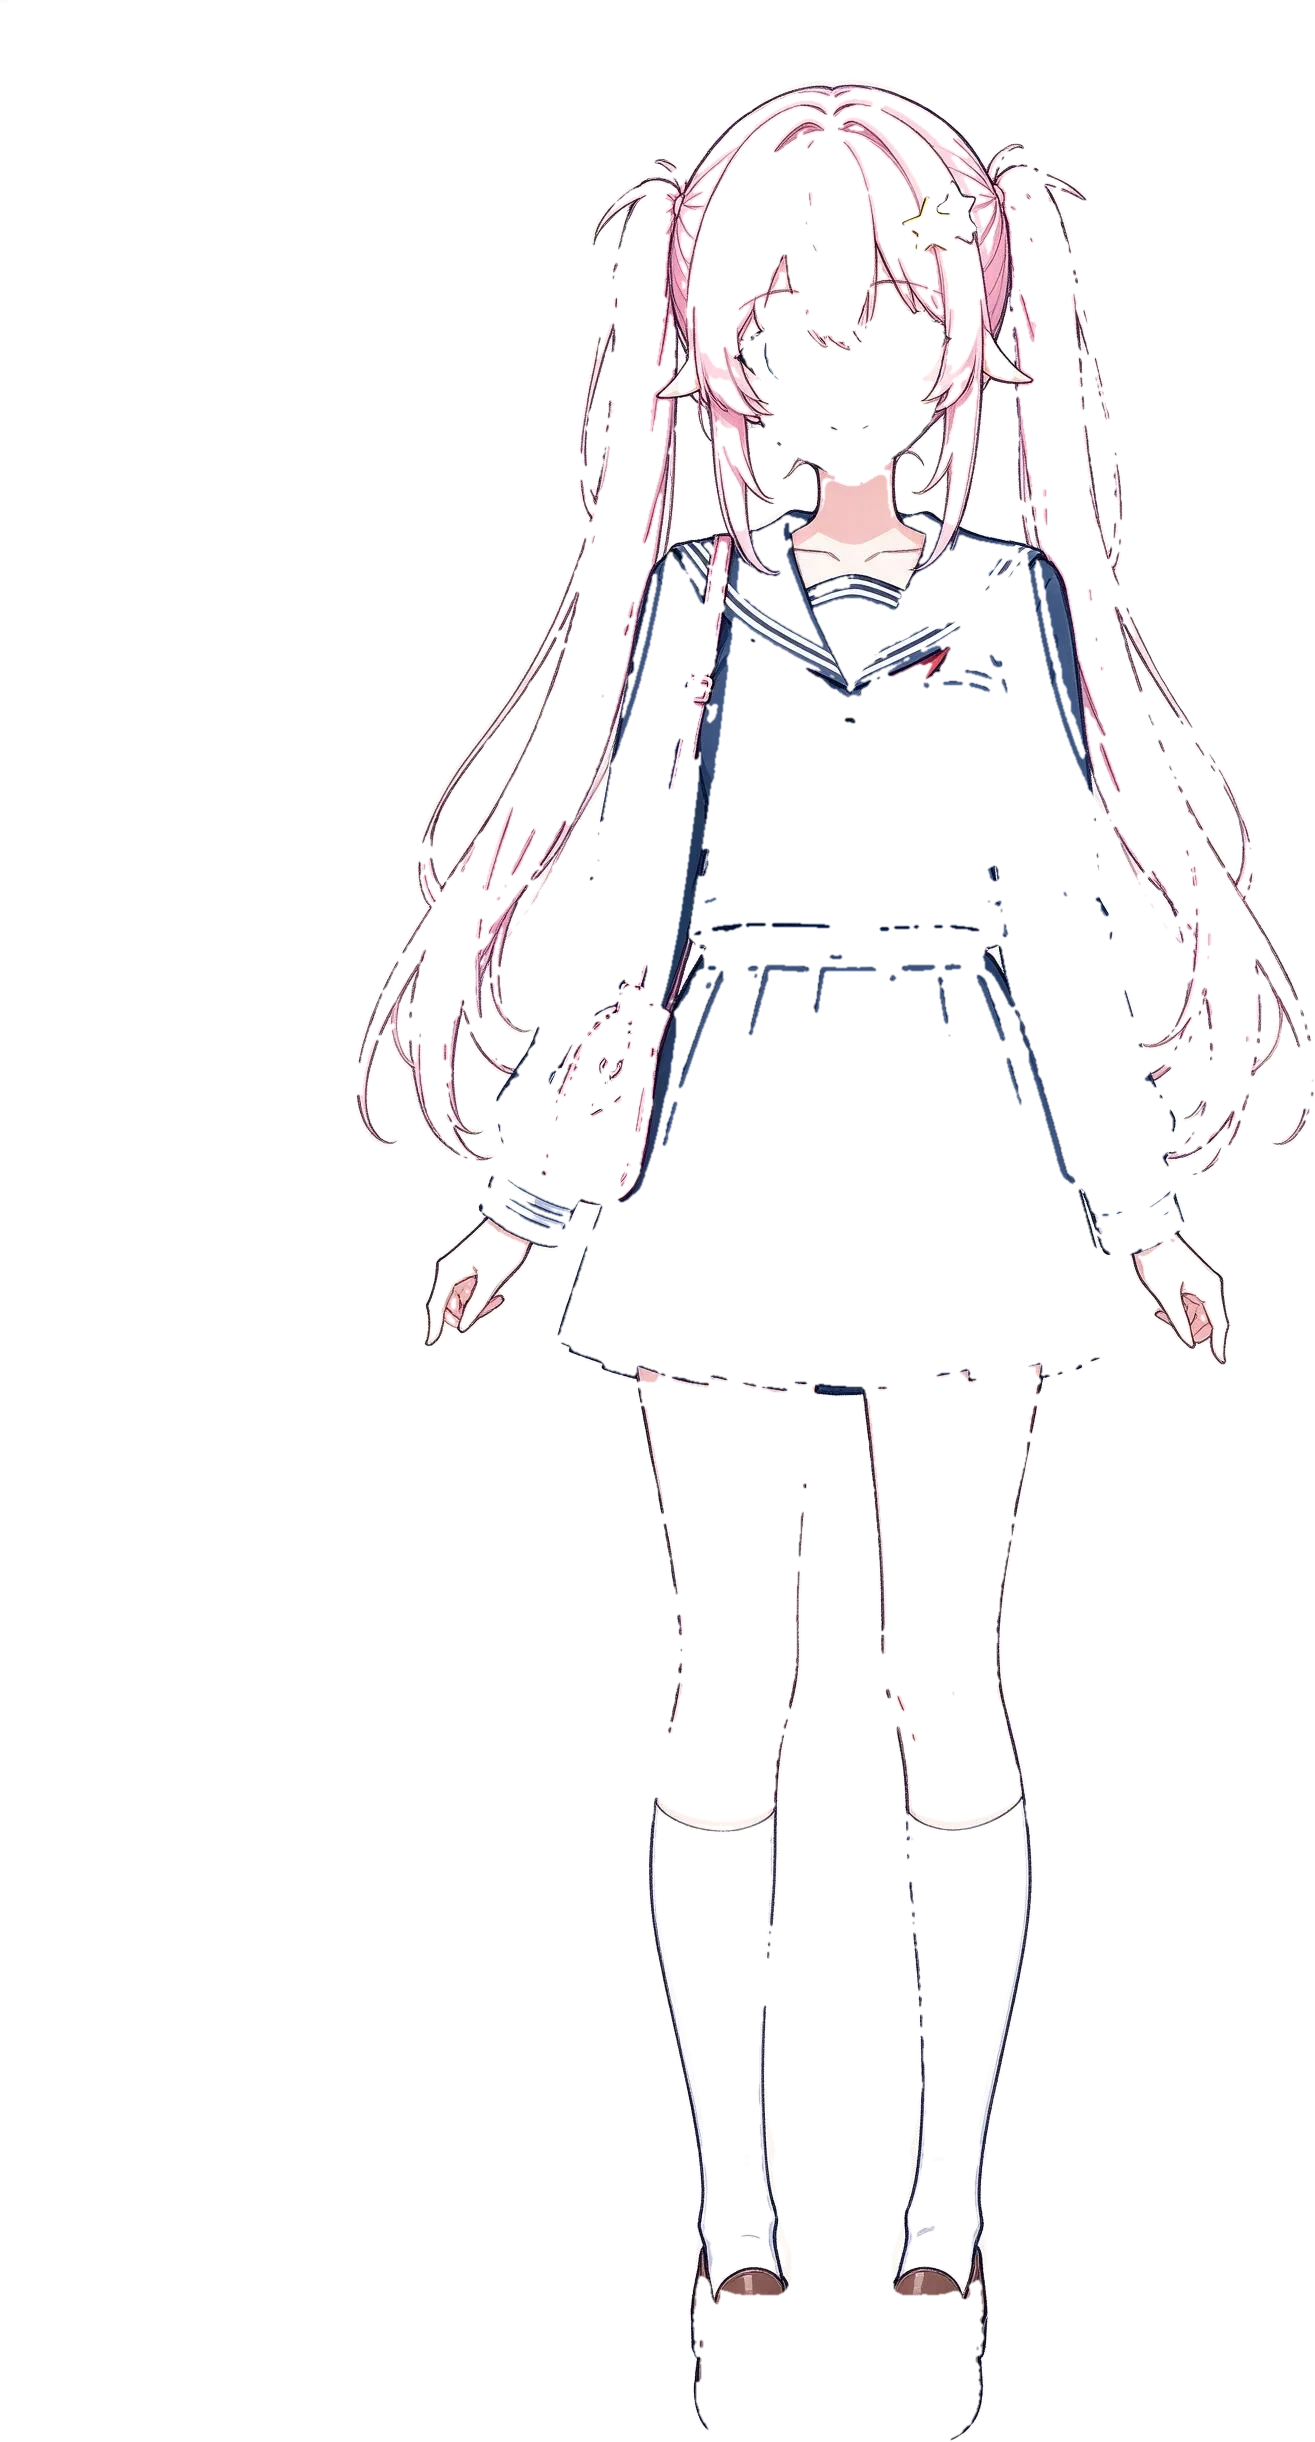
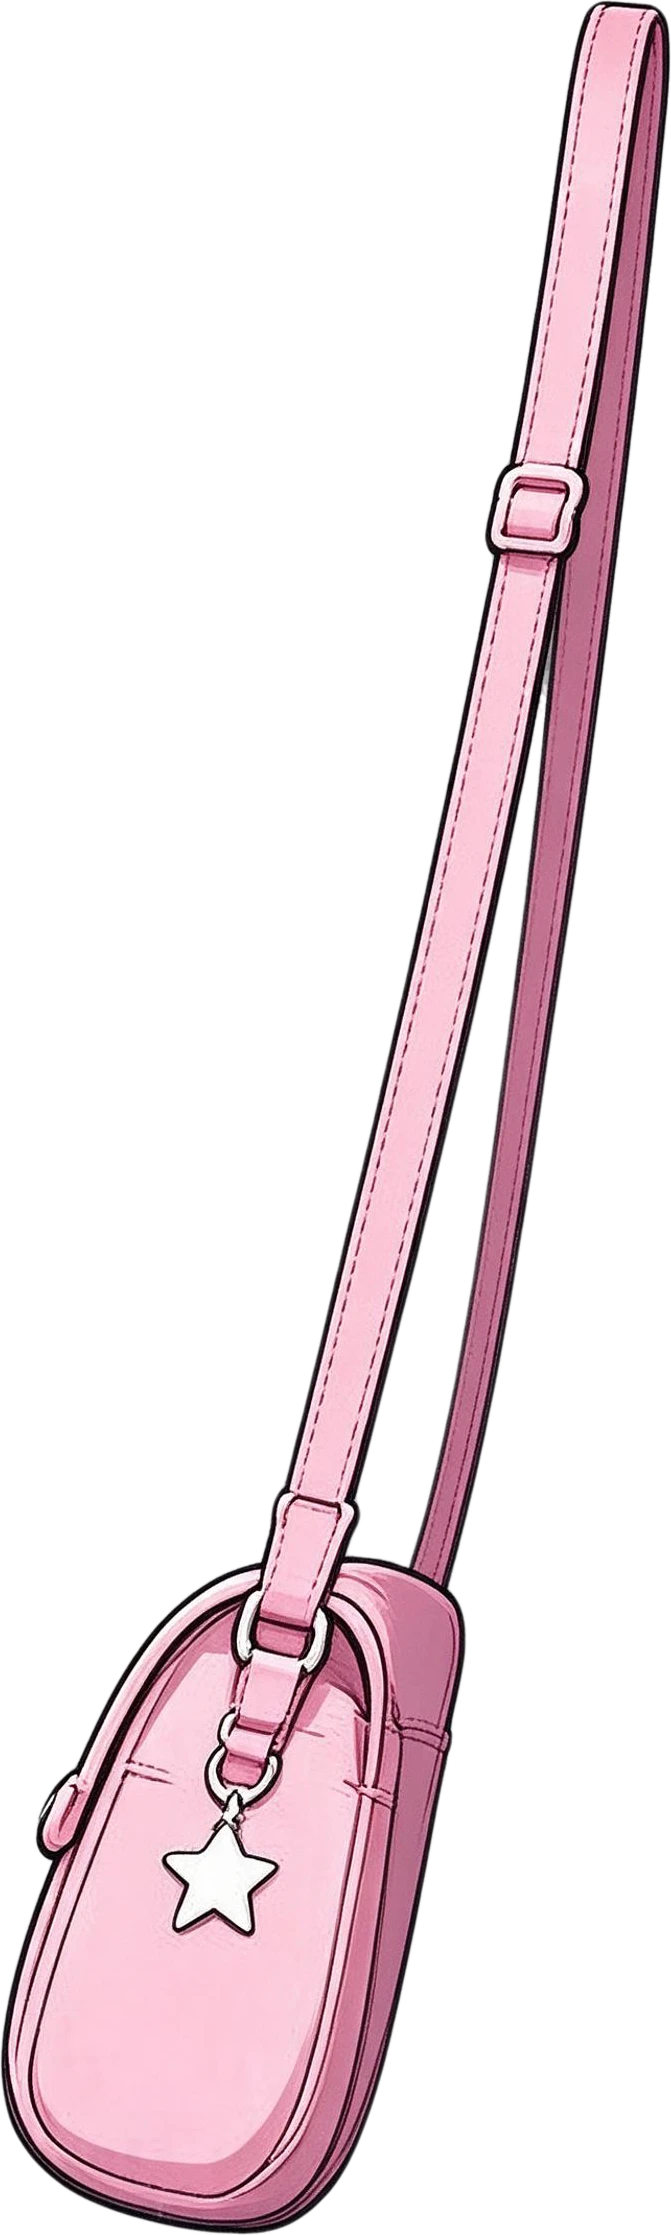
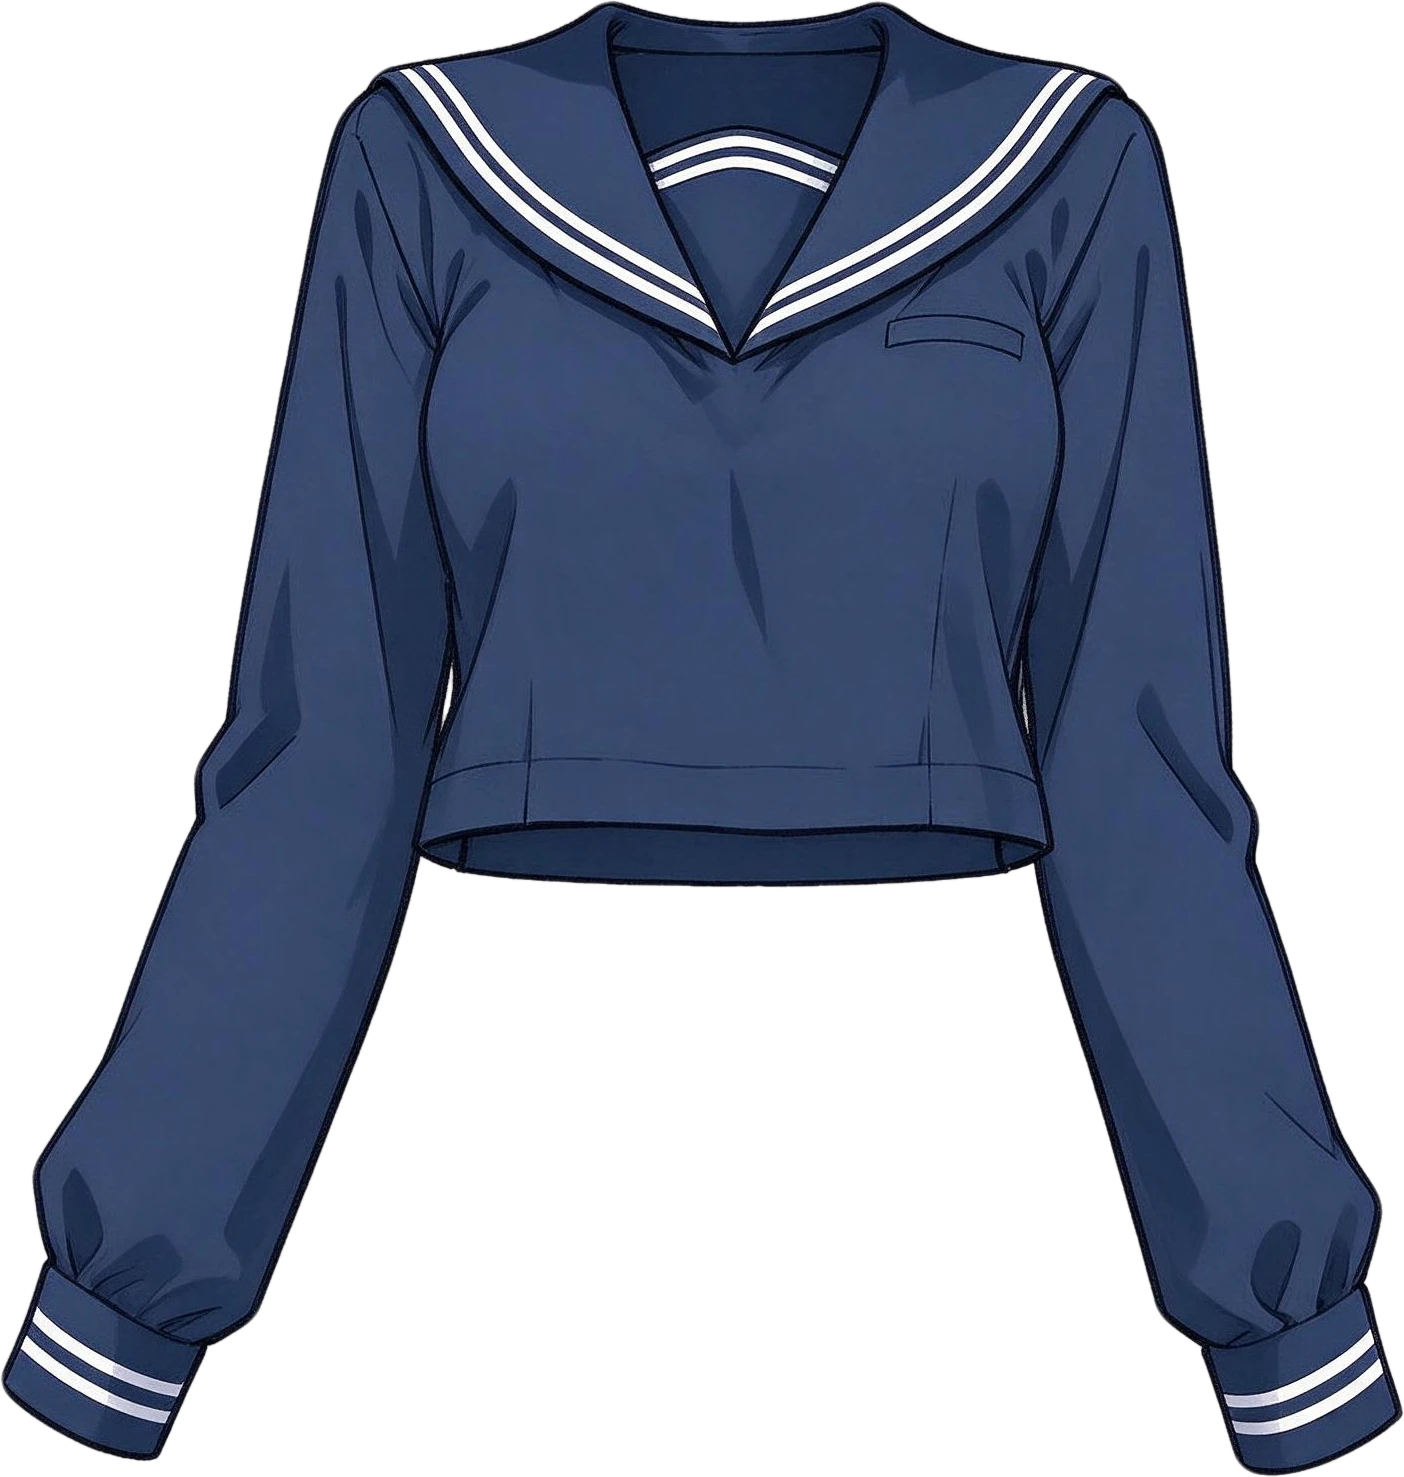
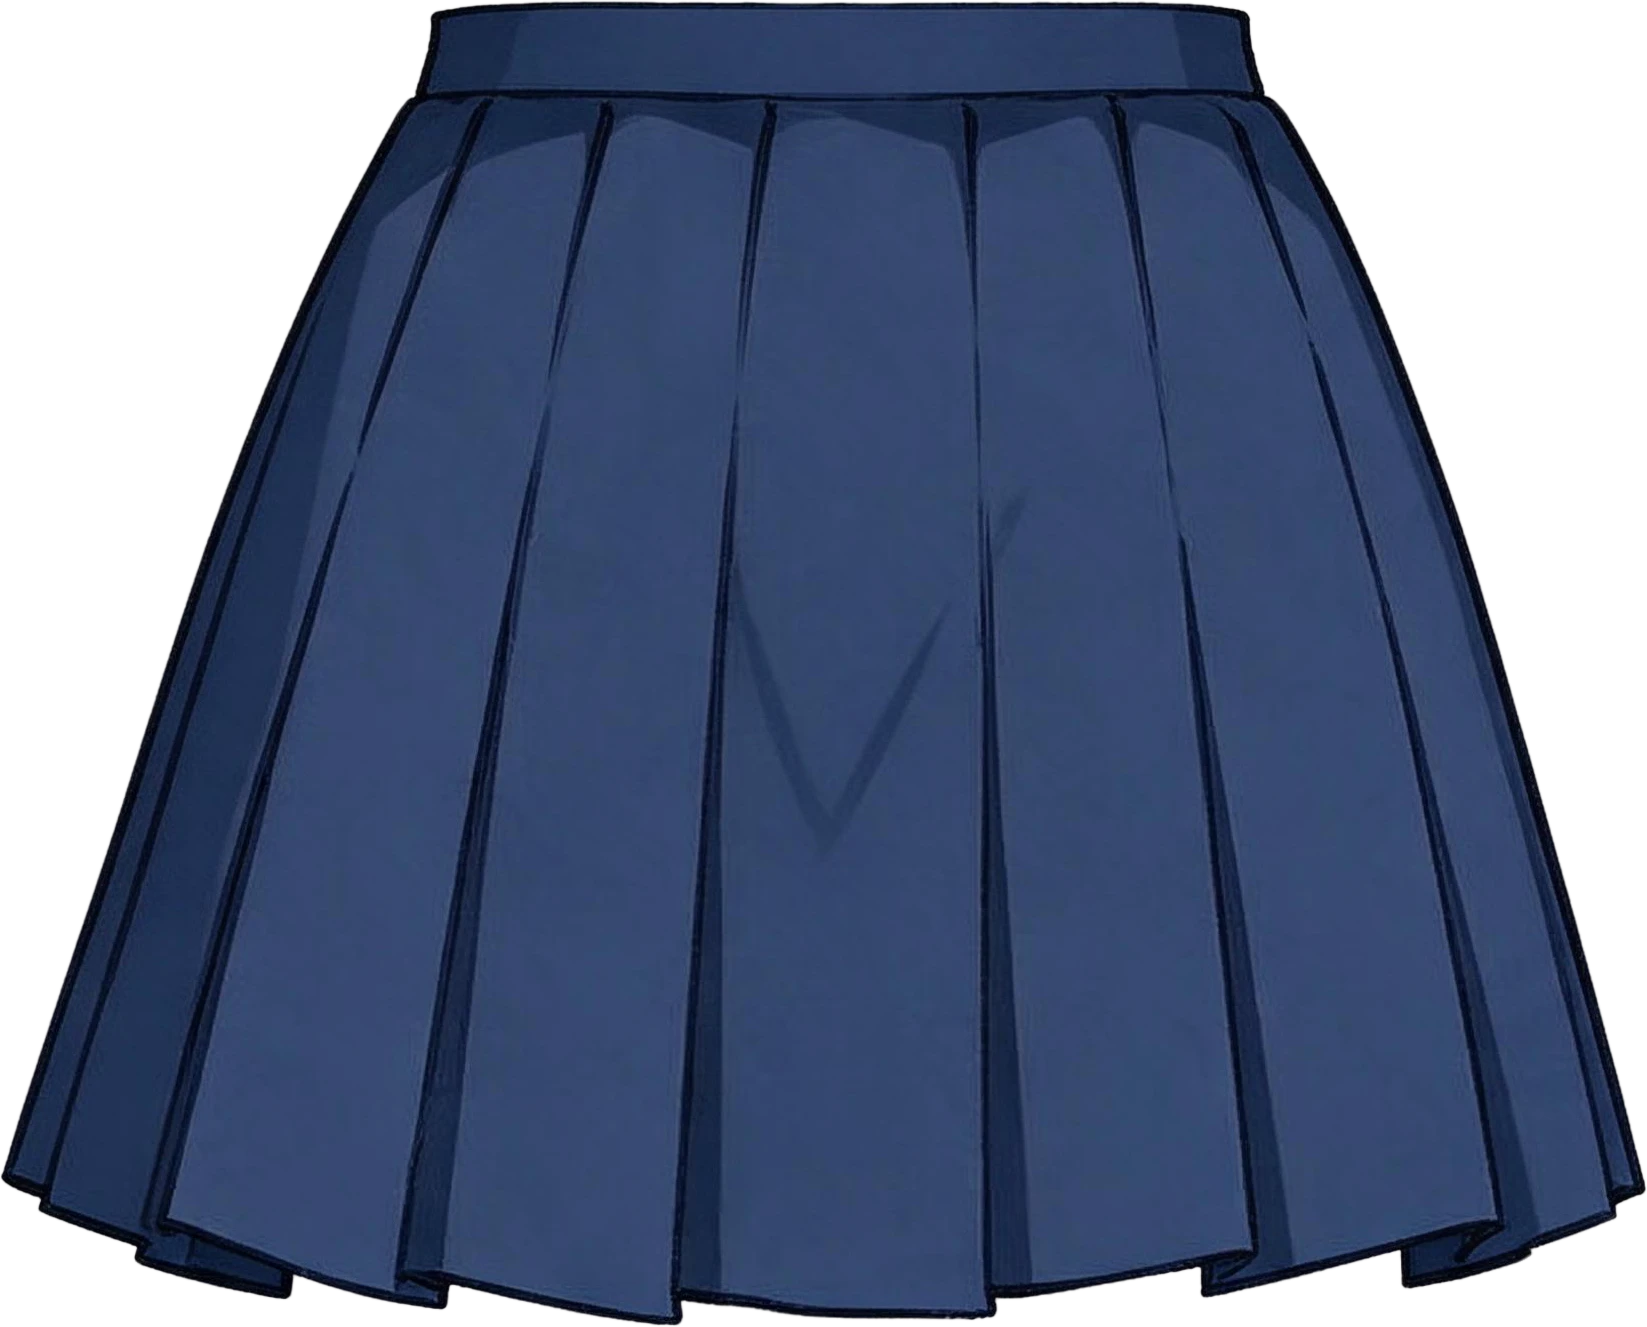
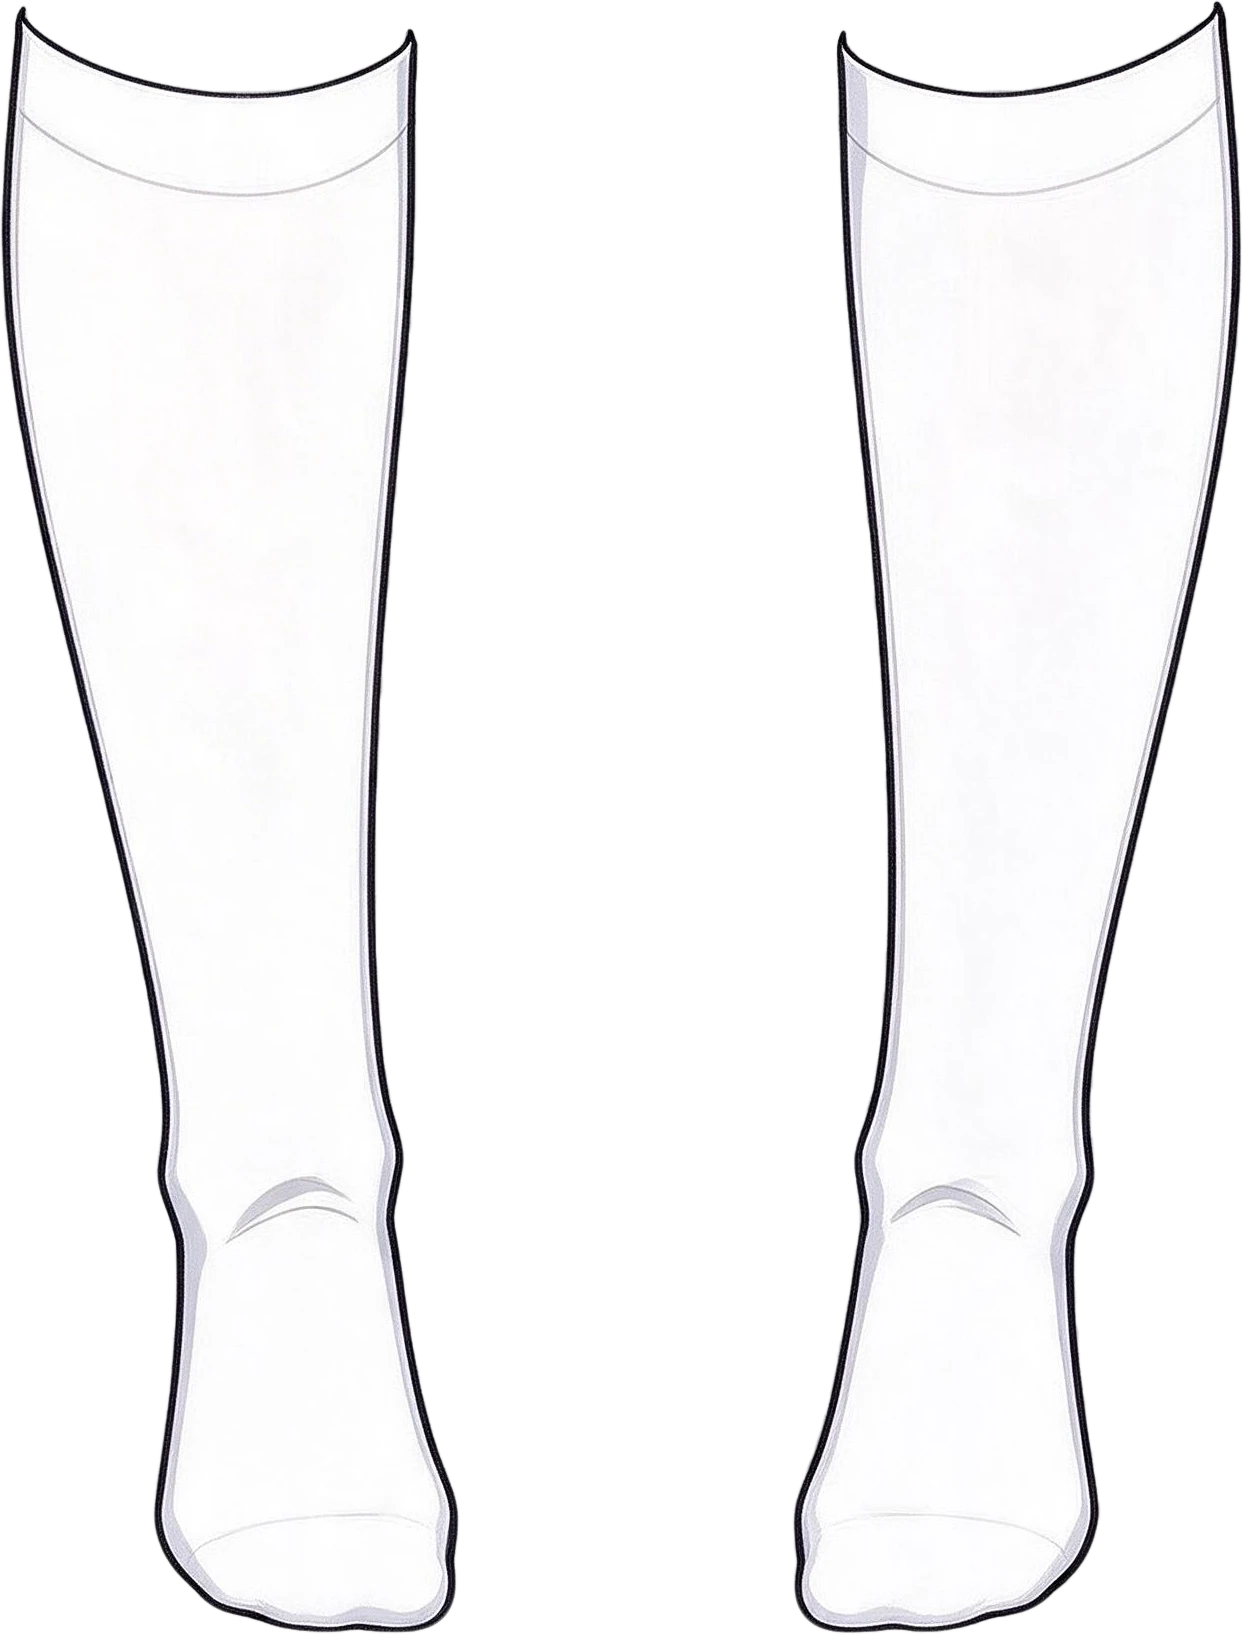
Pass one: the body. With the eleven parts listed in the box, this standing character came back as front hair, twin tails, face, hair clip, uniform top, ribbon, skirt, bag, knee socks, legs and shoes. The skirt behind the bag and the uniform under the twin tails are whole. The neck, hands and ankles did not land in any part, so they were kept on one extra layer marked “not separated”: the character stays complete, and you know exactly which small pieces need hand cutting.

Anime standing character — original

13 layers

  • Neck, hands and ankles (not separated) — separated layerNeck, hands and ankles (not separated)
  • Star hair clip — separated layerStar hair clip
  • Front hair with bangs — separated layerFront hair with bangs
  • Twin-tail hair — separated layerTwin-tail hair
  • Face — separated layerFace
  • Red ribbon — separated layerRed ribbon
  • Crossbody bag — separated layerCrossbody bag
  • Sailor uniform top — separated layerSailor uniform top
  • Pleated skirt — separated layerPleated skirt
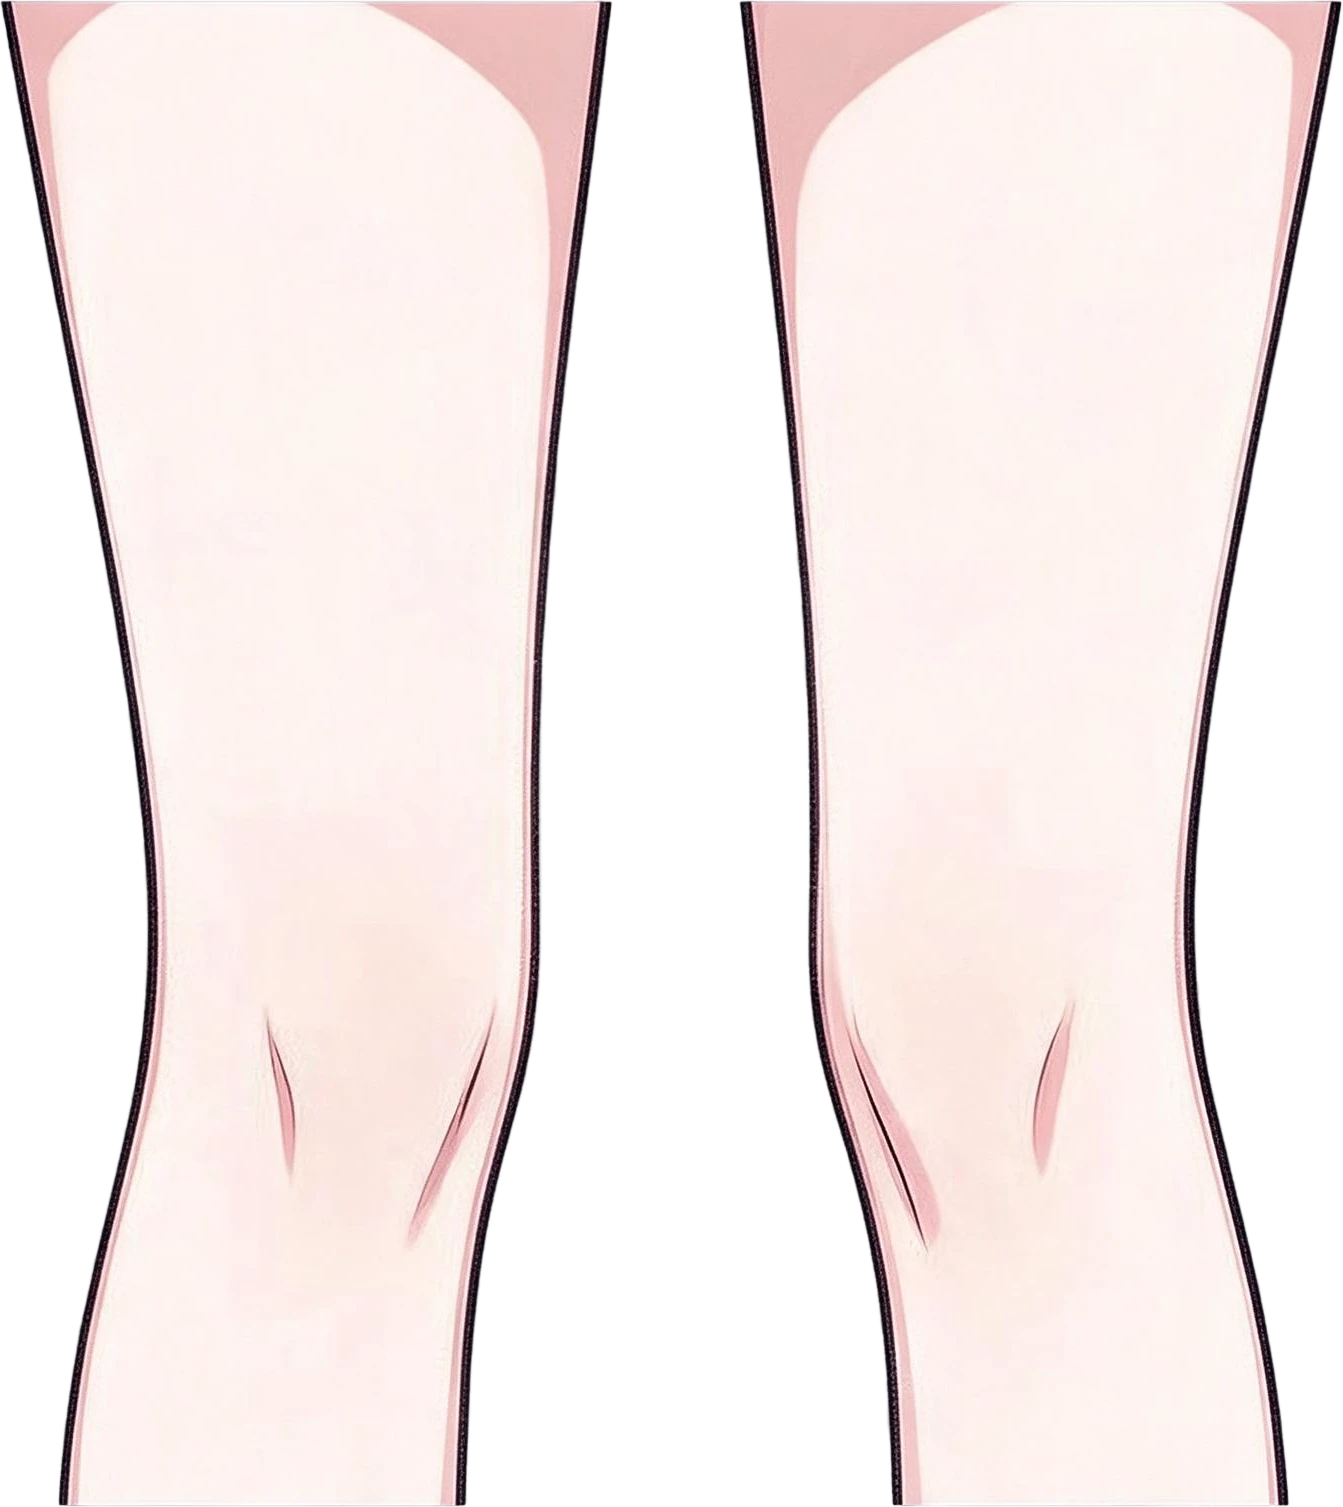
  • Knee socks — separated layerKnee socks
  • Background (filled)
Anime standing character — the flat original
Pleated skirt — separated layerSailor uniform top — separated layerKnee socks — separated layerLegs — separated layerCrossbody bag — separated layerTwin-tail hair — separated layer

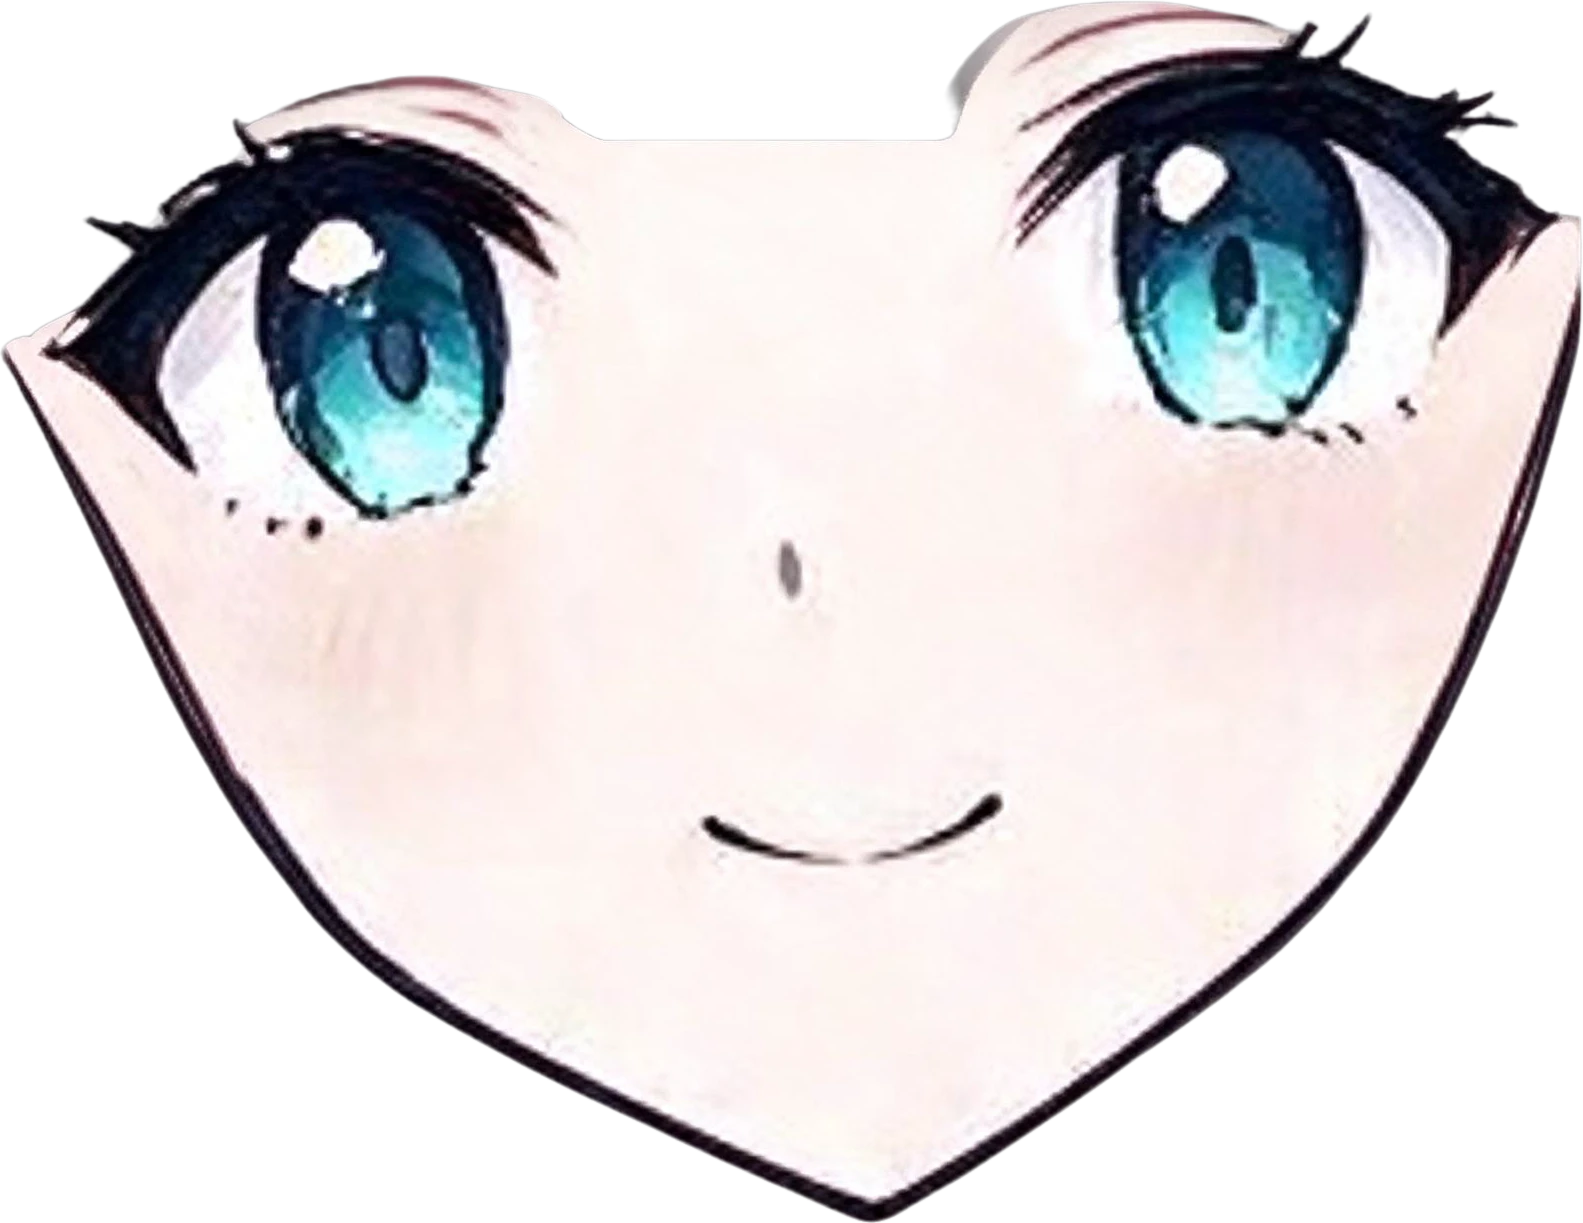
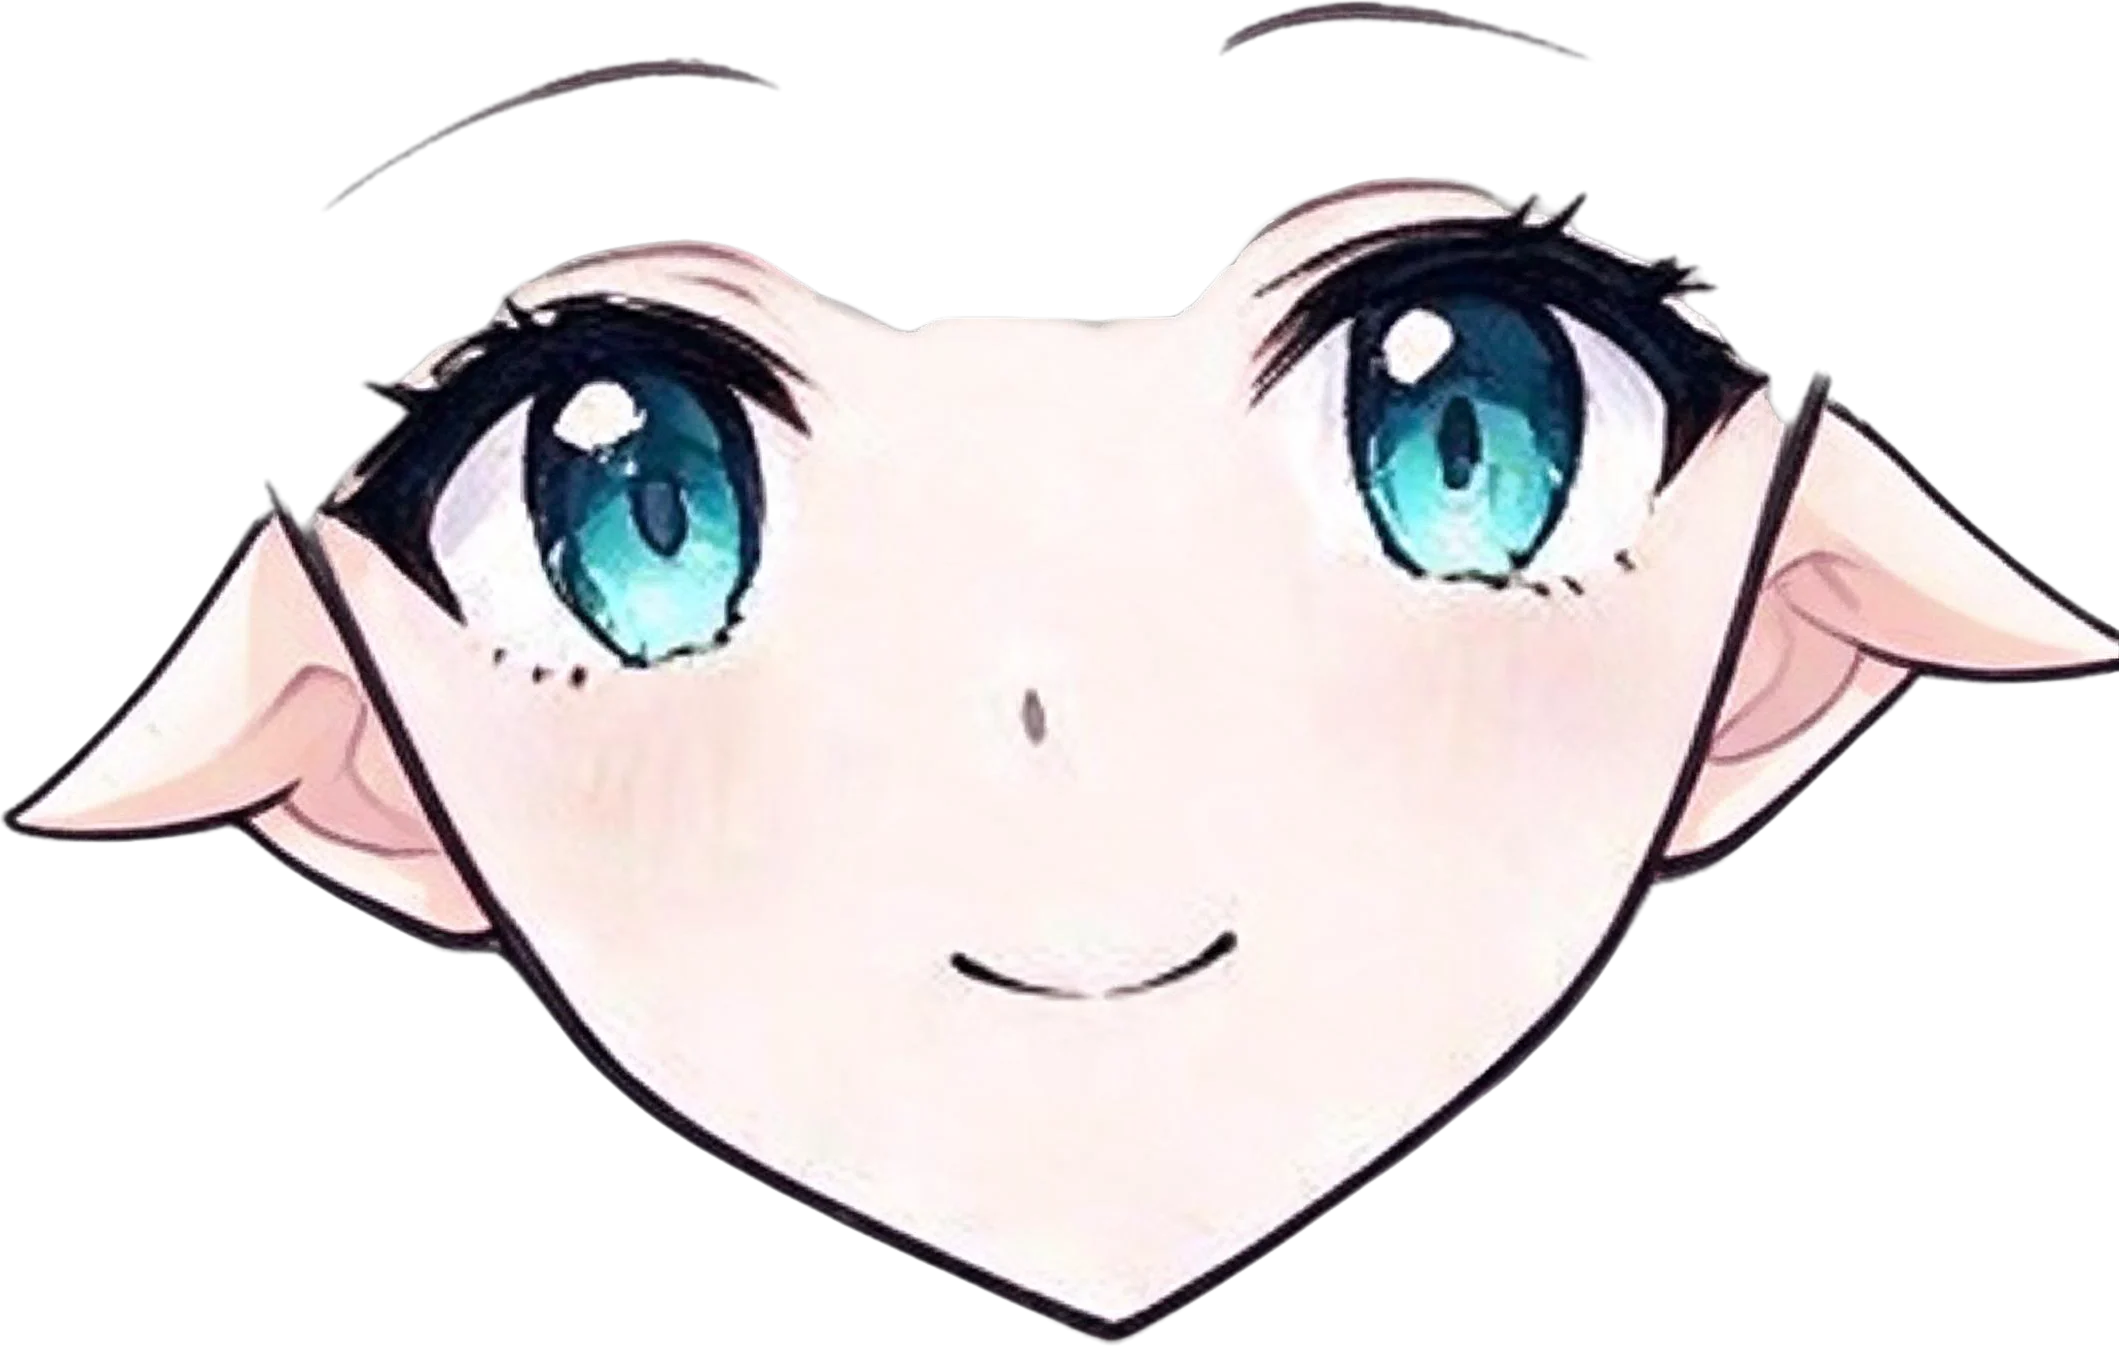
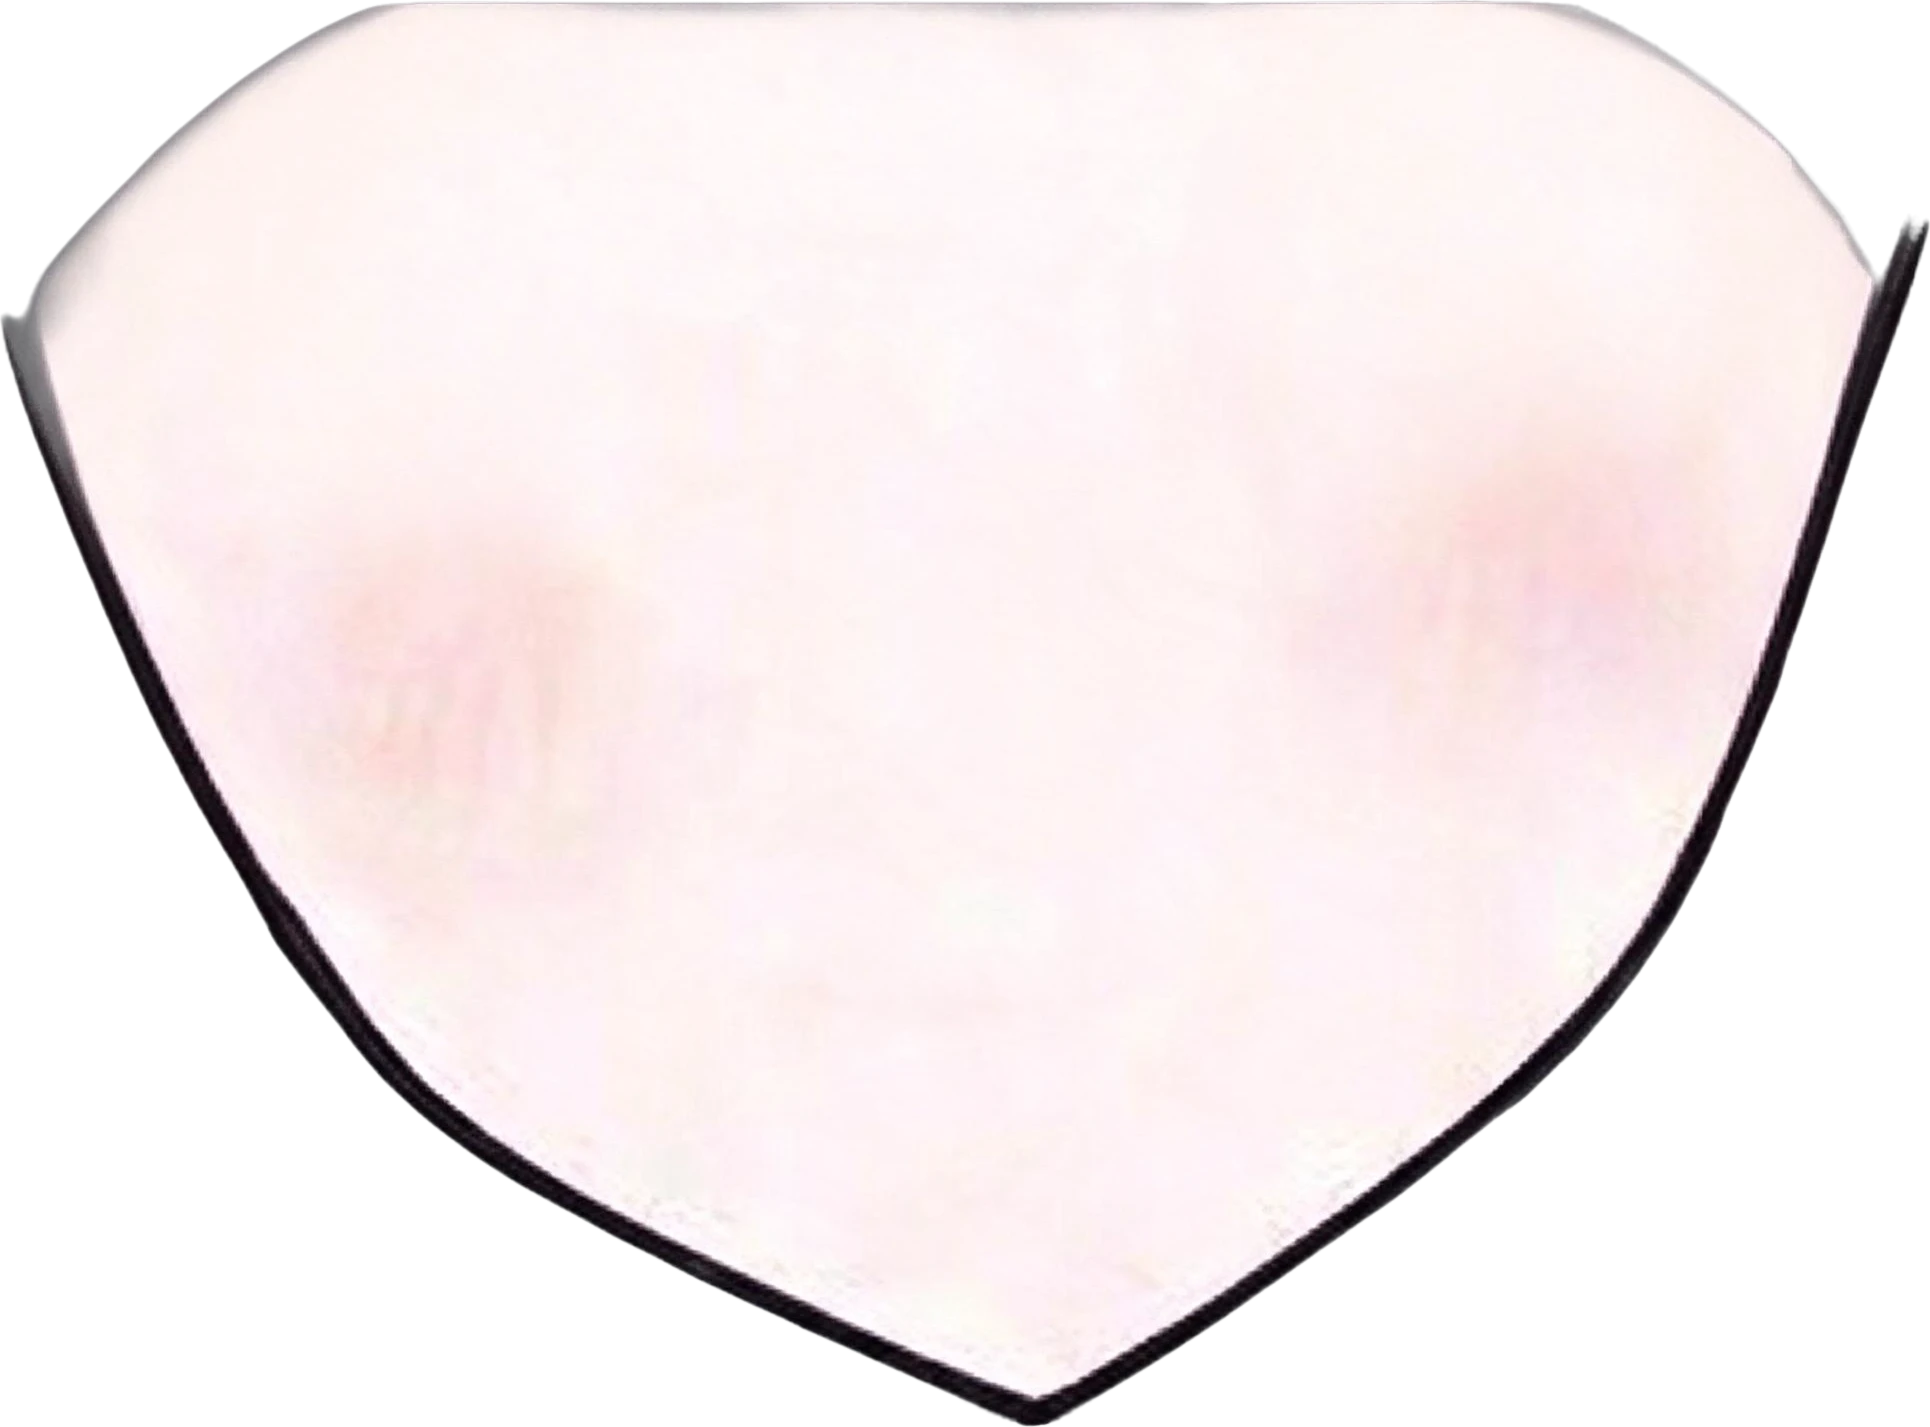
Pass two: the face. The face layer from pass one, split again, returned the face base, both eyes, both eyebrows, the mouth, the nose and both ears. The skin under the eyes and behind the ears is painted into the face base, which is what you need for a blink or a head turn.

Anime face parts — the flat original
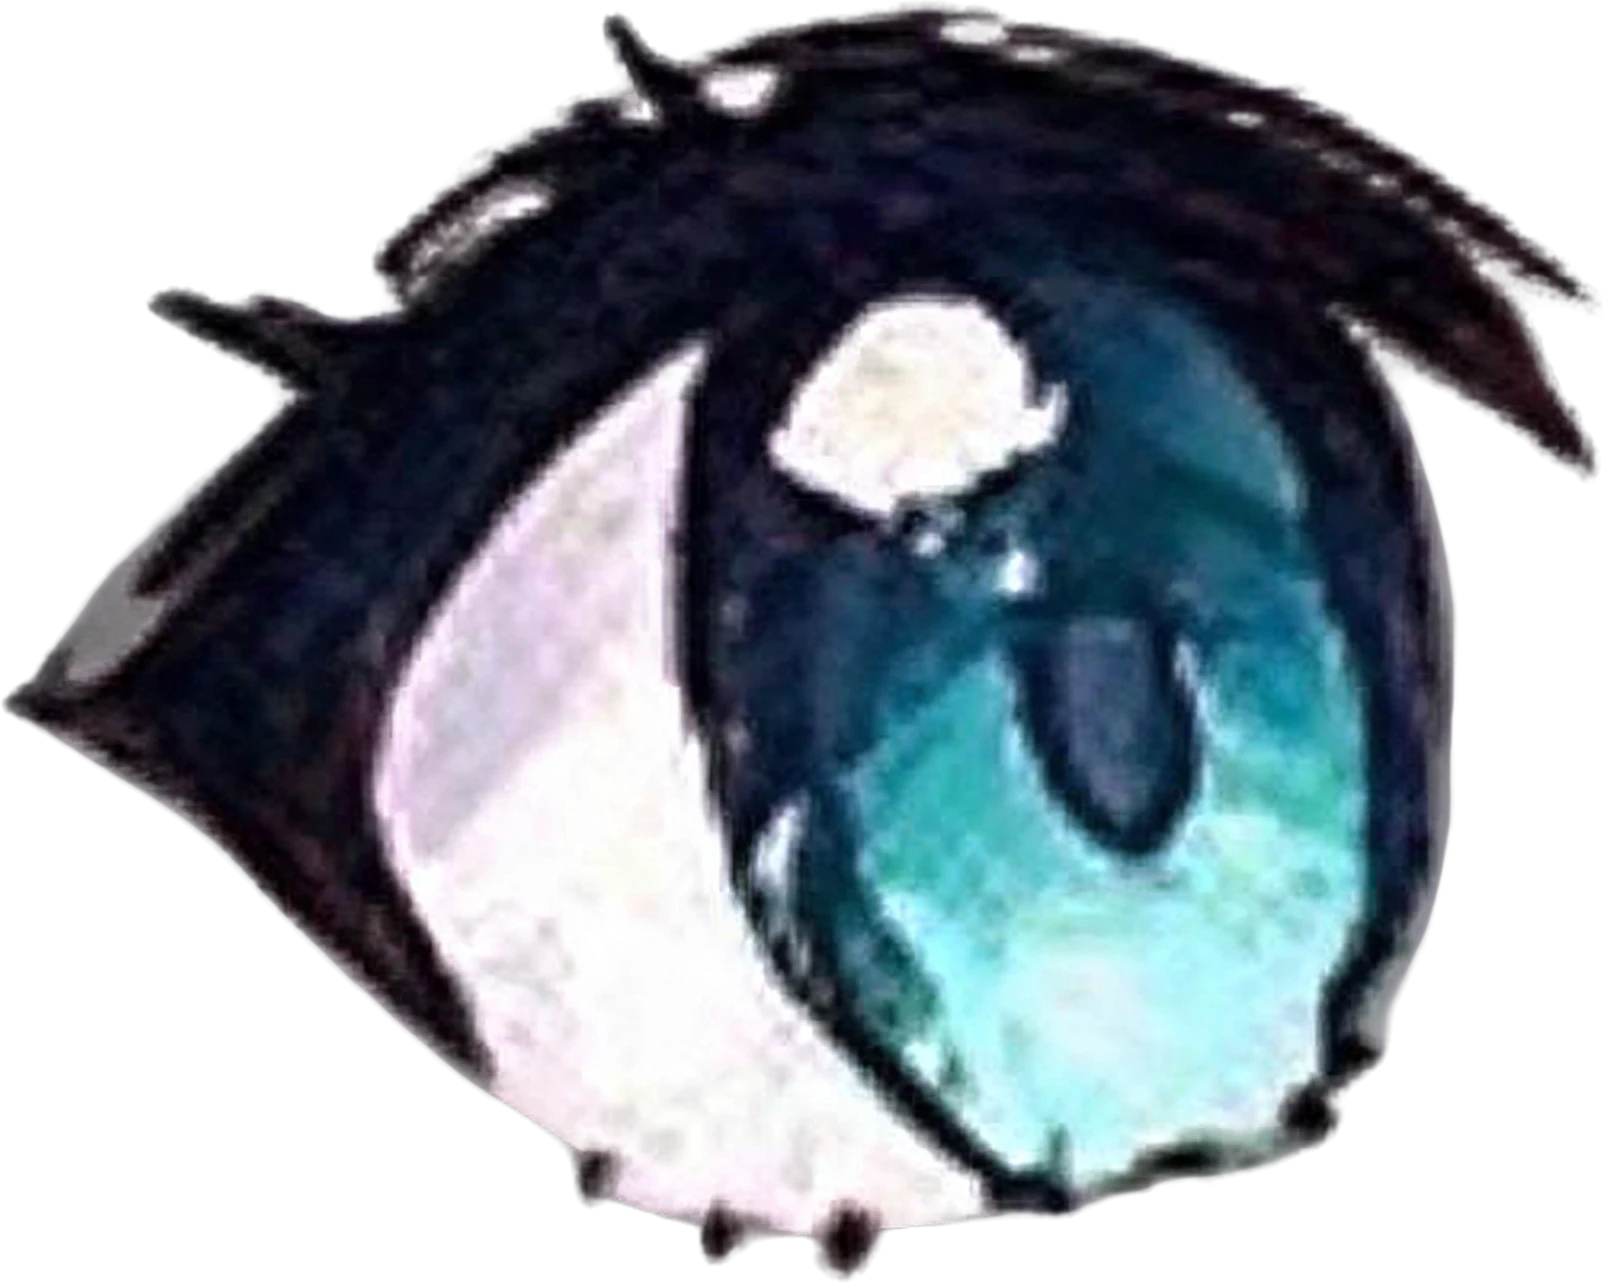
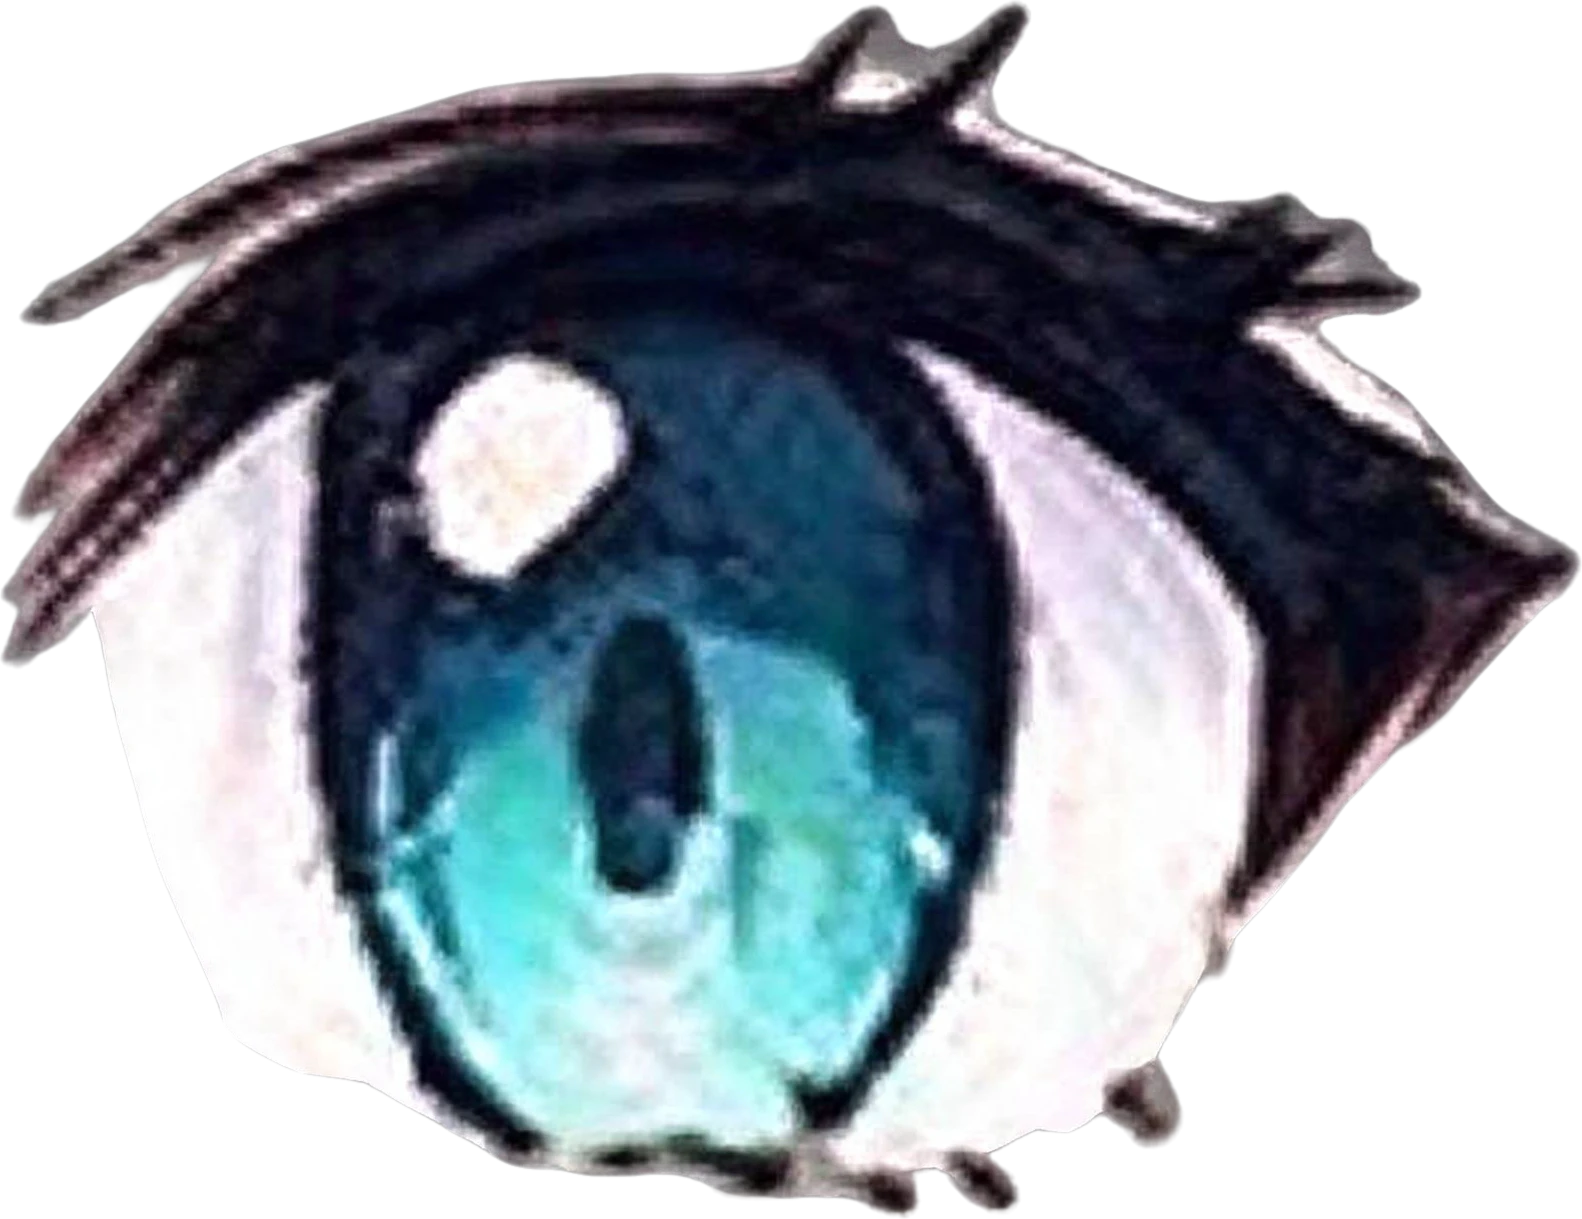
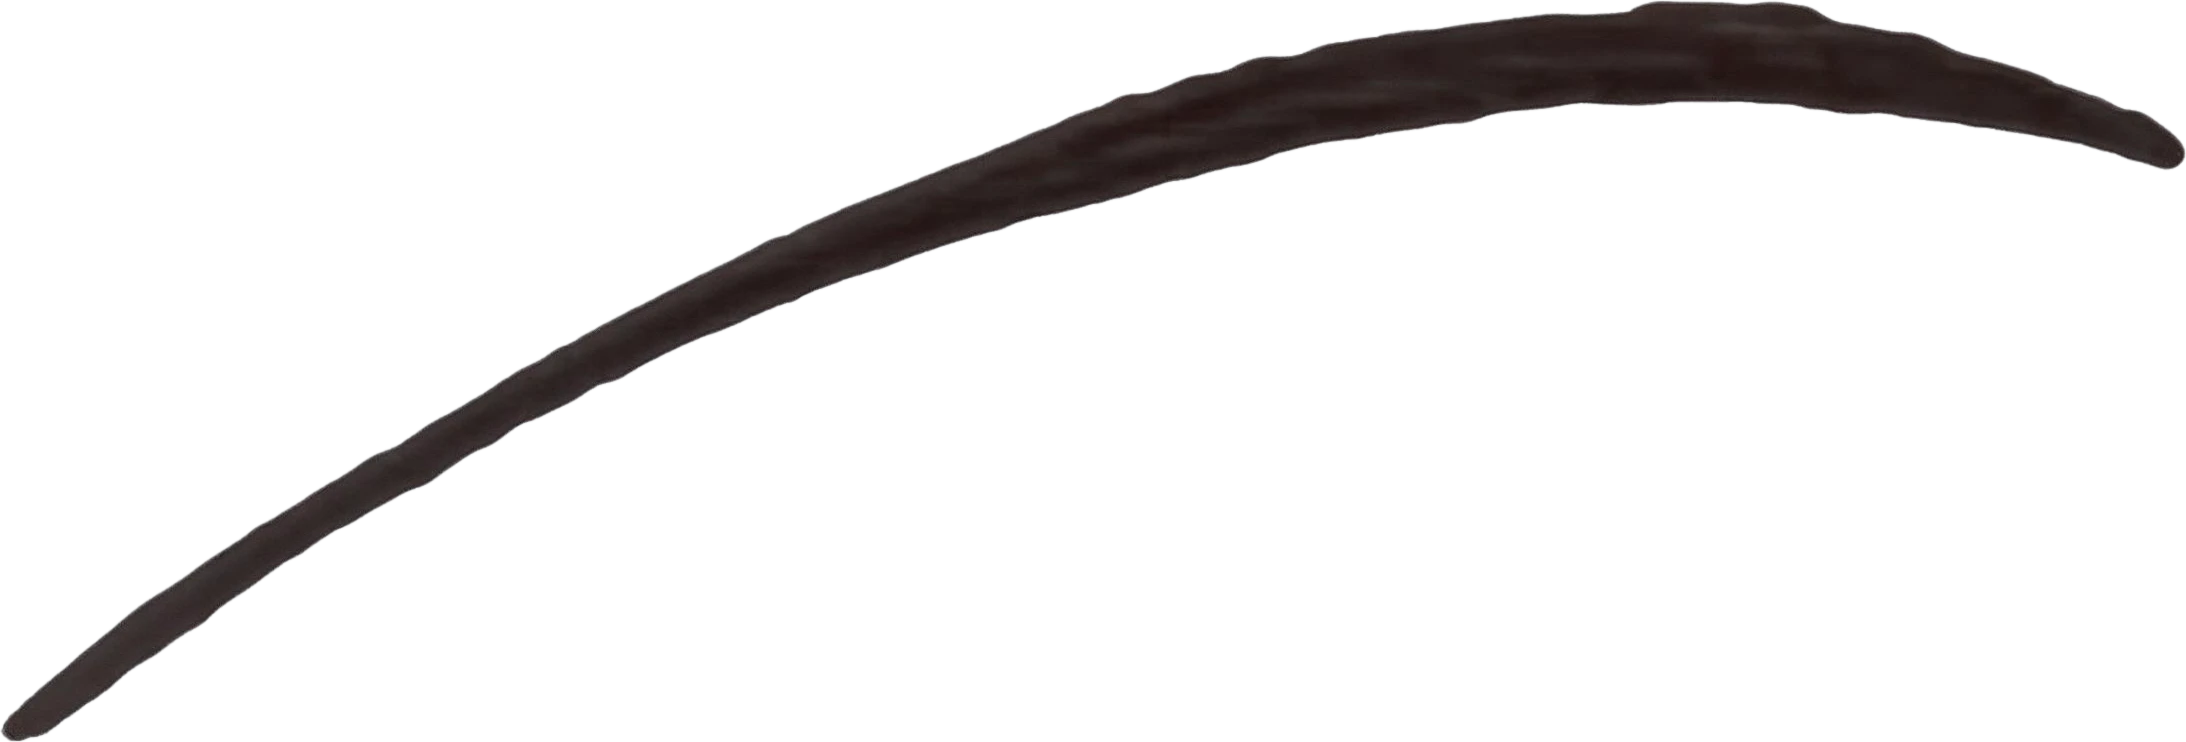
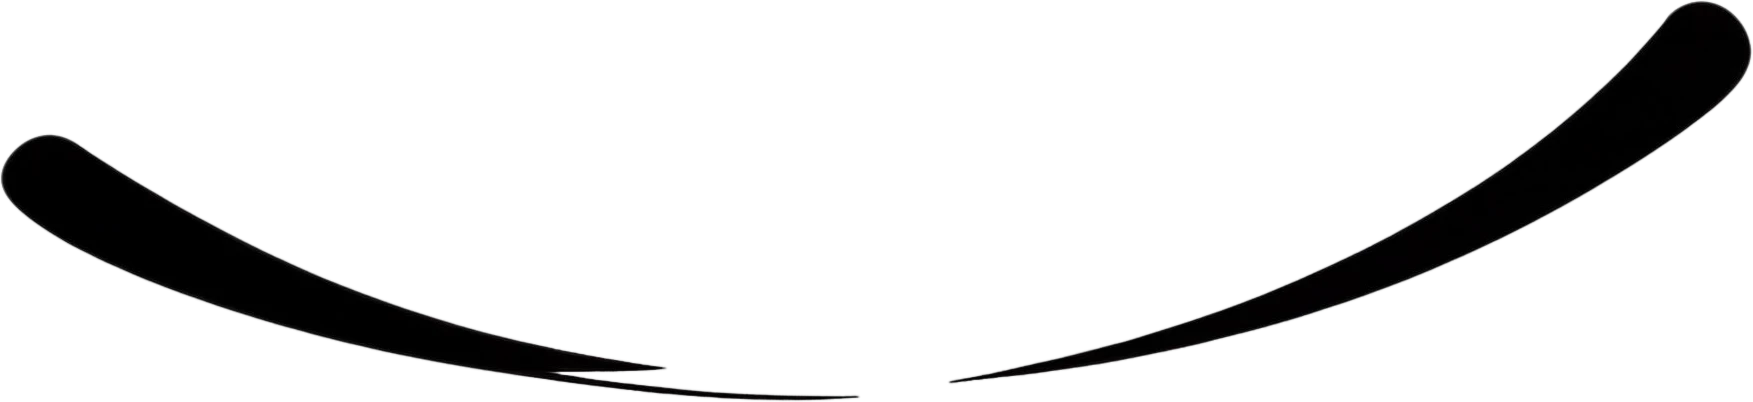
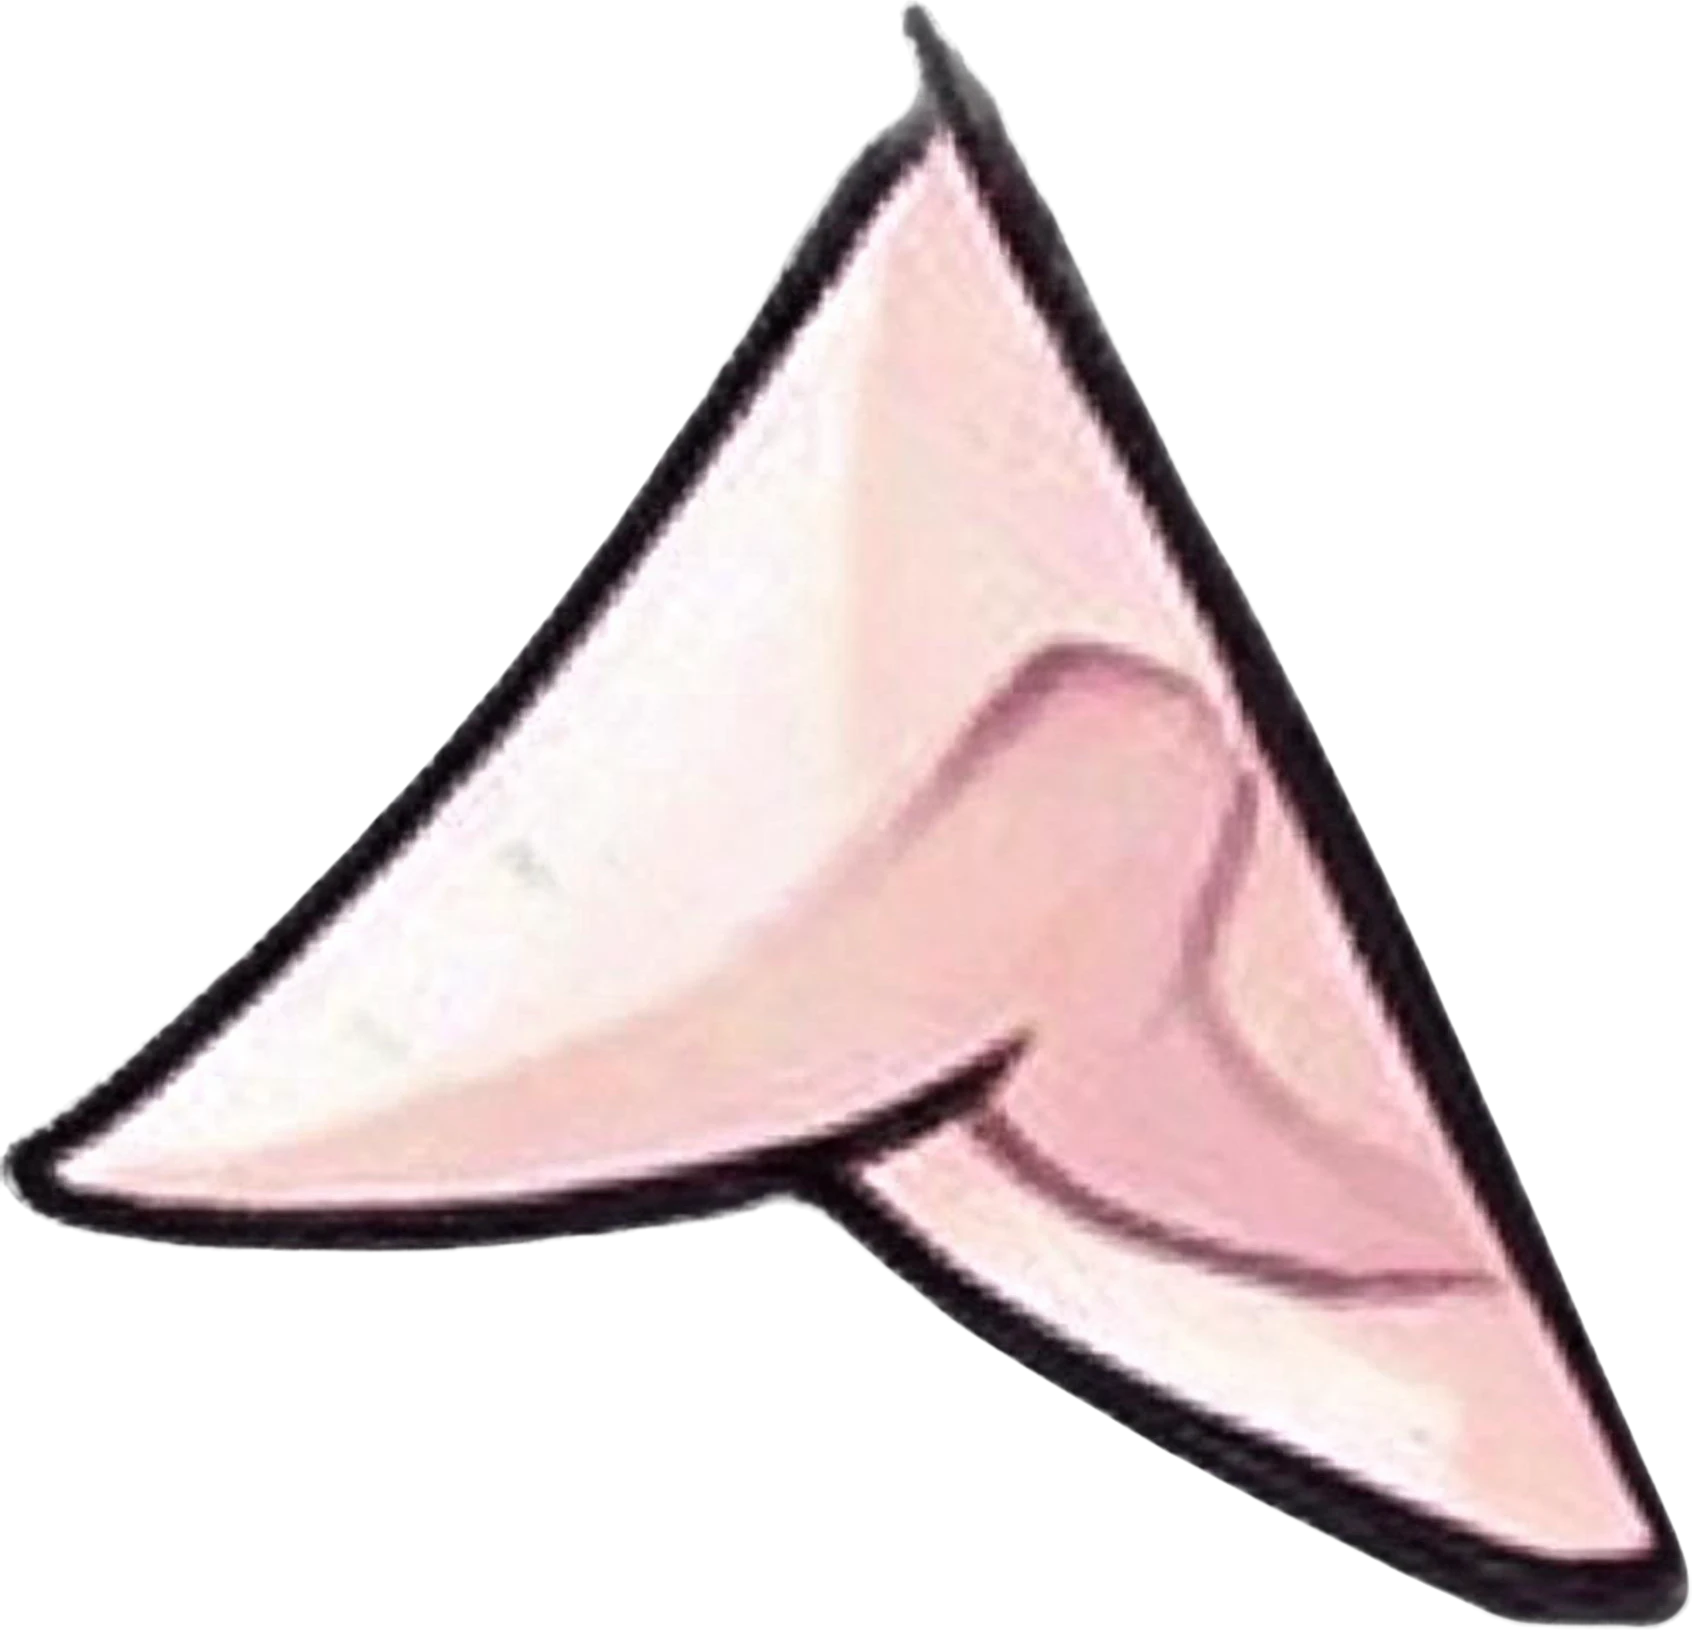
Left Teal Anime Eye — separated layerRight Teal Anime Eye — separated layerLeft Eyebrow — separated layerSoft Smiling Mouth — separated layerLeft Pointed Elf Ear — separated layerAnime Face Base — separated layer

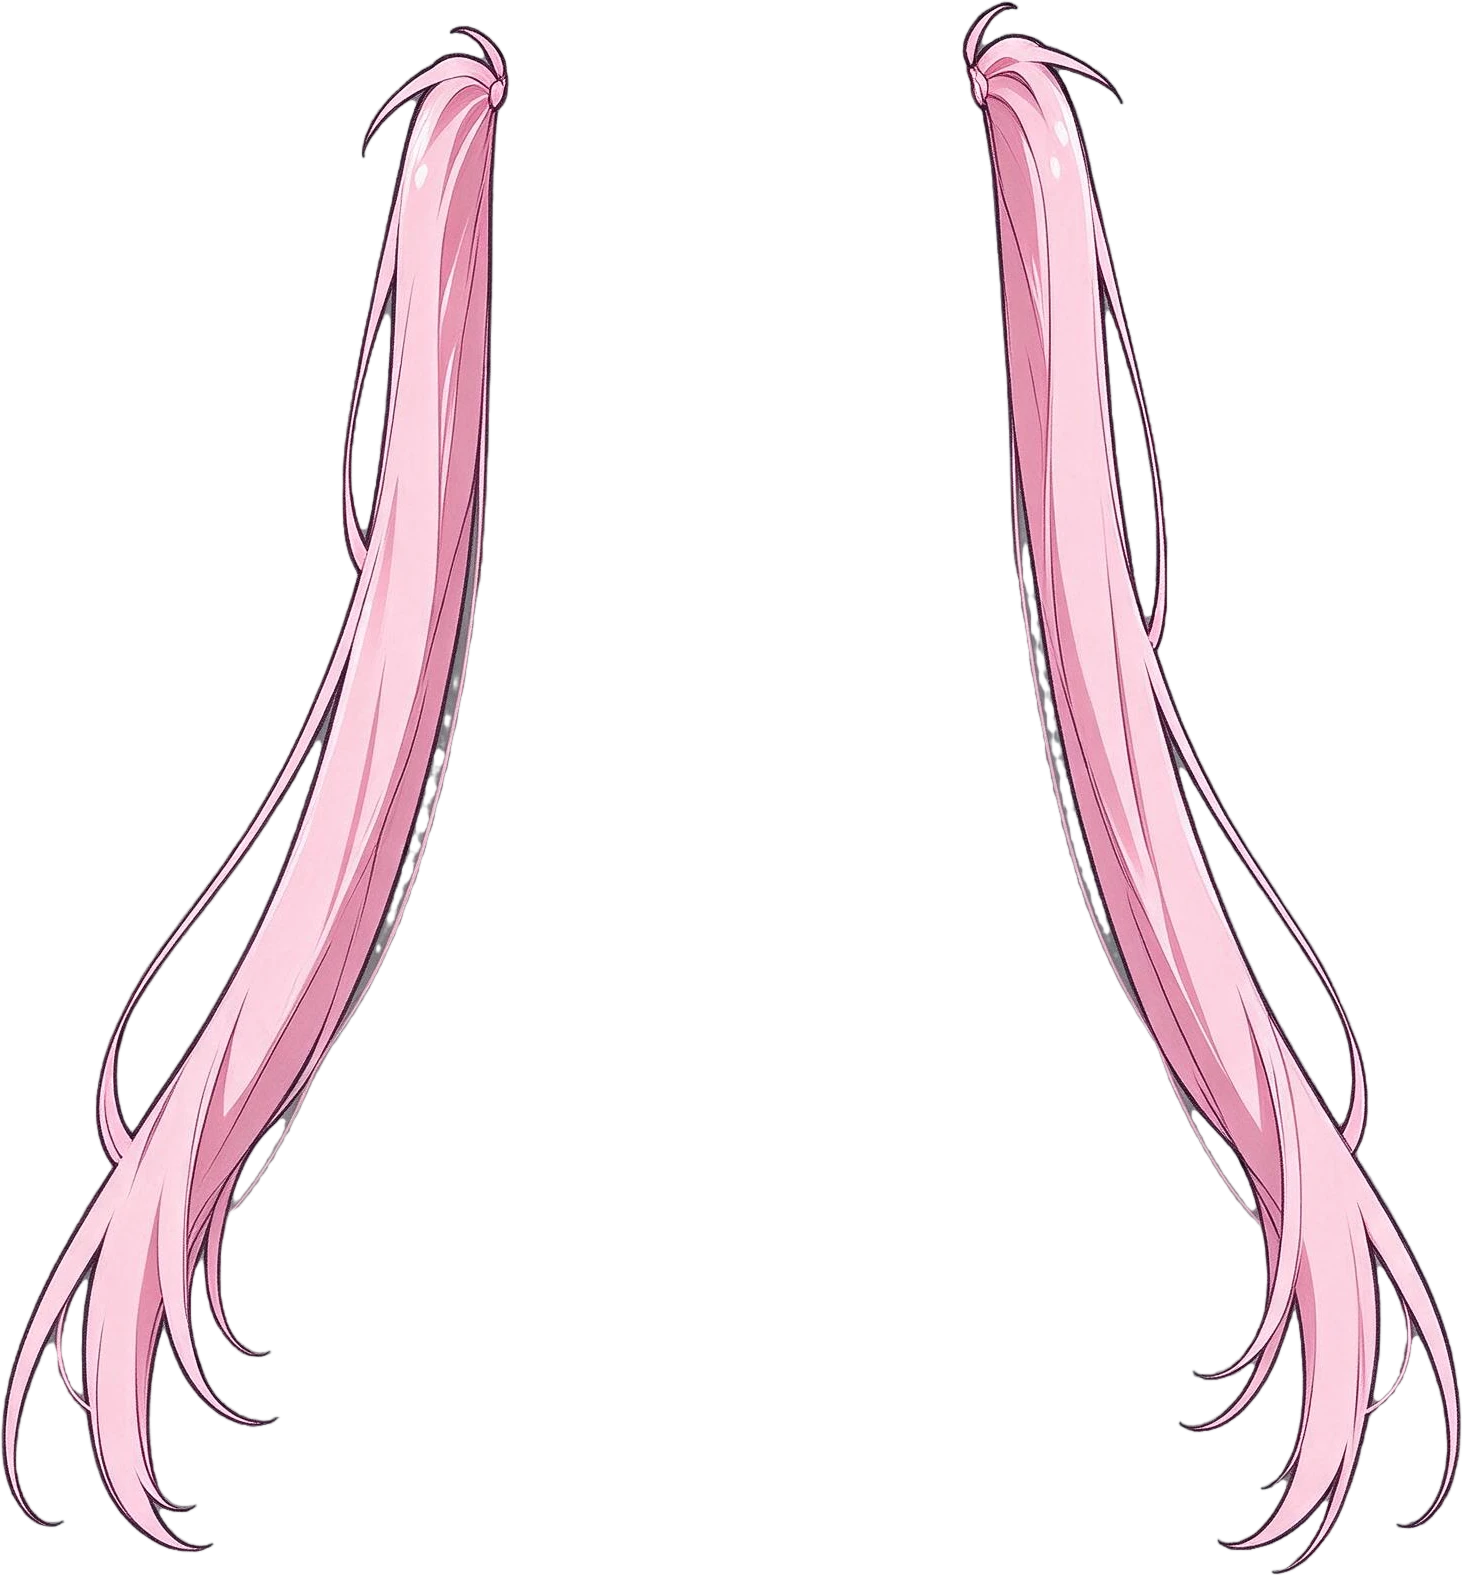
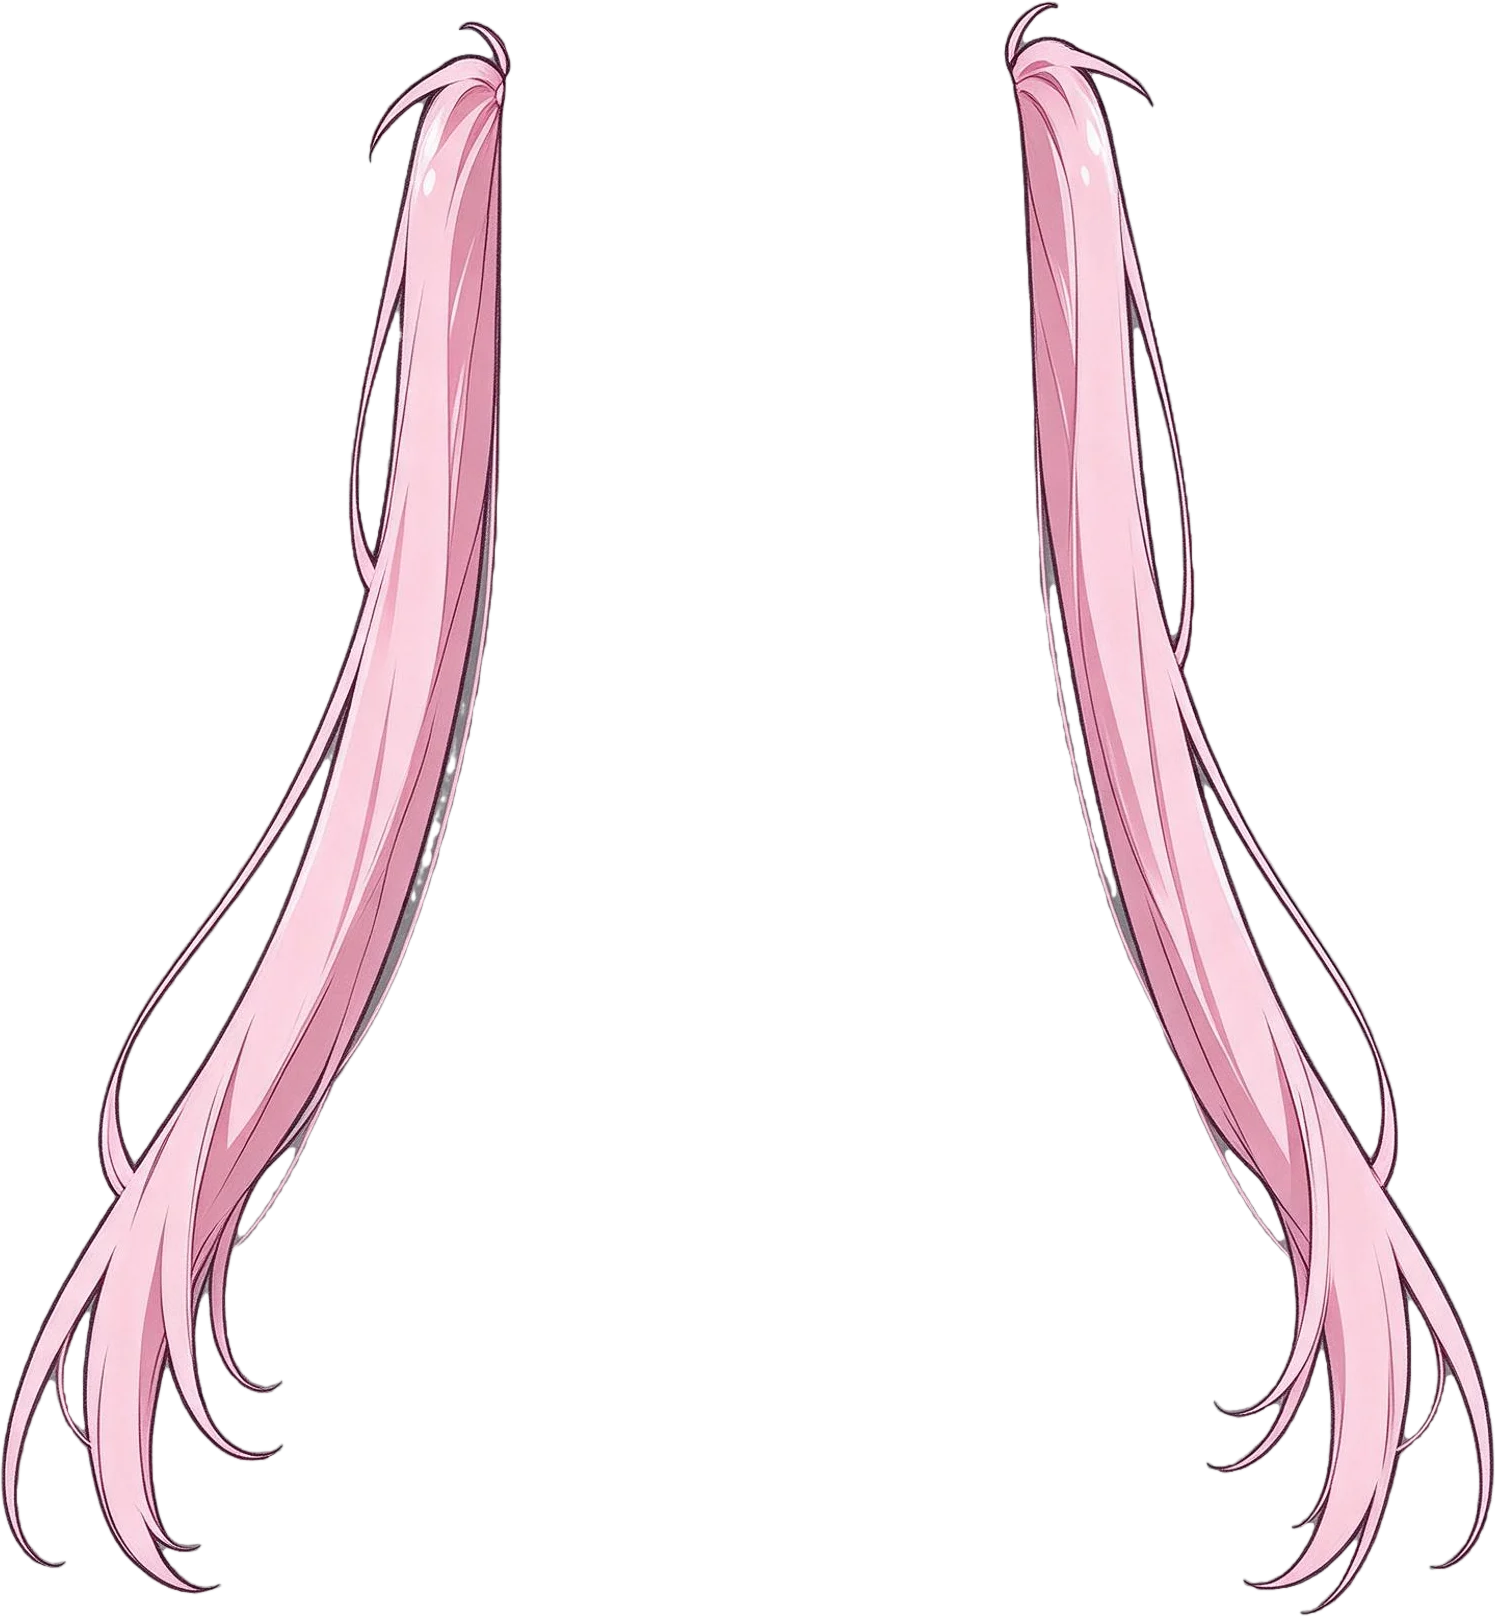
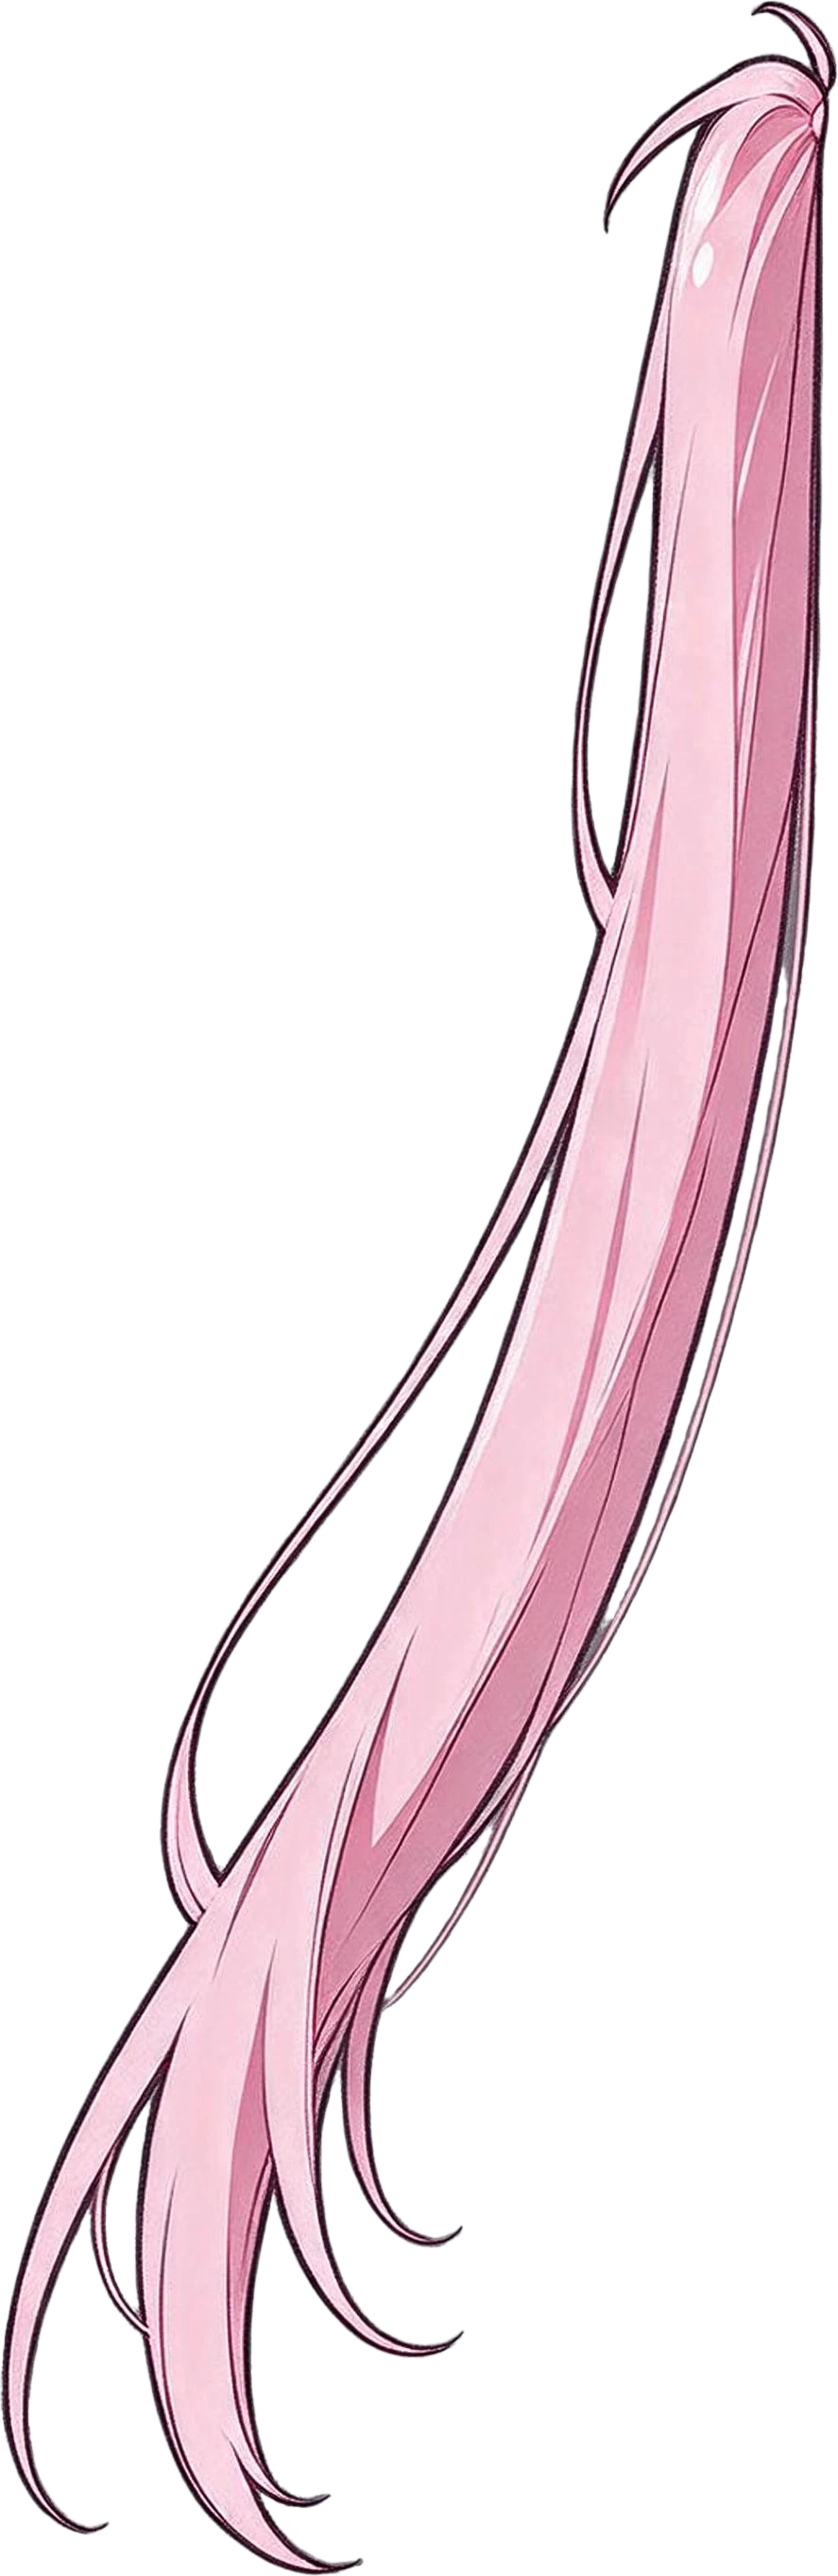
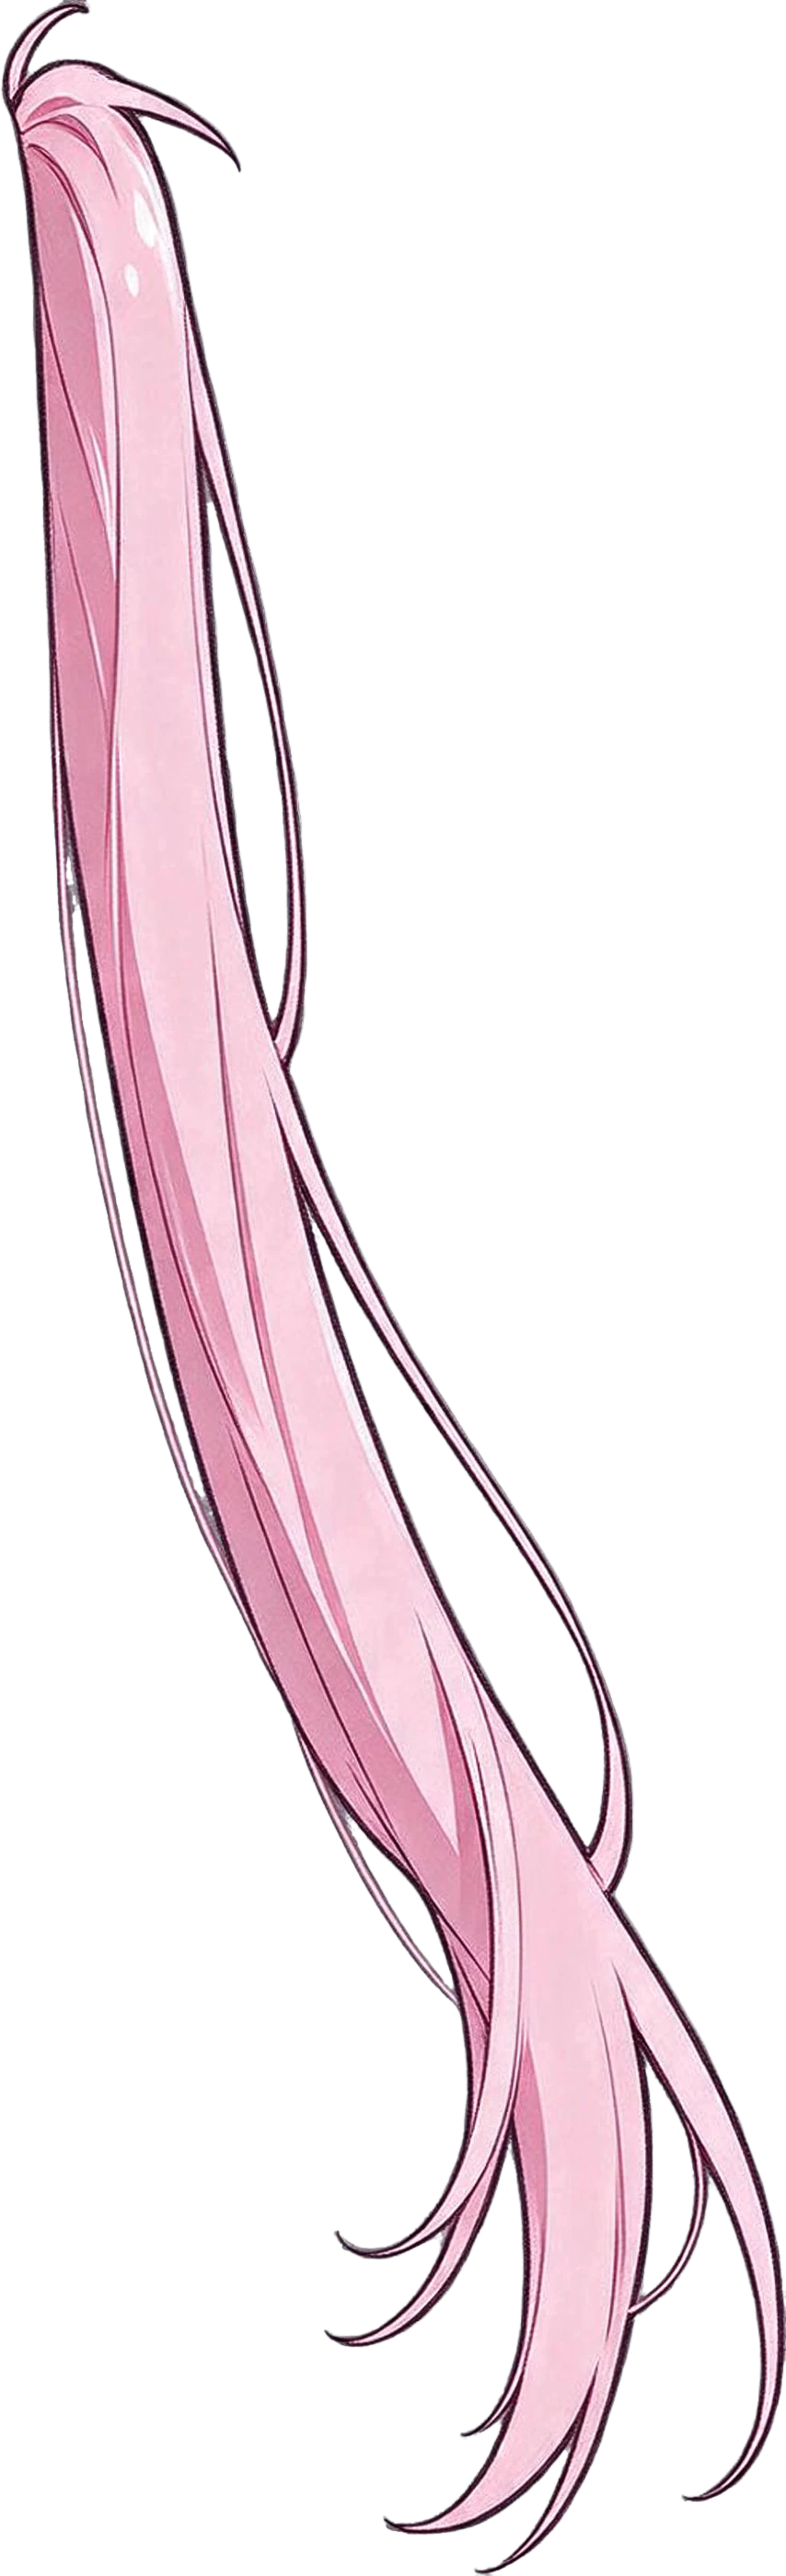
Optional pass: hair strands. Hair that should swing on its own gets the same treatment: the twin-tail layer, split again, came back as the left and right strand.

Anime hair parts — the flat original
Left Pink Hair Strand — separated layerRight Pink Hair Strand — separated layer

Getting the parts into your rigging tool

Live2D Cubism. Cubism Editor imports a layered PSD with one part per layer. Its rules: RGB at 8 bits per channel, a unique name on every layer, clipping masks and layer masks merged into their layer first. Rename the layers and check them against Live2D's notes on preparing PSD data.

Spine. Spine can import a layered PSD directly, turning each layer into an attachment in place; the PhotoshopToSpine script does the same from inside Photoshop. Spine takes the pixels only, which is all a split contains. See Spine's Import PSD guide.

After Effects. Import the PSD as a composition so each part is its own layer, then pin the limbs with the Puppet Position Pin tool or build a bone rig with Duik, a free, open-source rigging toolkit. Preparing the rest of a picture for motion is covered in how to split an image into layers for After Effects.

Japanese-speaking riggers: the same workflow is written up natively in Live2D用パーツ分けAI.

What it will not do

Expressions and angles. No open-mouth shapes, closed eyes, eye-direction variants or turned views. It separates the picture you have; variants are drawn by you.

Fine-grained parts in one go. At most 16 layers per split. A production Live2D model has many more parts than that, so expect several passes plus hand cutting for small pieces such as eyelashes and highlights.

The rig itself. Deformers, meshes, bones, weights and physics are modelling work in your rigging tool.

Commissions with a no-AI rule. Some clients and rigging communities do not accept AI-assisted artwork, including part separation. If you rig for others, ask first.

Frequently asked questions

Can AI separate a character into parts for Live2D?

It can do the cutting and the in-painting: hair, face, eyes, brows, mouth, ears, clothes and limbs on separate transparent layers, with hidden areas drawn in, saved as a PSD. It does not make expression variants (open mouth, closed eyes) or side views, and it does nothing inside Cubism: deformers, meshes and physics are still your rigging work.

How many parts do I get from one split?

Up to 16 layers per split. The full-body sample on this page came back as 11 parts plus one layer for the neck, hands and ankles; the face, split again, came back as 9 parts. Real Live2D models use far more parts than that, so plan on several passes and some hand cutting for small pieces.

Are the hidden parts drawn in?

Usually. Behind the bag, the uniform continues; under the bangs, the forehead is painted. Small joints are the weak spot: in our sample the neck, hands and ankles were not separated into parts, so they were kept on one extra layer. Check overlaps you plan to move, and paint where needed.

Can I use the parts in Spine or After Effects instead of Live2D?

Yes. The output is an ordinary layered PSD and a ZIP of transparent PNGs. Spine and After Effects both work from layered Photoshop files; in After Effects, import as a composition so every part is its own layer, then pin it with the Puppet tool or rig it with Duik.

What does a full character cost?

Layers are 10 credits each on the Basic plan and the credit packs. A 12-layer body pass and a 9-layer face pass come to about 210 credits. Every account gets one free One layer split to try it on a single part.