Coffee shop poster, a real split: the flat image and the 11 named layers it became.
Coffee shop poster
11 layers in 100 s
LayerGrab is a PNG to PSD converter that splits the picture first: text, products and graphics each on a named layer, over a filled-in background, saved as a layered PSD.
Image
Name one element. It comes back as a transparent PNG layer.
Sample split, free to explore: Coffee shop poster
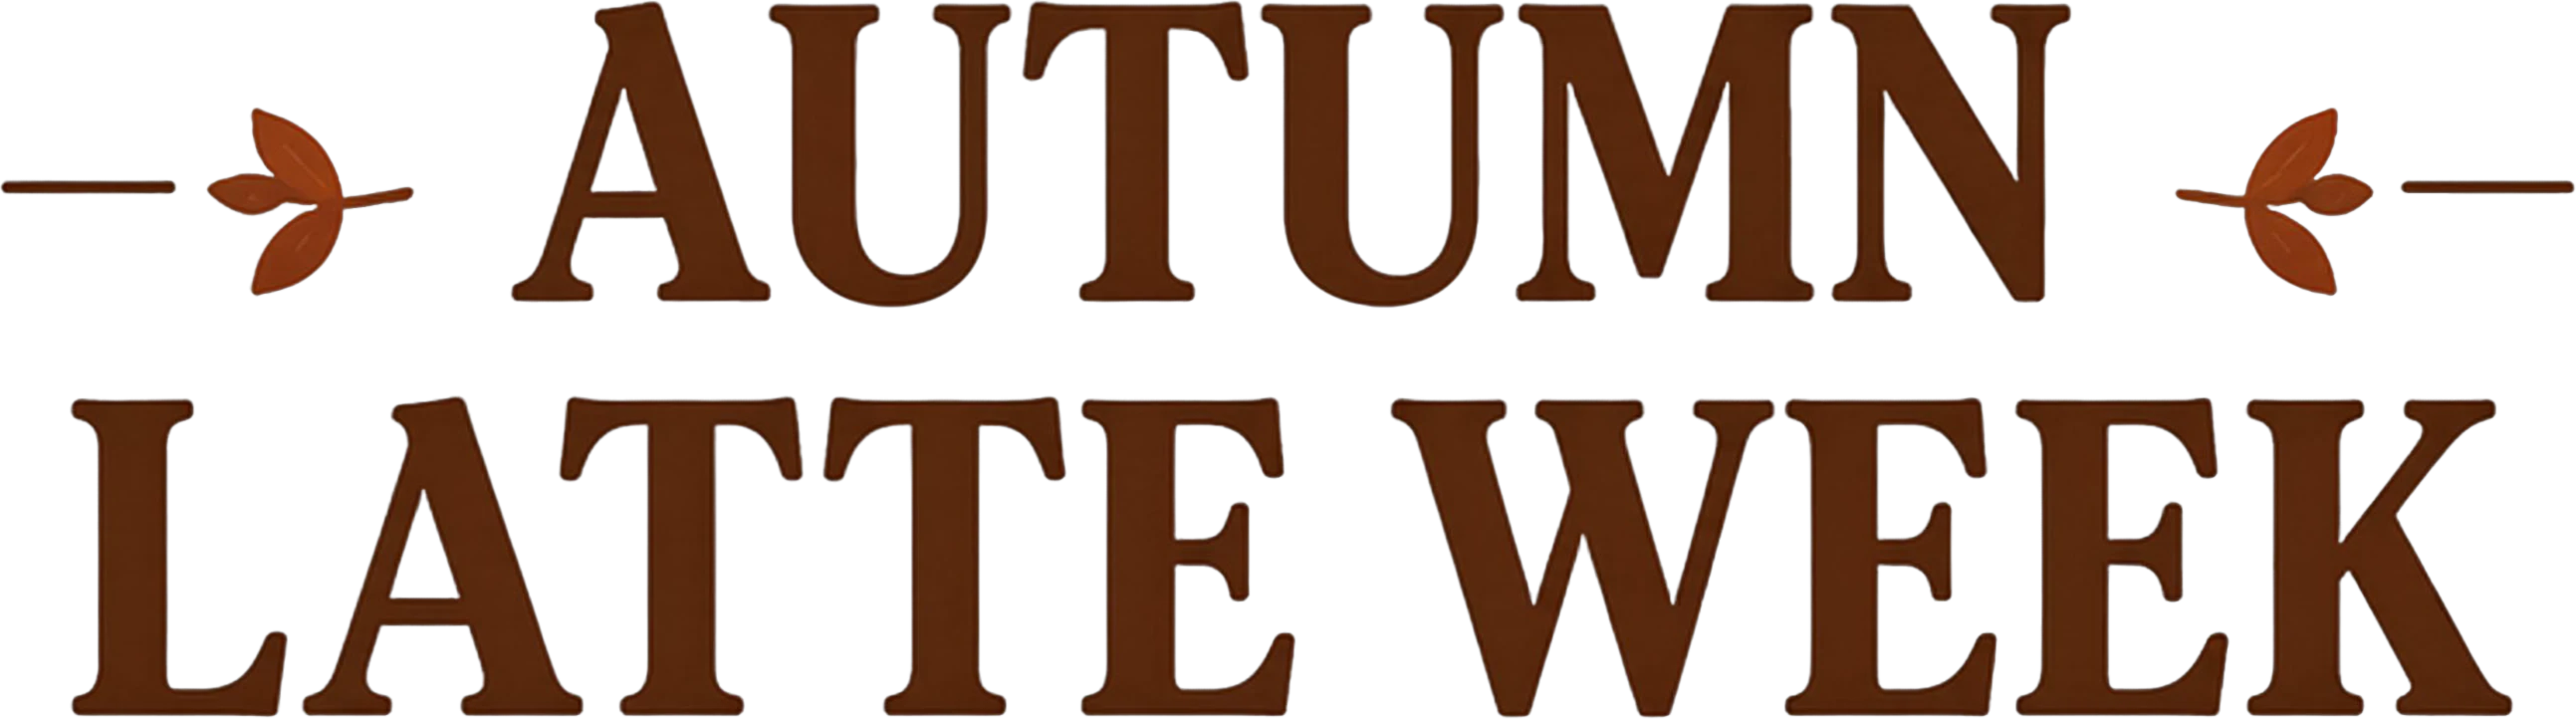

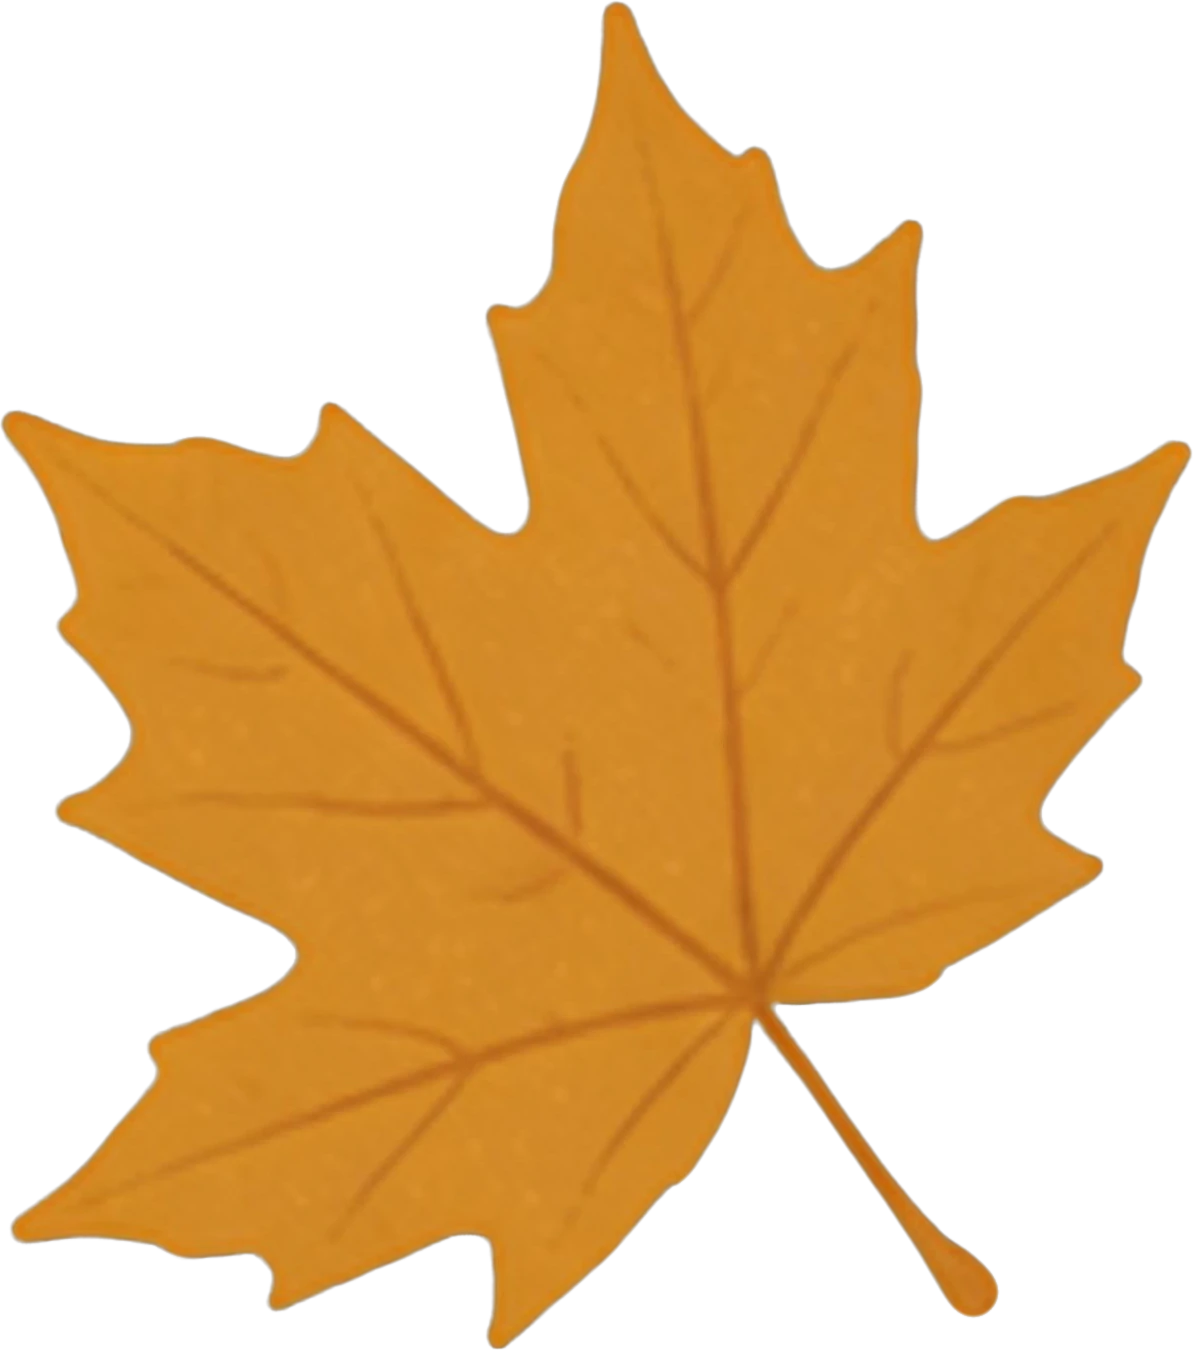
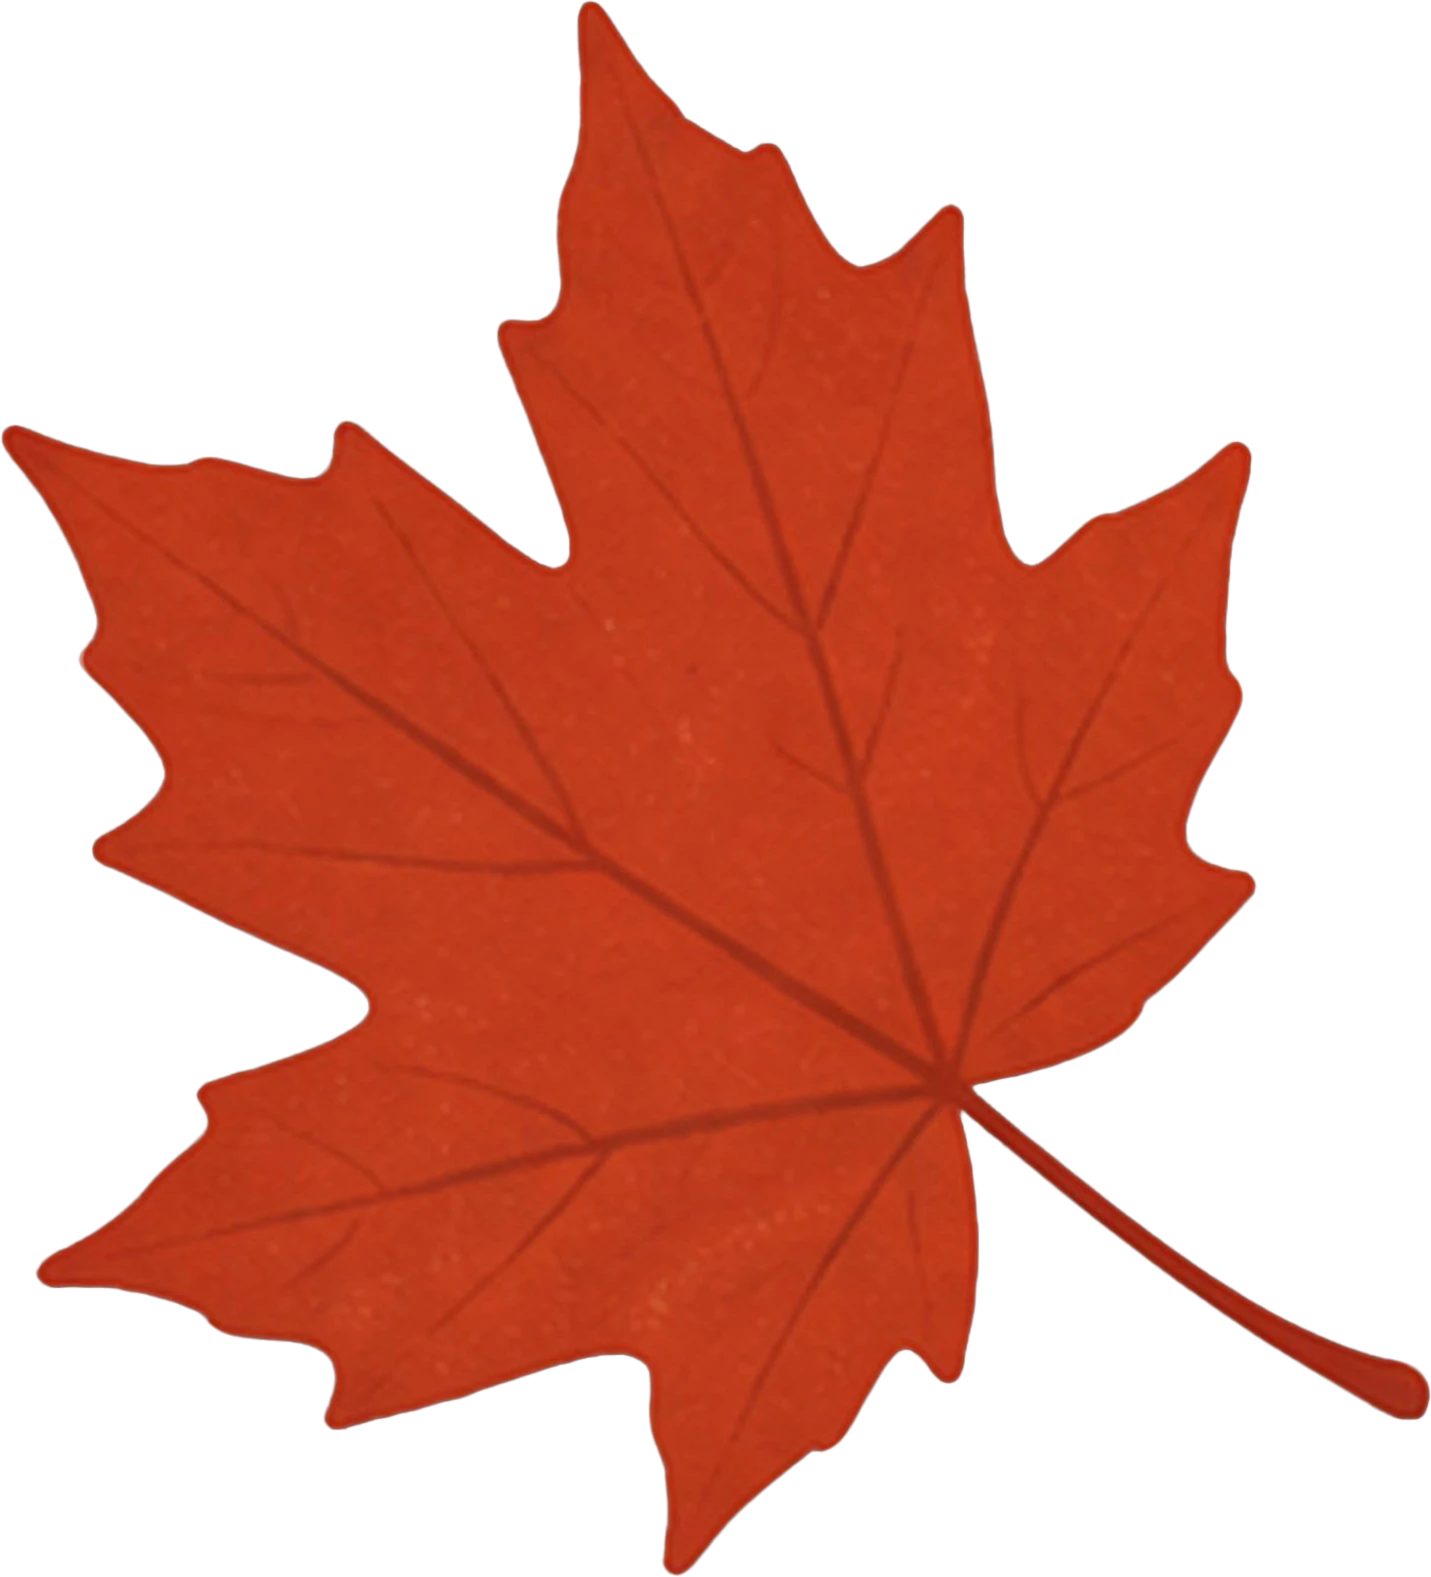
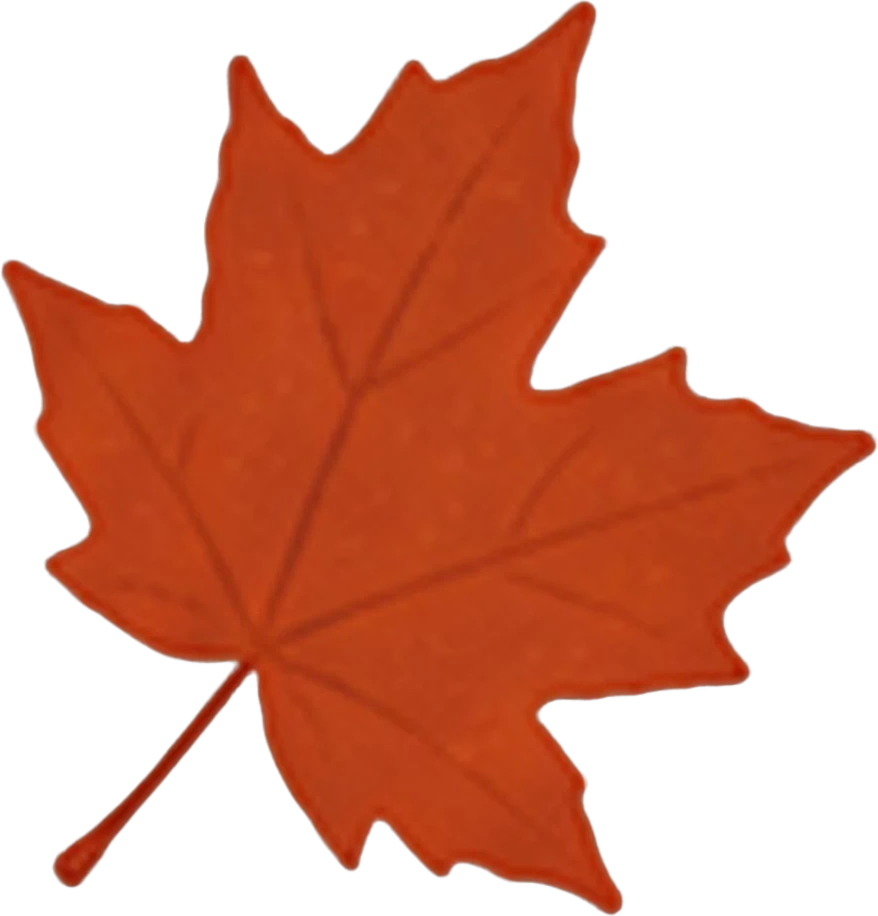
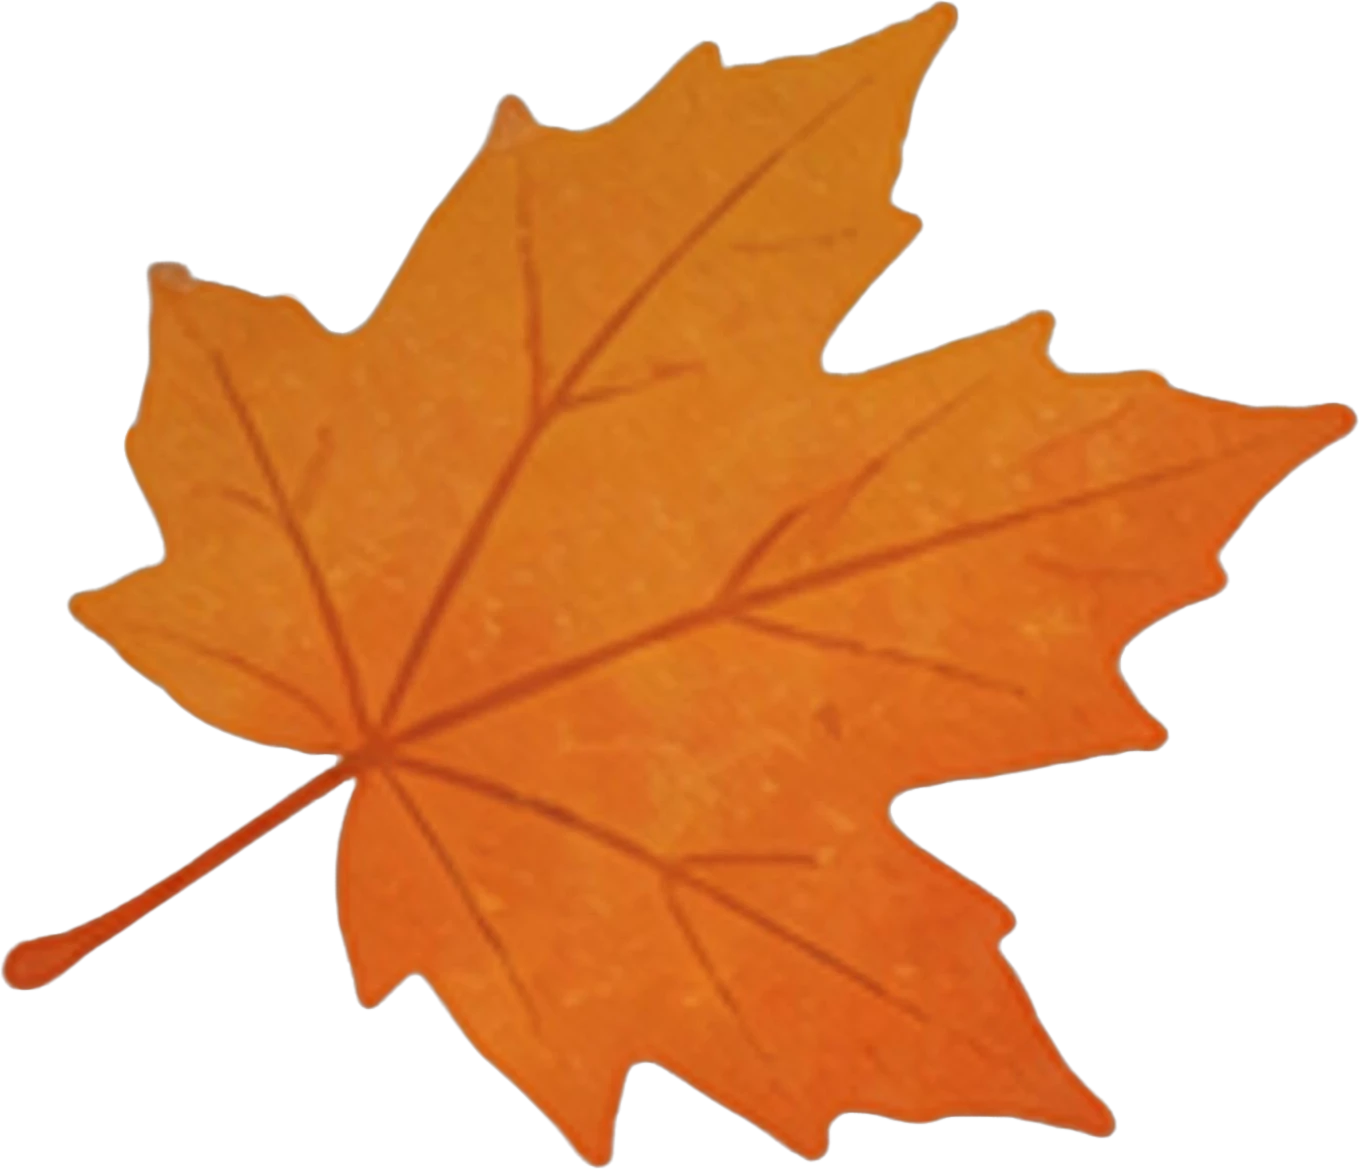
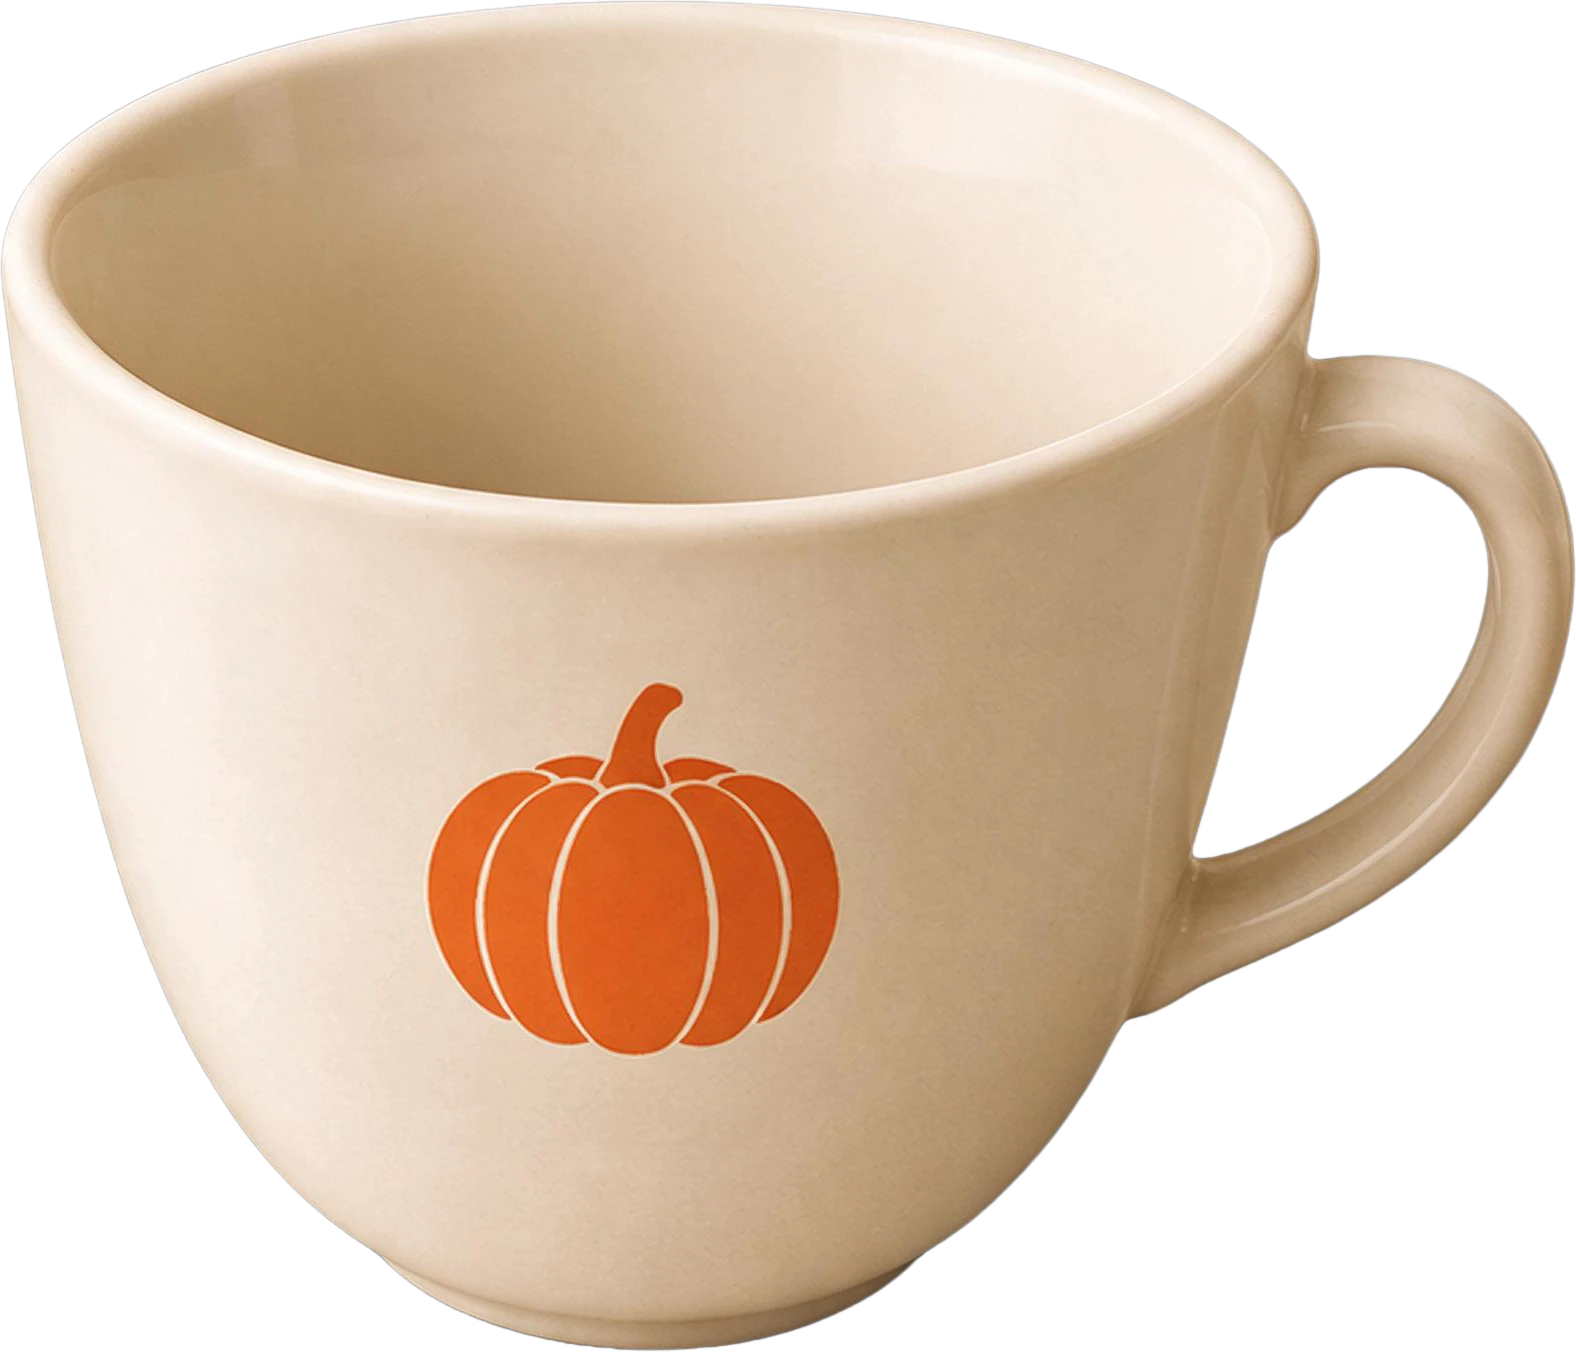

11 layers
Split in 100s
Background (filled)Every example on this page is a real result: the original, the filled background and each named layer, exactly as the tool returned them.
Coffee shop poster, a real split: the flat image and the 11 named layers it became.
11 layers in 100 s
Headphones product banner, a real split: the flat image and the 8 named layers it became.
8 layers in 66 s
Skincare Instagram post, a real split: the flat image and the 8 named layers it became.
8 layers in 80 s
AI-generated desk illustration, a real split: the flat image and the 10 named layers it became.
10 layers in 100 s
Anime room illustration, a real split: the flat image and the 7 named layers it became.
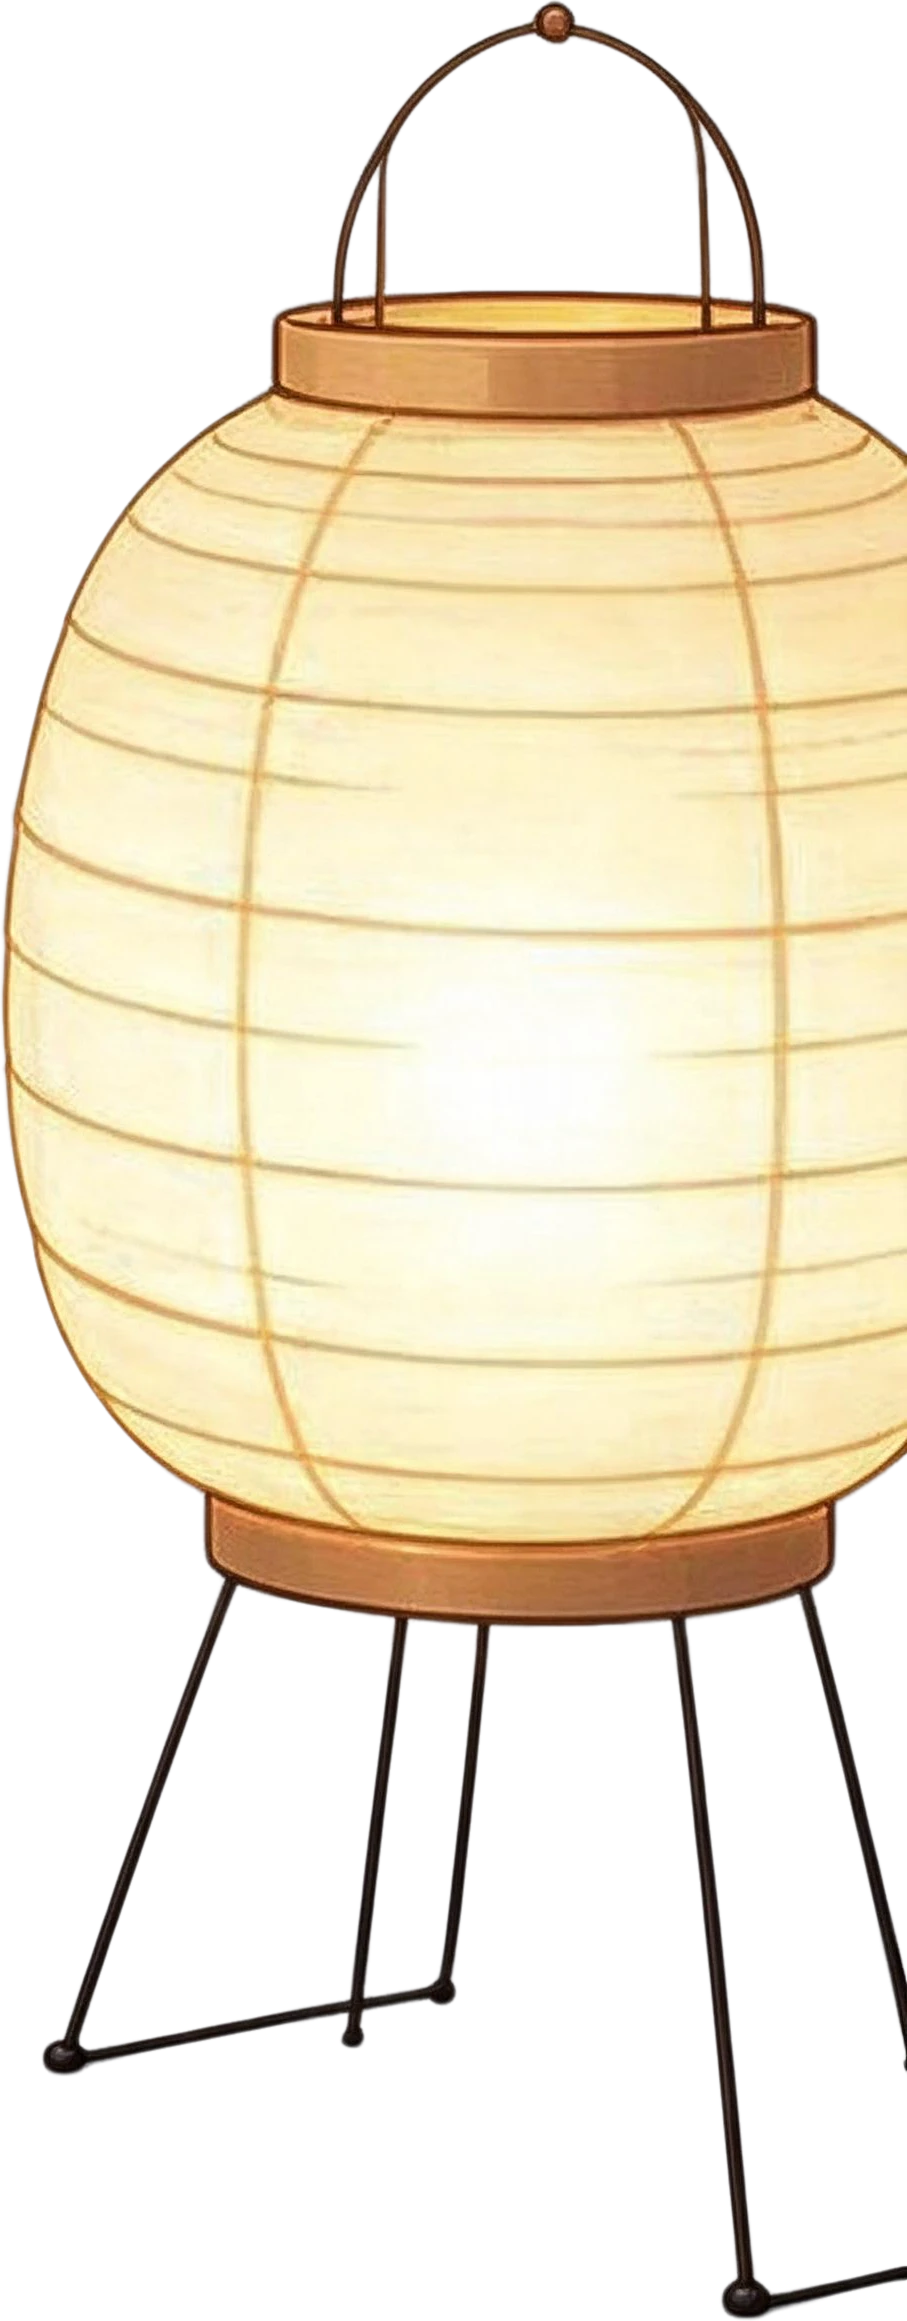
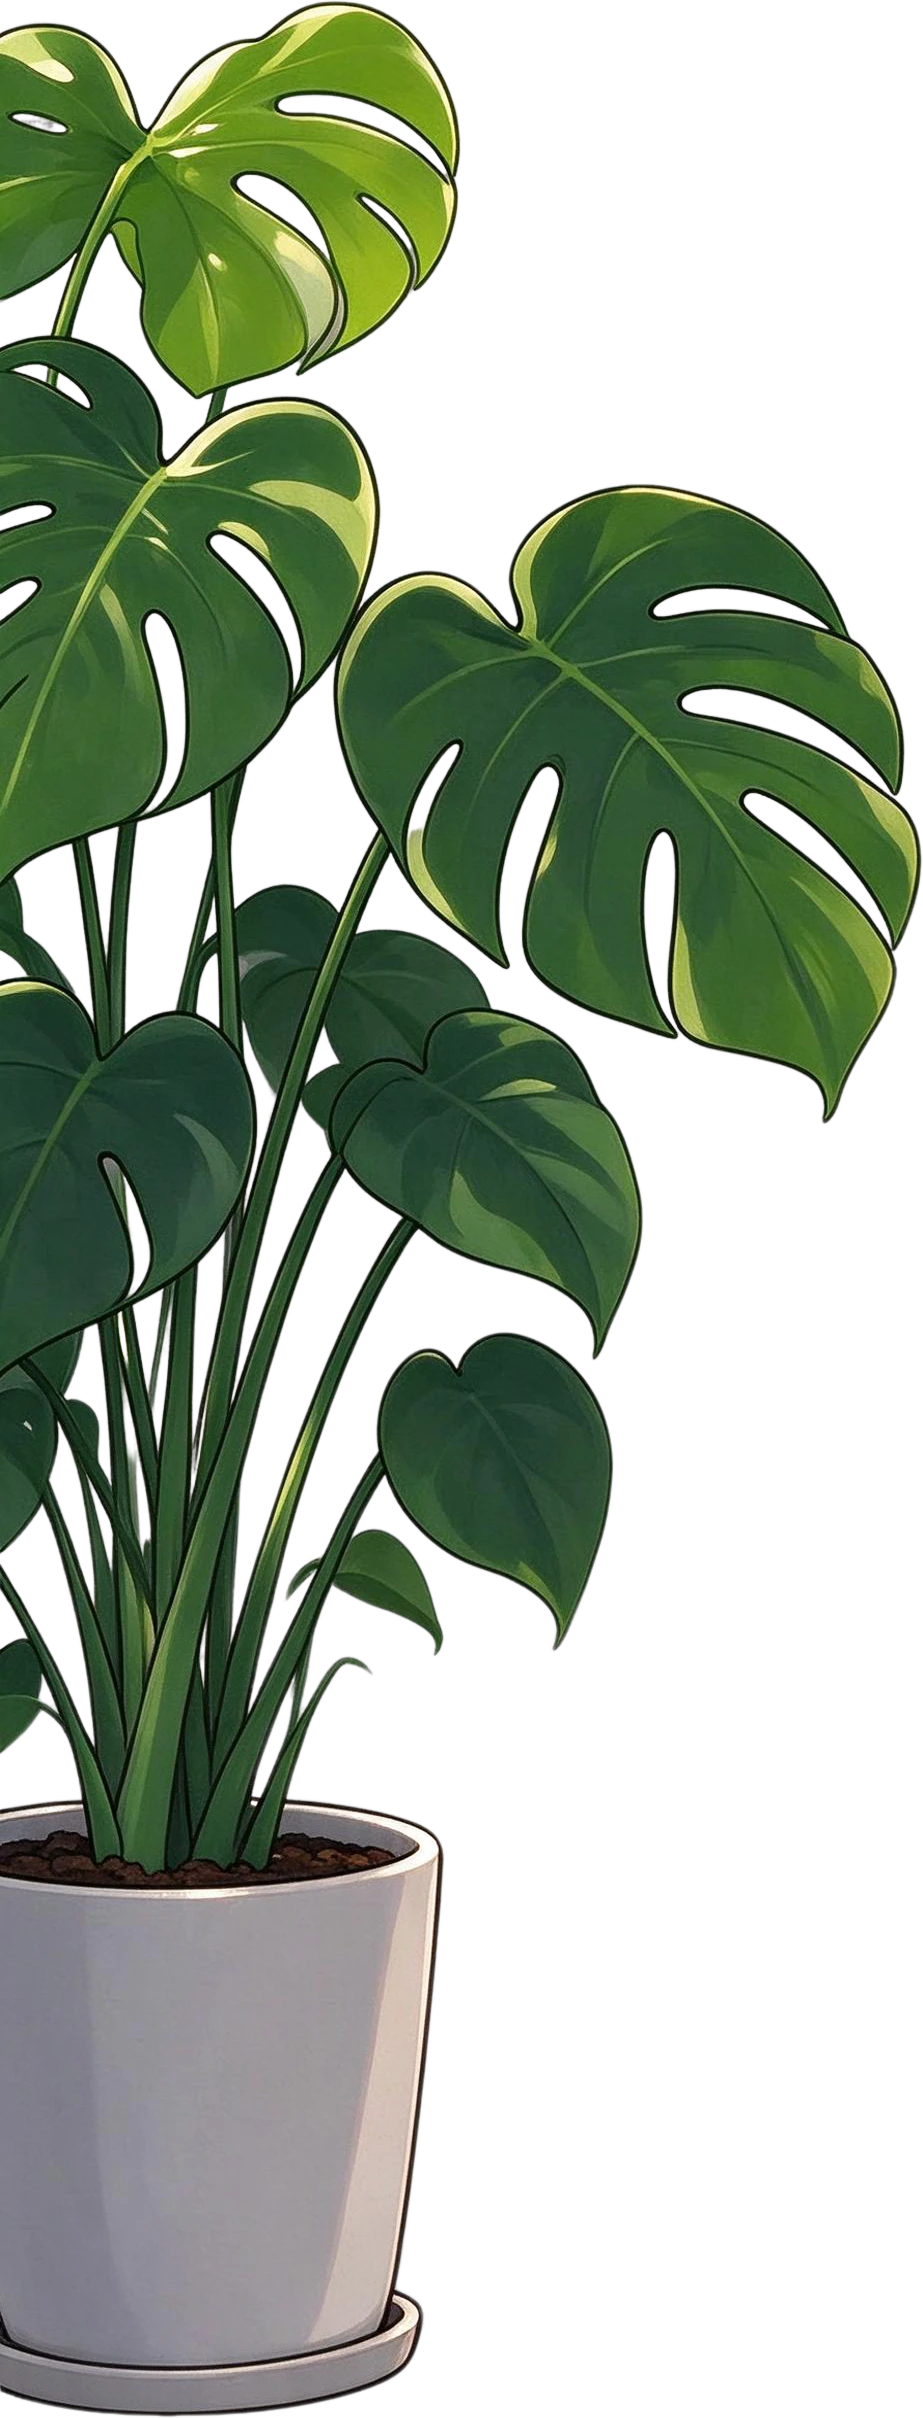
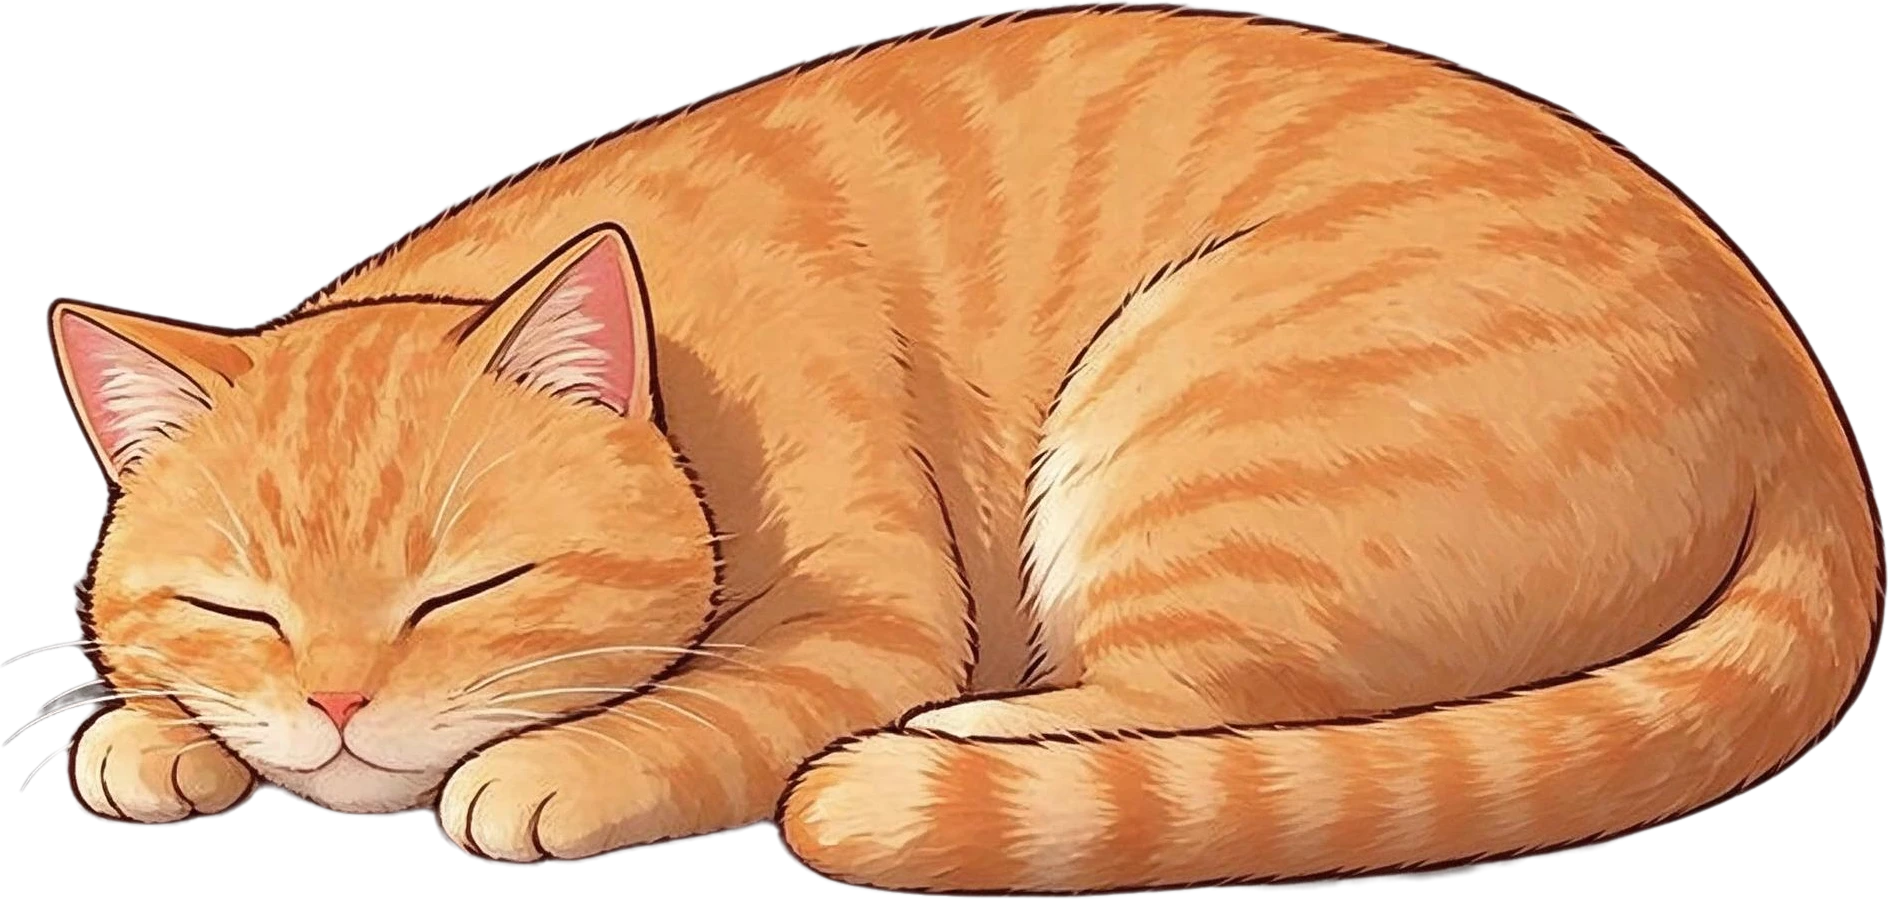
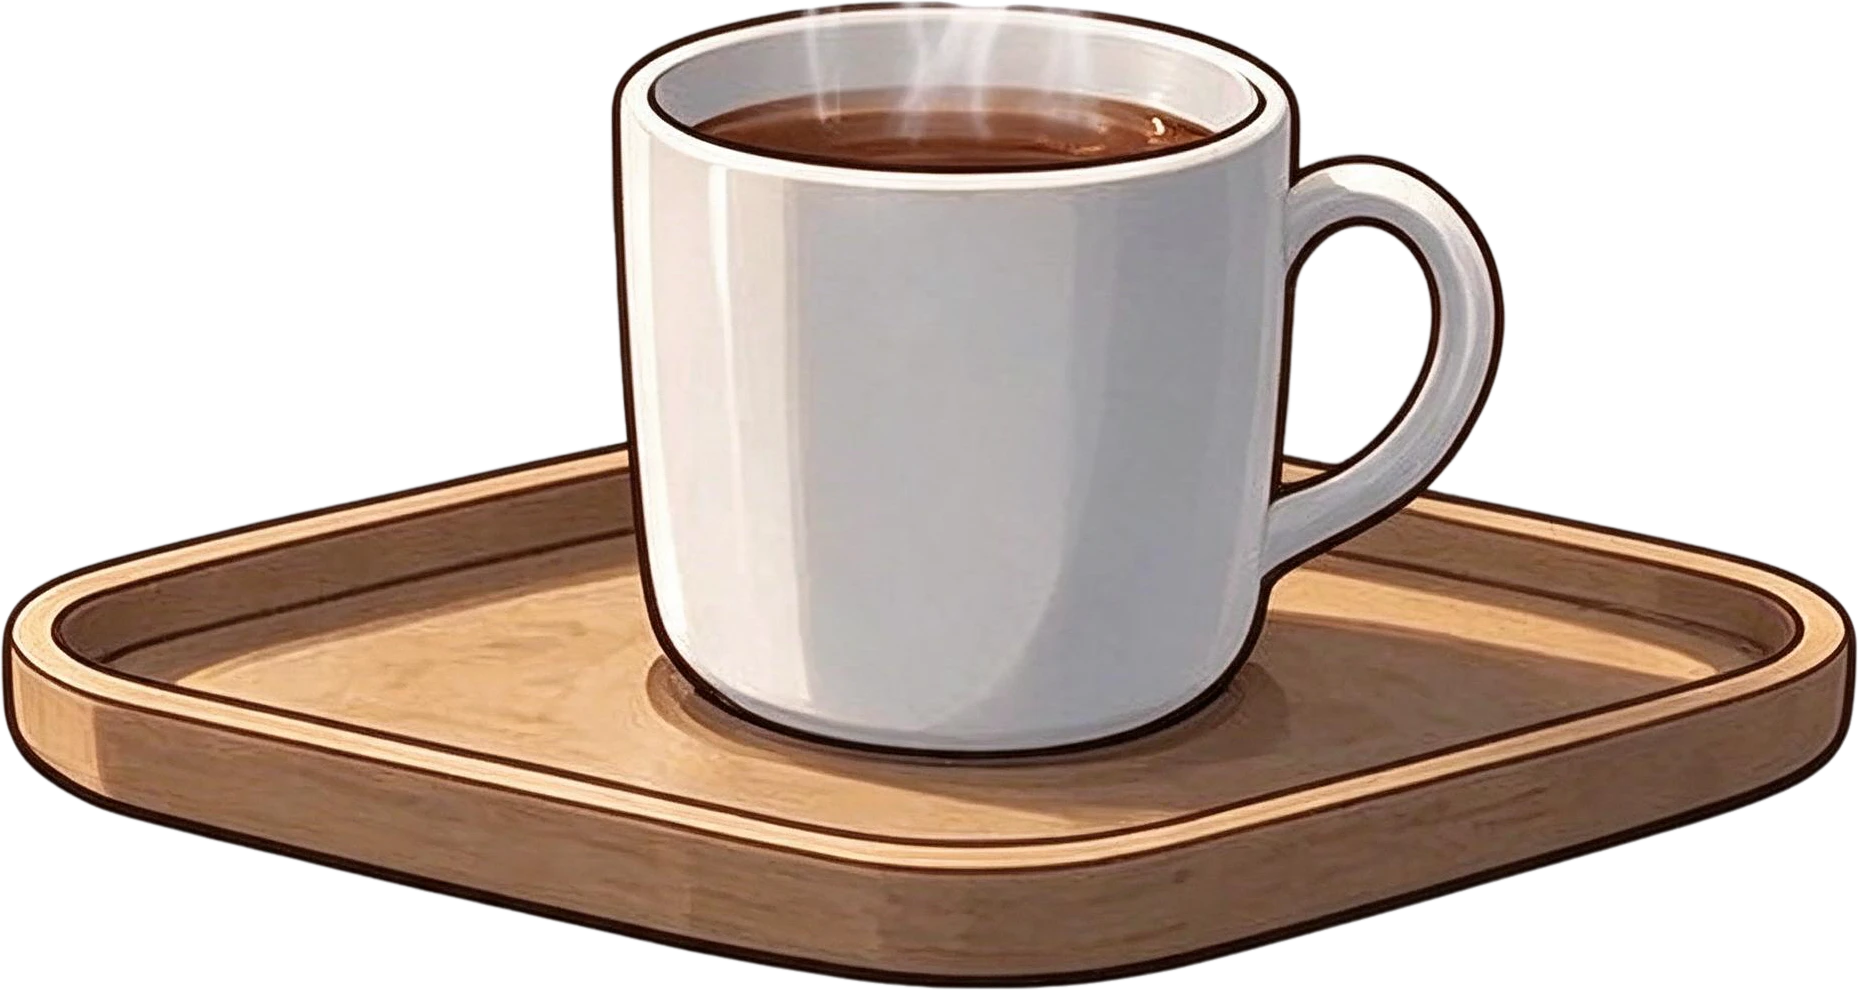
7 layers in 63 s · Instruction: “girl with dark blue hair holding an open book, orange sleeping cat, monstera plant in a white pot, stack of three books, mug of coffee on a wooden tray, paper lantern lamp on a stand”
Growth report slide, a real split: the flat image and the 12 named layers it became.
12 layers in 97 s
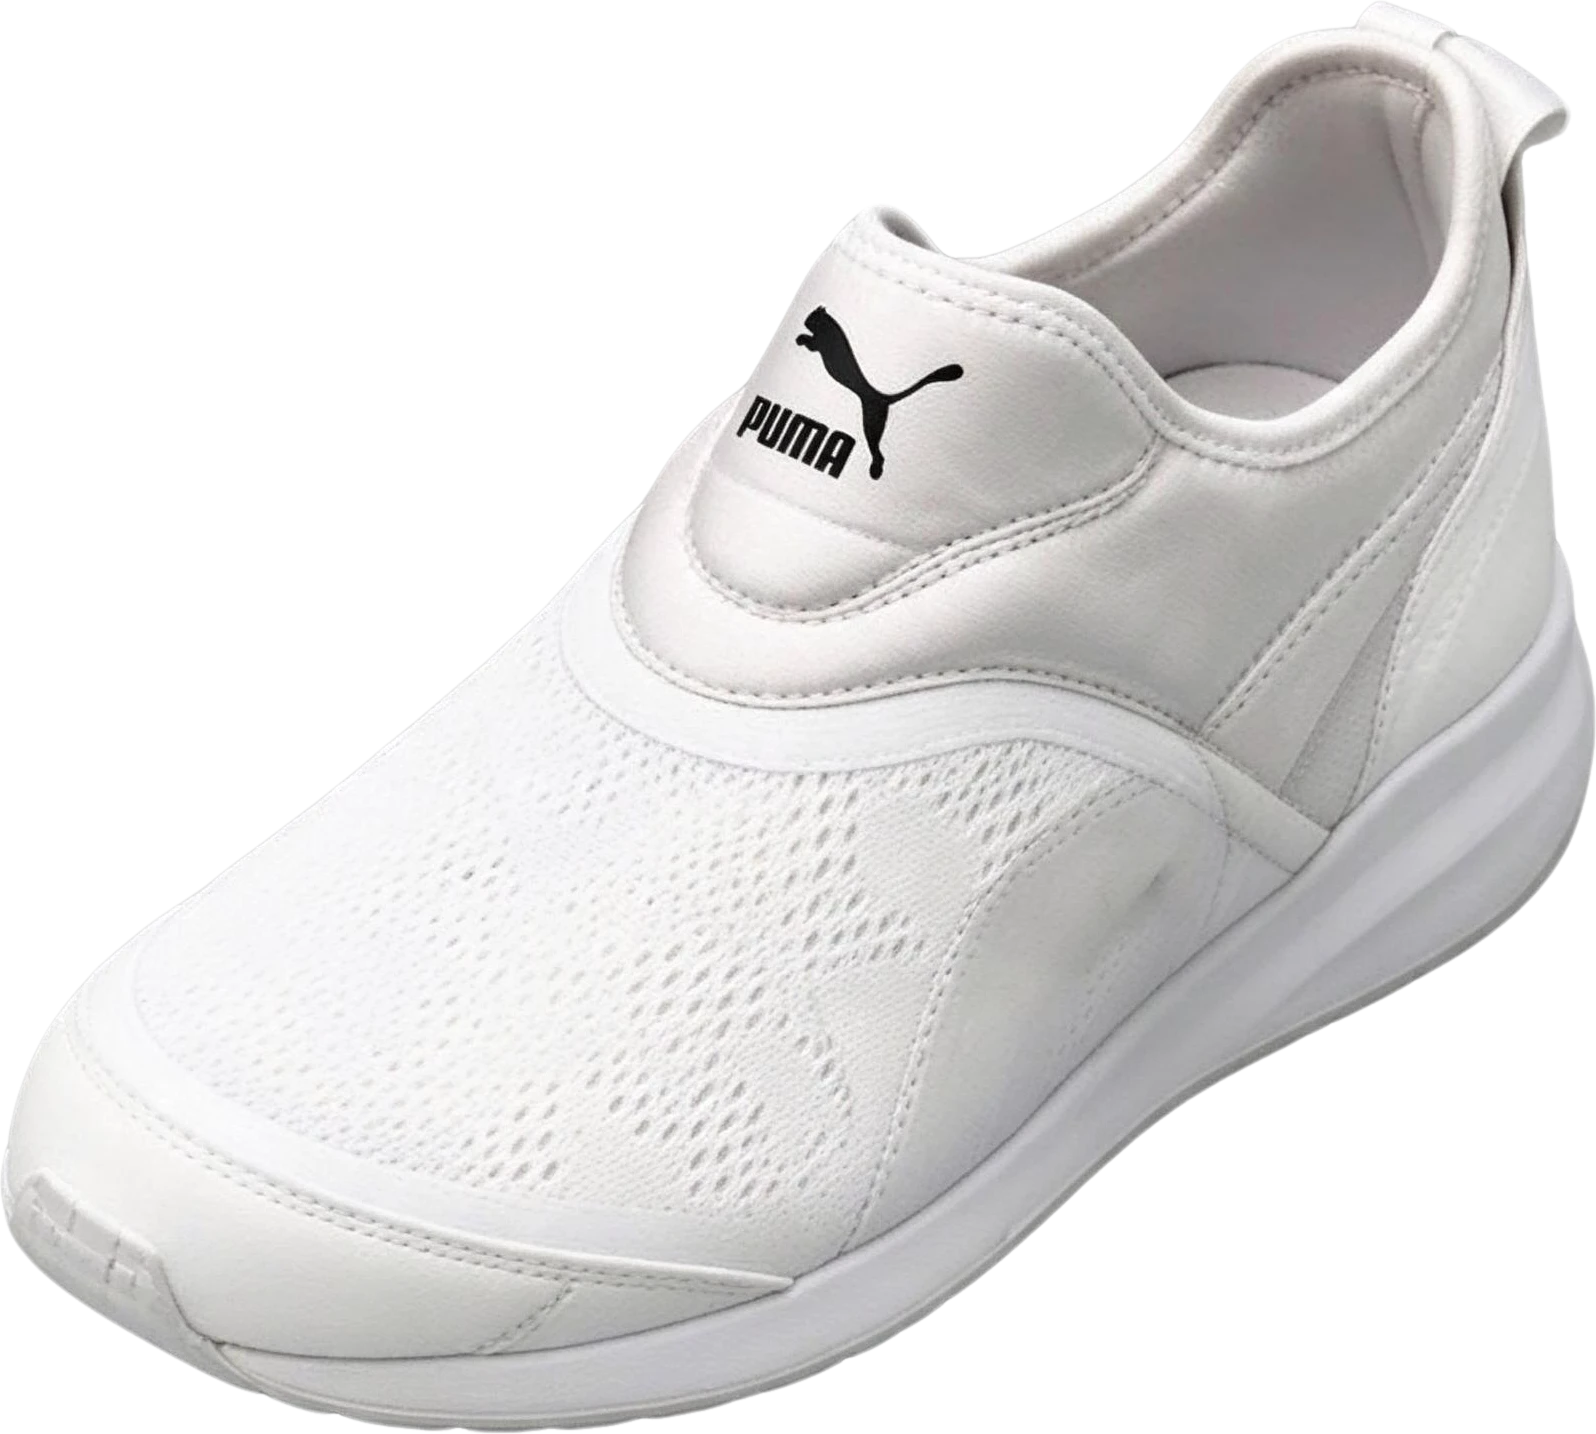
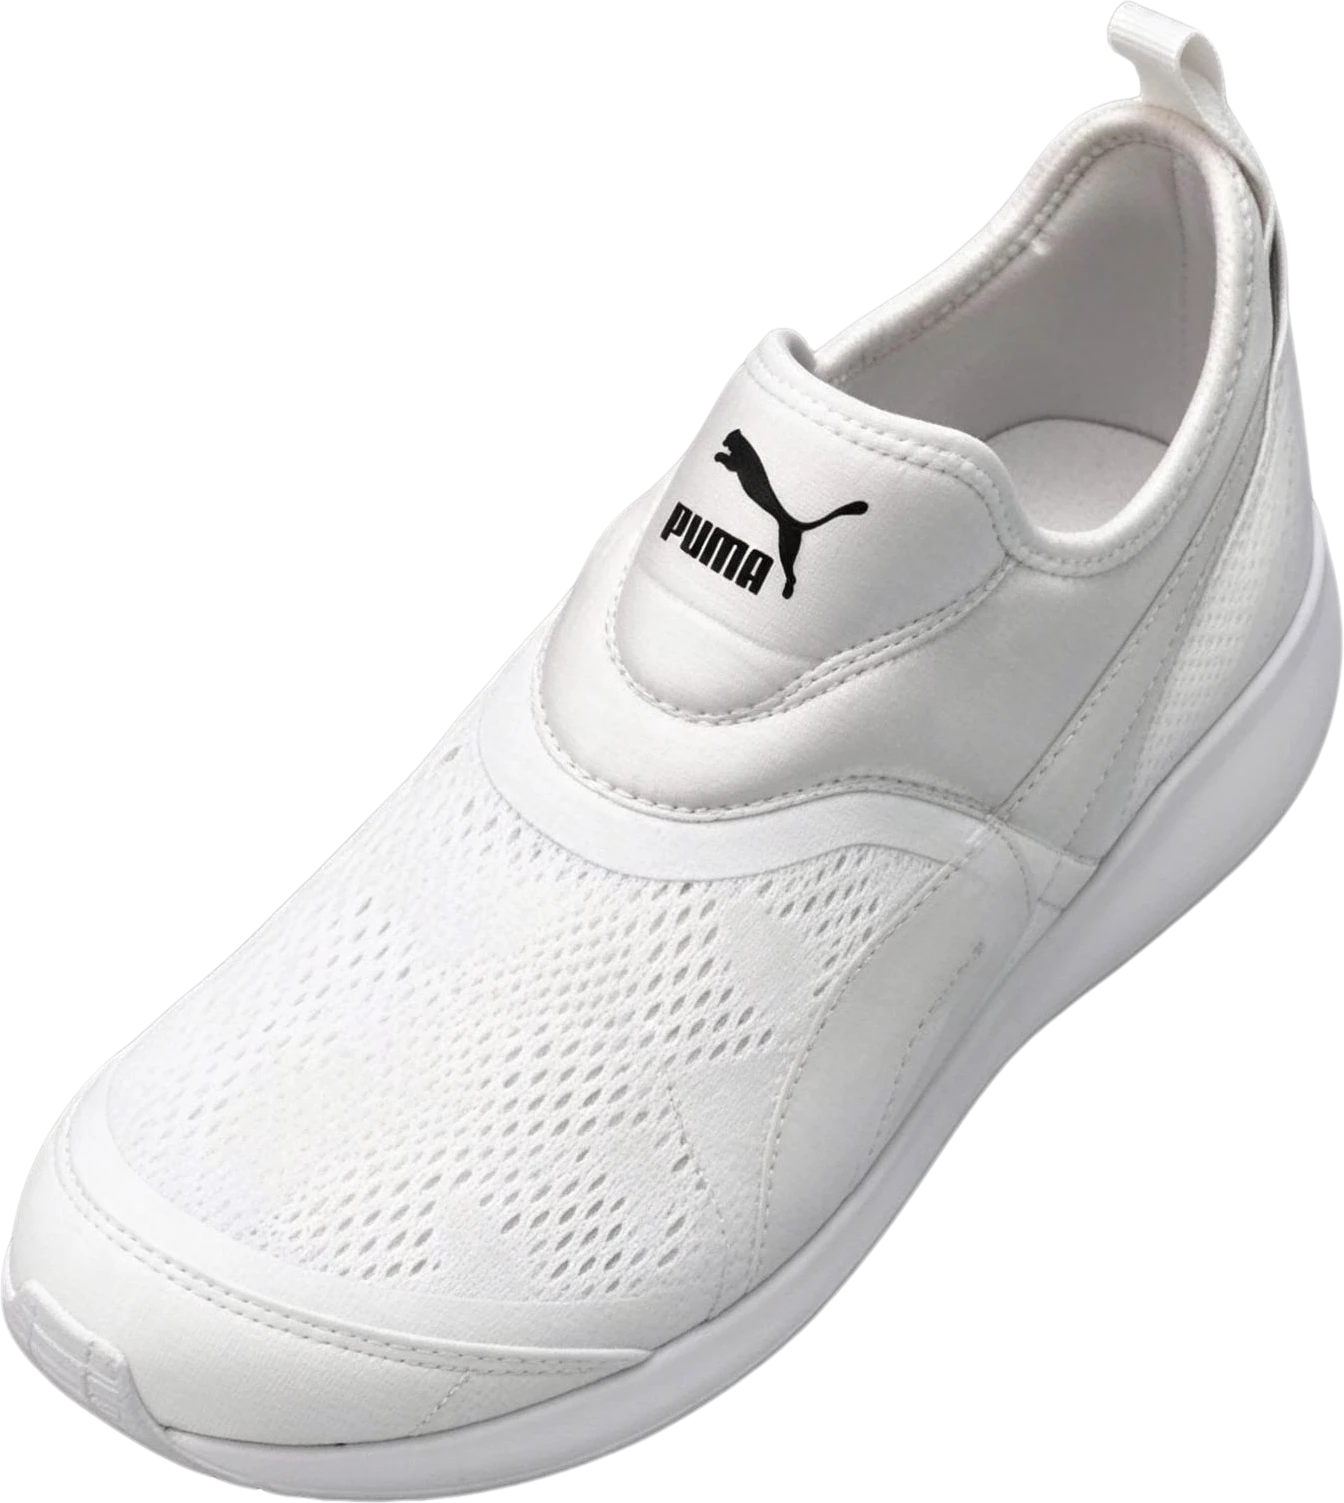
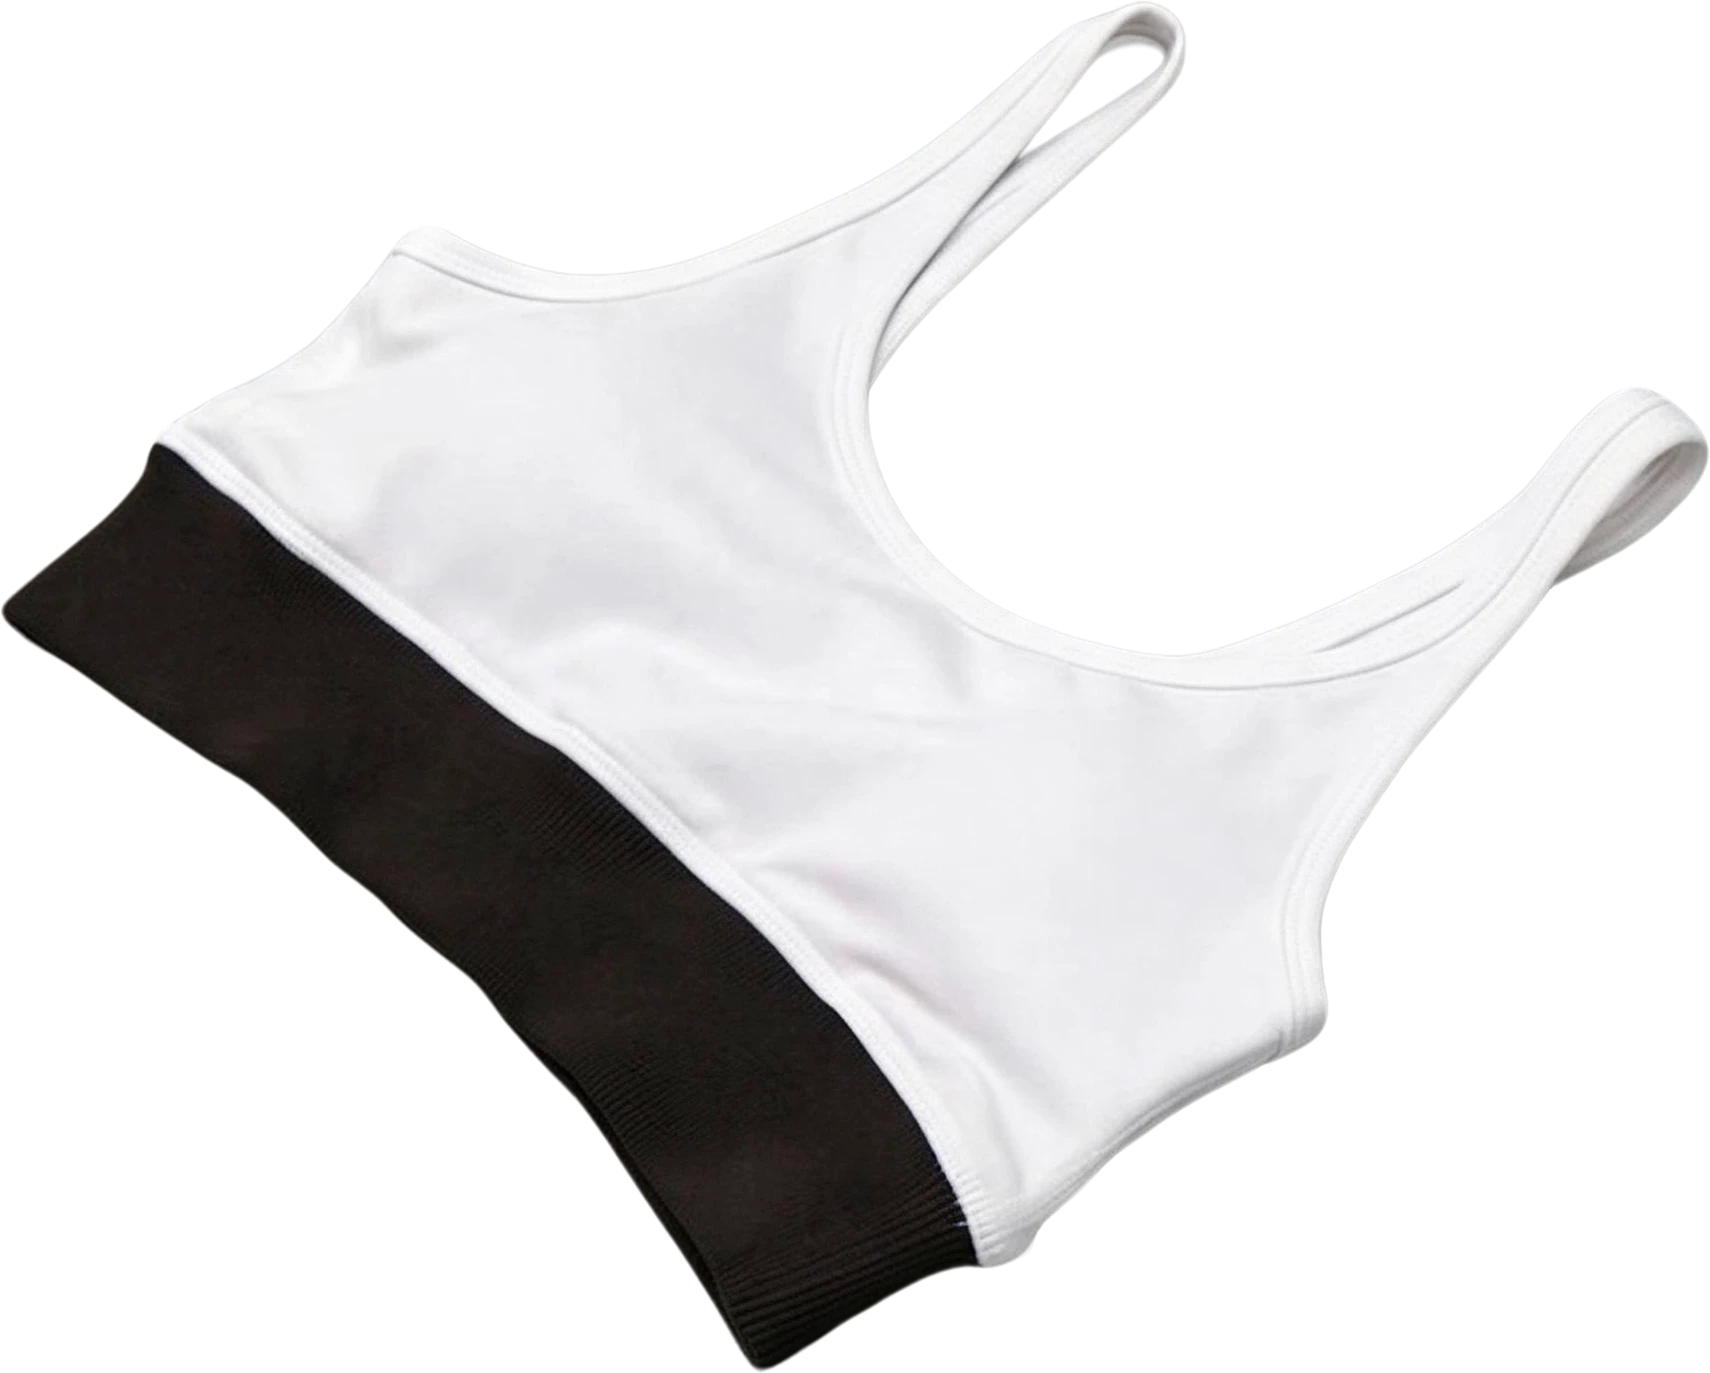
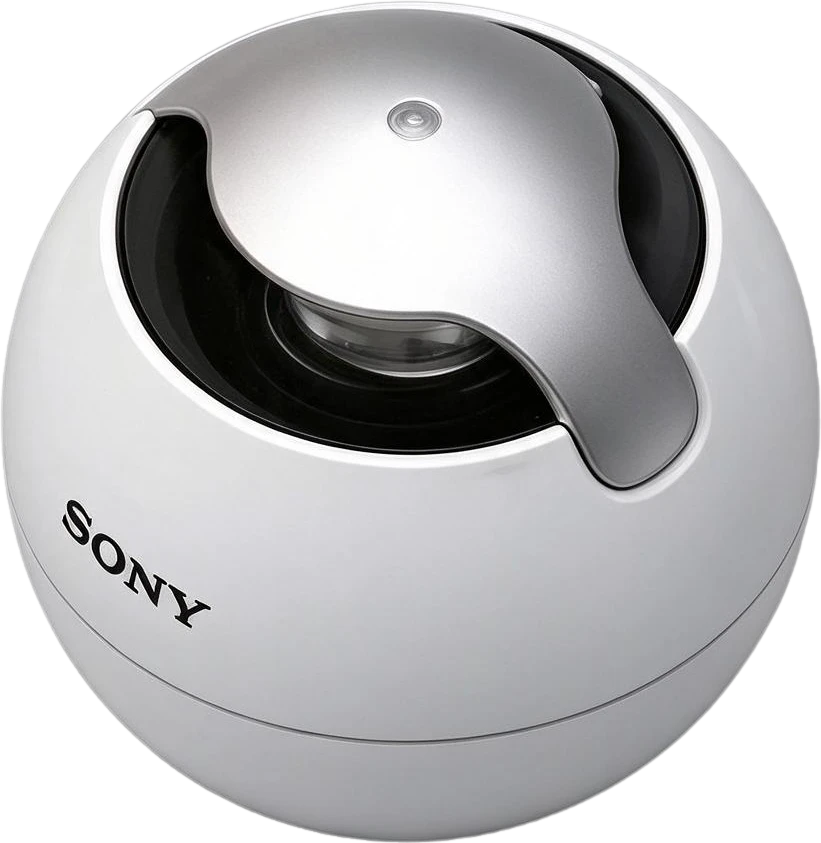
Sportswear flat-lay photo, a real split: the flat image and the 16 named layers it became.
16 layers in 148 s
Two-person photo, a real split: the flat image and the 2 named layers it became.
2 layers in 46 s · Instruction: “Separate the woman on the right”
1
Any flat PNG: a poster, a social post, a product shot, an AI image or a screenshot, up to 20 MB. JPG and WebP work the same way.
2
The box is pre-filled with a rule that keeps each subject, text block and group of decorations together. Clear it to split every element, or name only the parts you need.
3
Each element comes back as its own transparent layer and the background behind it is painted in. It takes 45–120 seconds.
4
One click saves a layered PSD with every layer named and in its original position. It opens in Photoshop and in Photopea.
PNG to PSD
PNG to PSD conversion turns a flat PNG into a Photoshop document. A PNG holds one picture and no layers, so a plain format converter can only put that picture into the PSD as a single layer. LayerGrab splits the picture into named transparent layers first and writes each one into the PSD, in place, over a filled-in background.
A PNG is a single grid of pixels; the layers it was made from were merged when it was saved. Changing the file extension cannot bring them back. Separating the elements again is what gives you a PSD worth opening, and that is the step LayerGrab adds.

11 layers
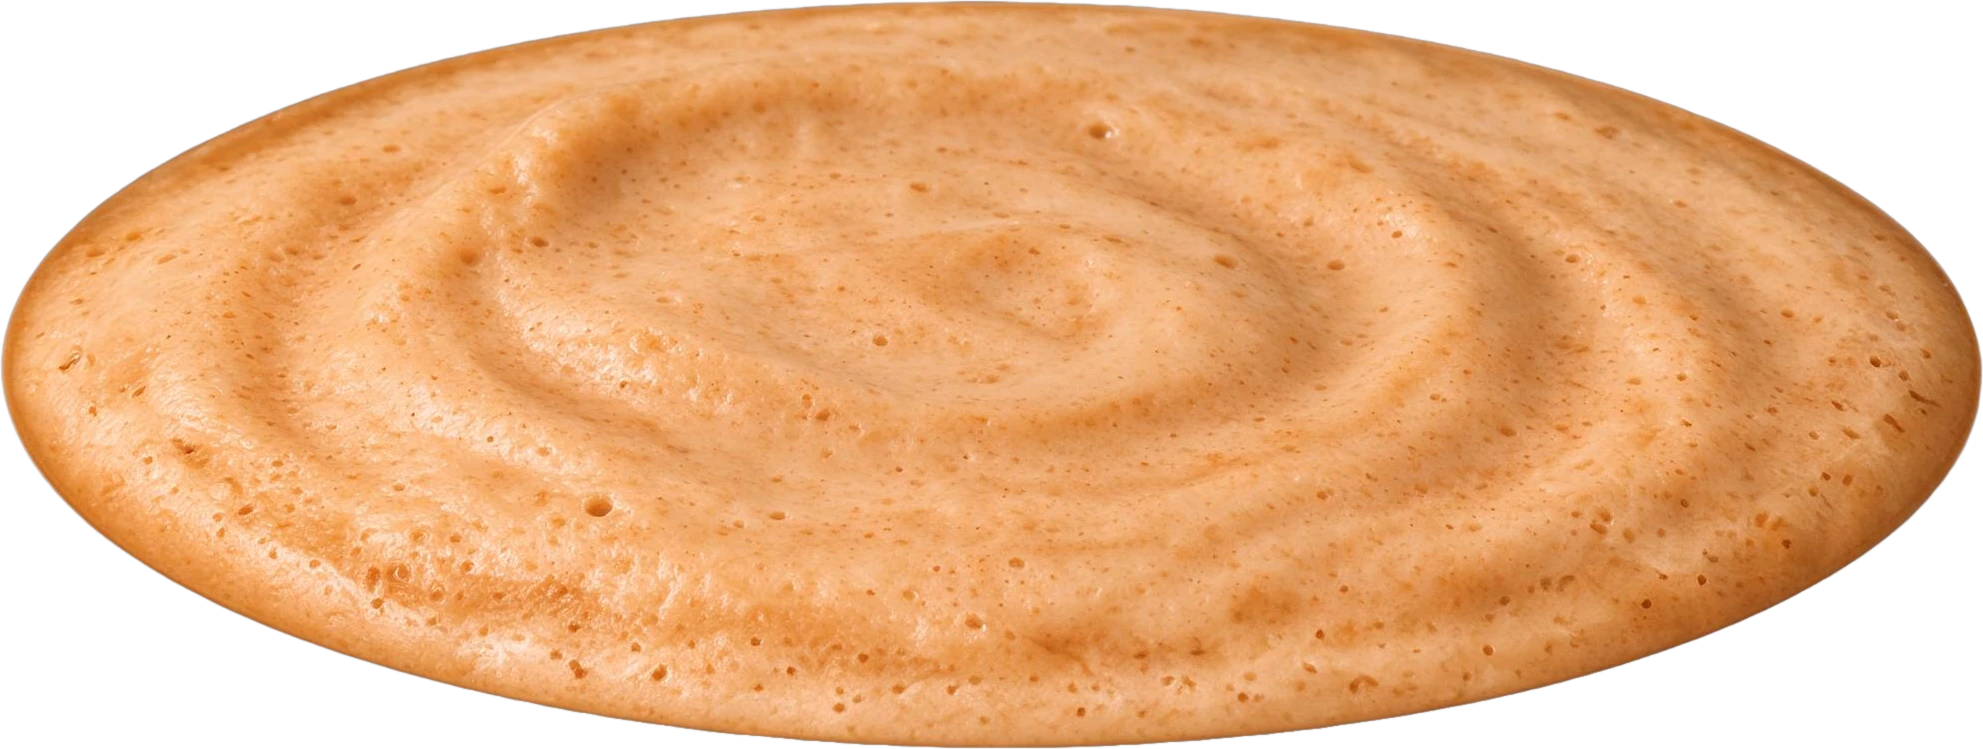
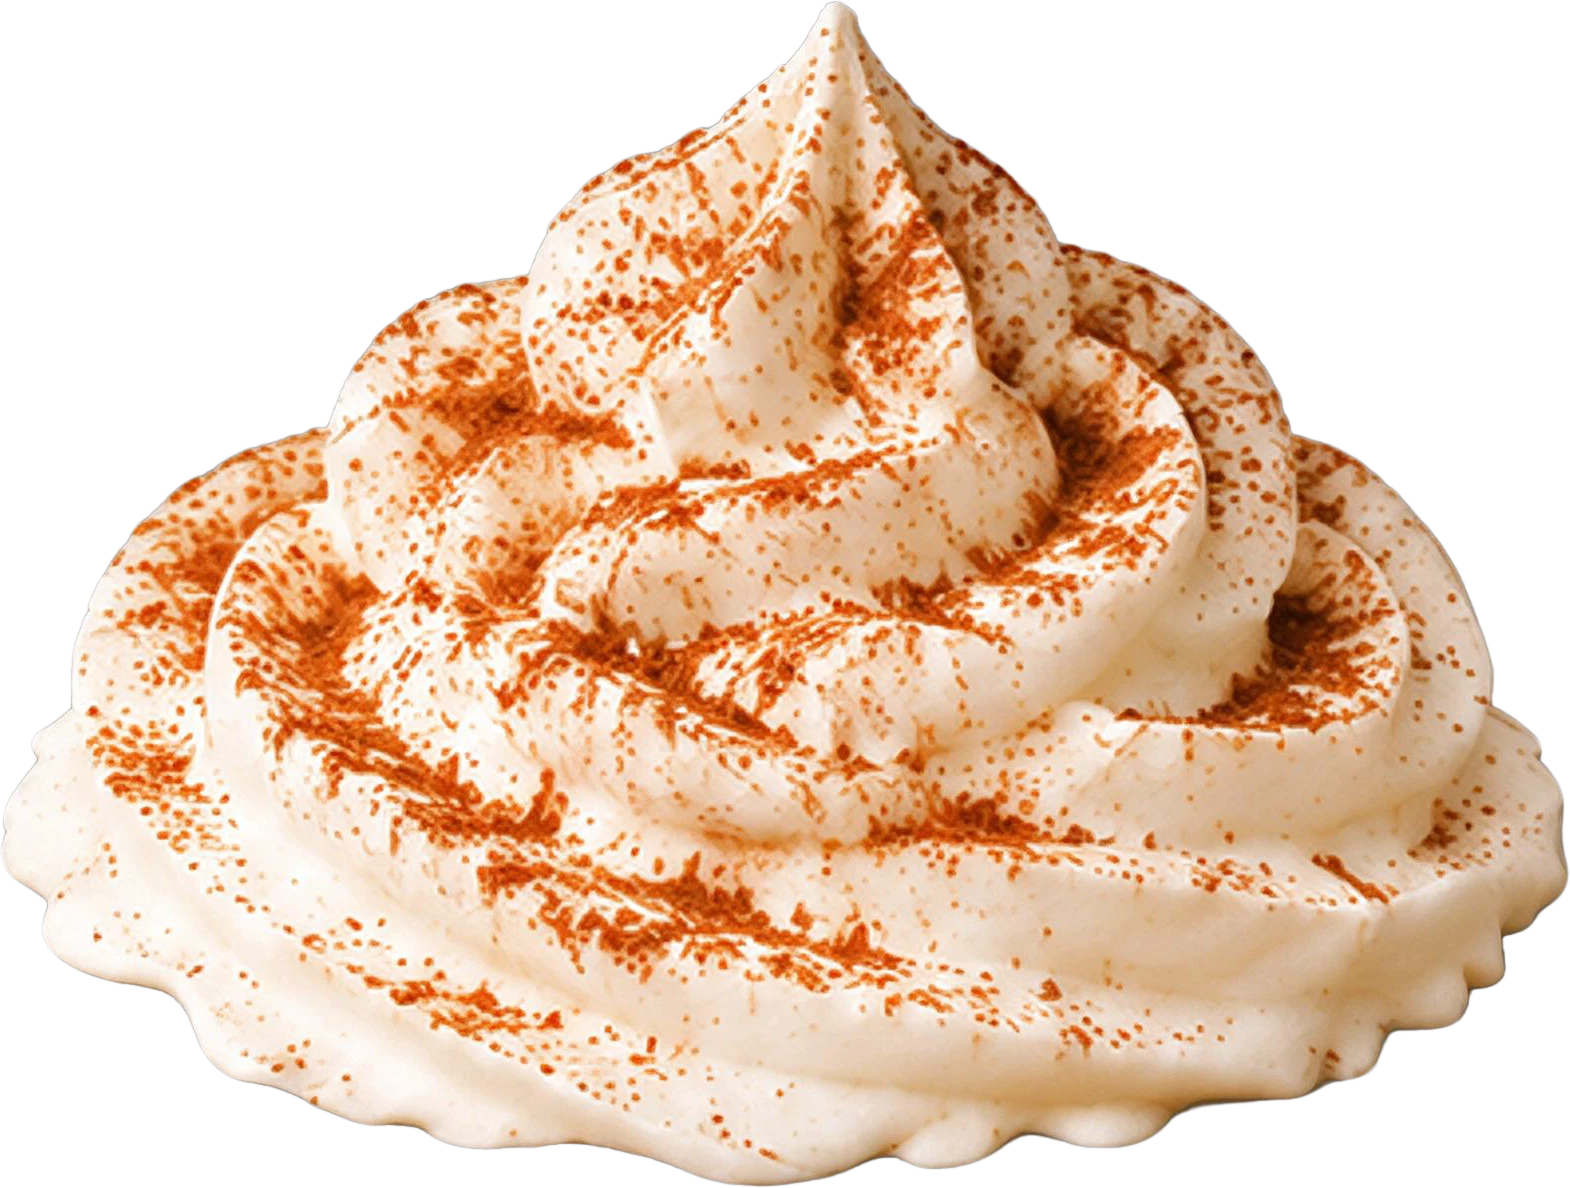
Bottom event info textWhipped cream topping with cinnamon dustPumpkin spice latte drink baseWhite coffee cup with pumpkin logoOrange maple leaf (bottom right)Orange maple leaf (top right)Background (filled)The PSD keeps each layer where it was in the PNG, with a name that says what it is: “AUTUMN LATTE WEEK headline text”, “20% OFF red badge”. The background layer has the gaps behind the elements painted in, so moving a layer does not leave a hole.
Prefer separate files? The same result downloads as a ZIP of transparent PNGs, one per layer.
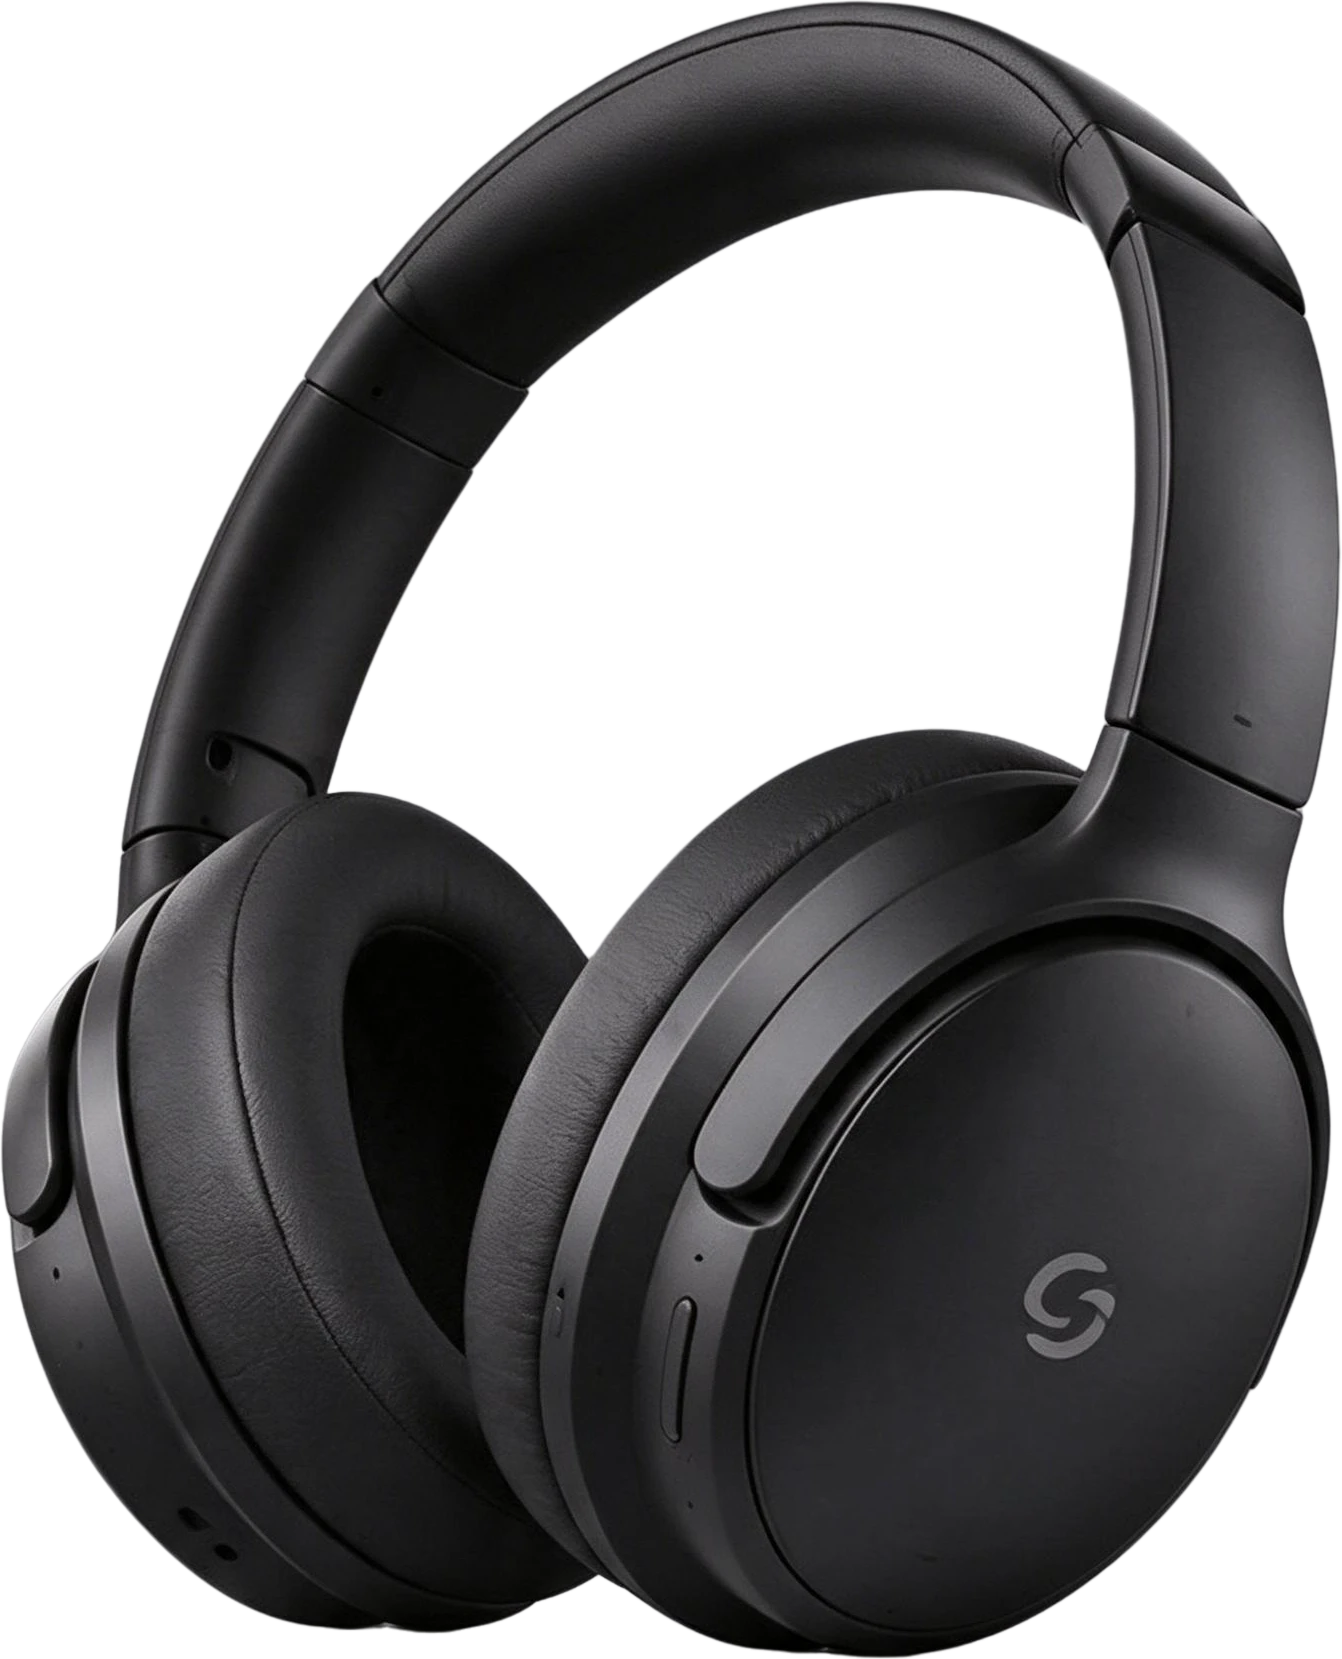
On this product banner the headphones, the headline, the price tag and the logo each landed on a layer of their own. Swap the price, move the product, or reuse the logo in another layout.
Starting from a JPG instead? The image to PSD converter is the same tool, and the JPG to PSD guide explains why ordinary converters return one layer.


Every layer in a PNG to PSD result is a transparent bitmap of one element, cut to its shape. There is no live text, no vector shape and no adjustment layer: those were lost when the PNG was flattened, and no converter can recover them.
A result has at most 16 layers. For a busy image, name the parts you care about so they each get a layer.
If you only need Photoshop to open the PNG, open it directly; no conversion is needed. If a form or template just requires a .psd file, any free format converter does that in seconds.
If you still have the original layered file, use it. Splitting a PNG gives you pixel layers; the original keeps live text and vector shapes.
Upload the PNG here, split it, and choose Download PSD. The AI first separates the picture into elements, each on its own transparent layer over a repainted background, and the PSD keeps those layers with their names and positions. A plain converter skips the first step, so its PSD has one layer.
Yes. File > Open loads a PNG directly, as a single layer, and you can save it as PSD from there. You only need a PNG to PSD conversion with separation when you want the text, products and graphics on layers of their own.
No. A PSD made from a PNG has the same pixels and the same resolution. The point of a layered PSD is editing: moving, hiding or replacing one element without touching the rest.
No. Text in a PNG is pixels, so it comes back as an image layer of the lettering. Hide that layer and type over the clean background with a real font to change the words.
Each layer that comes back costs 10 credits ($0.10), and the filled background counts as one. A typical design comes back as 7–10 layers; name only the parts you need to pay for fewer.
Last updated 2026-11-08