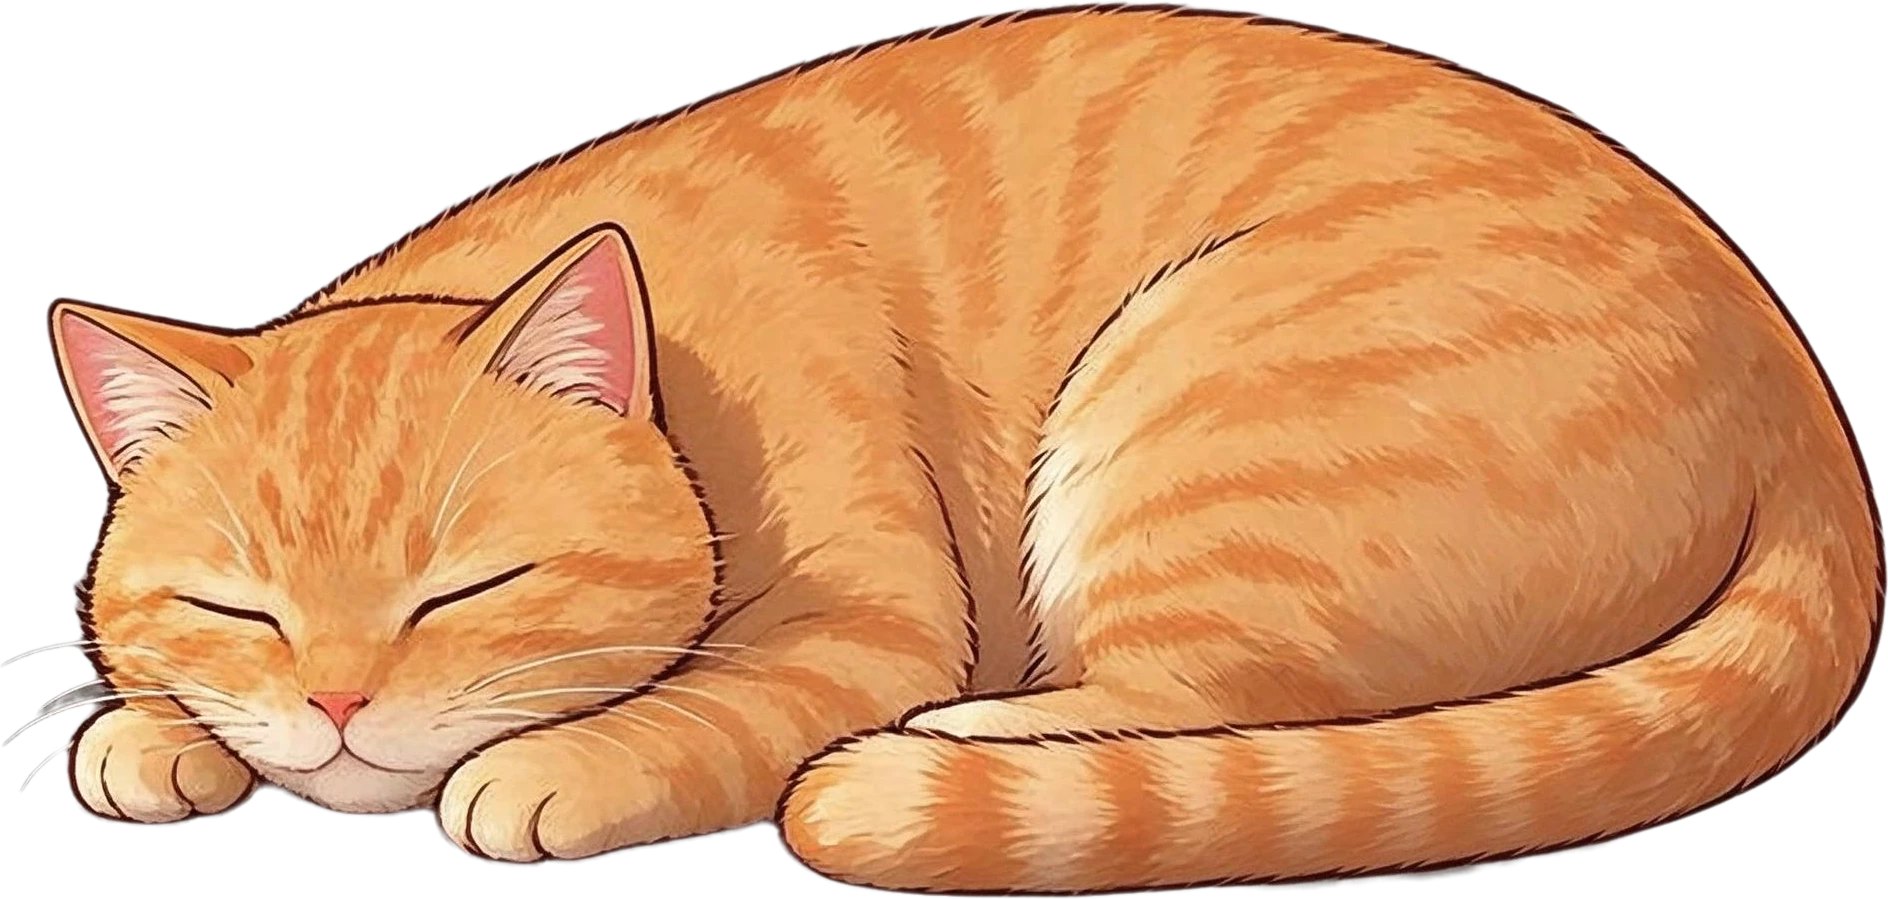
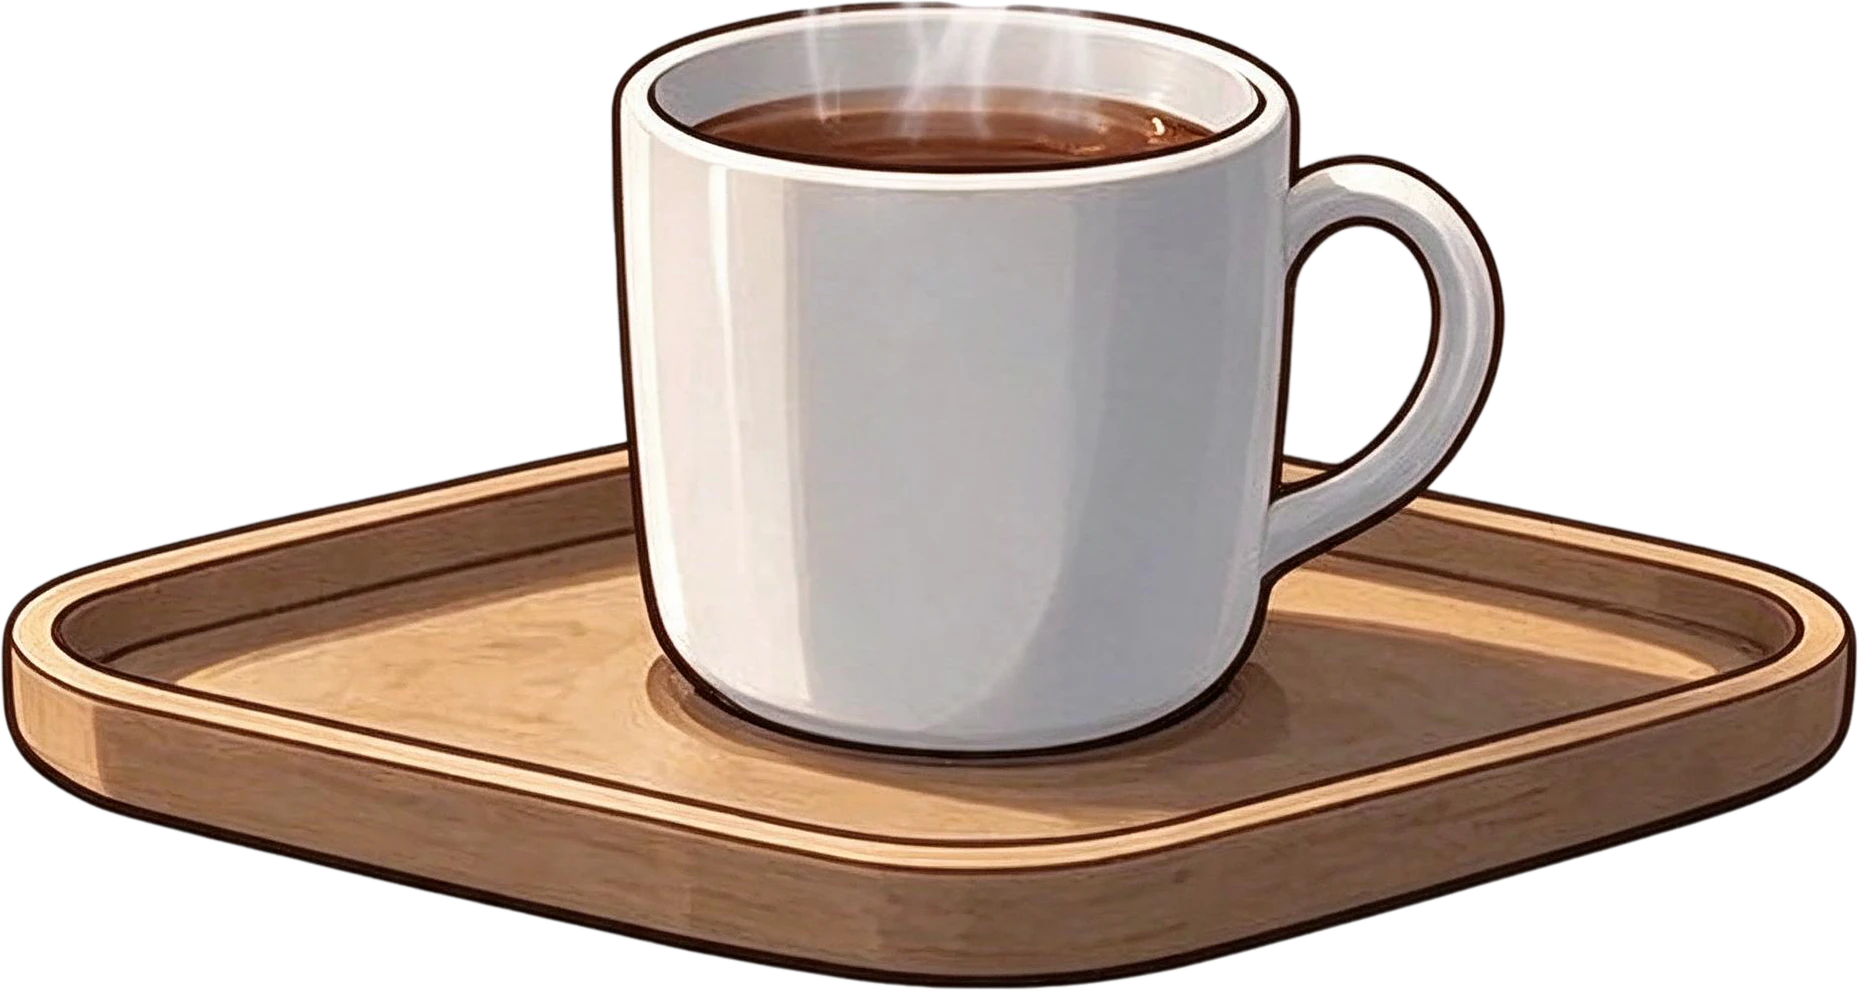
Coffee shop poster, a real split: the flat image and the 11 named layers it became.
咖啡店海報
11 個圖層・100 秒
文字、商品、角色、背景各自一張透明圖層。線上處理,約一分鐘。
圖片
留空會拆出所有元素。
範例結果(不用登入就能操作): 咖啡店海報




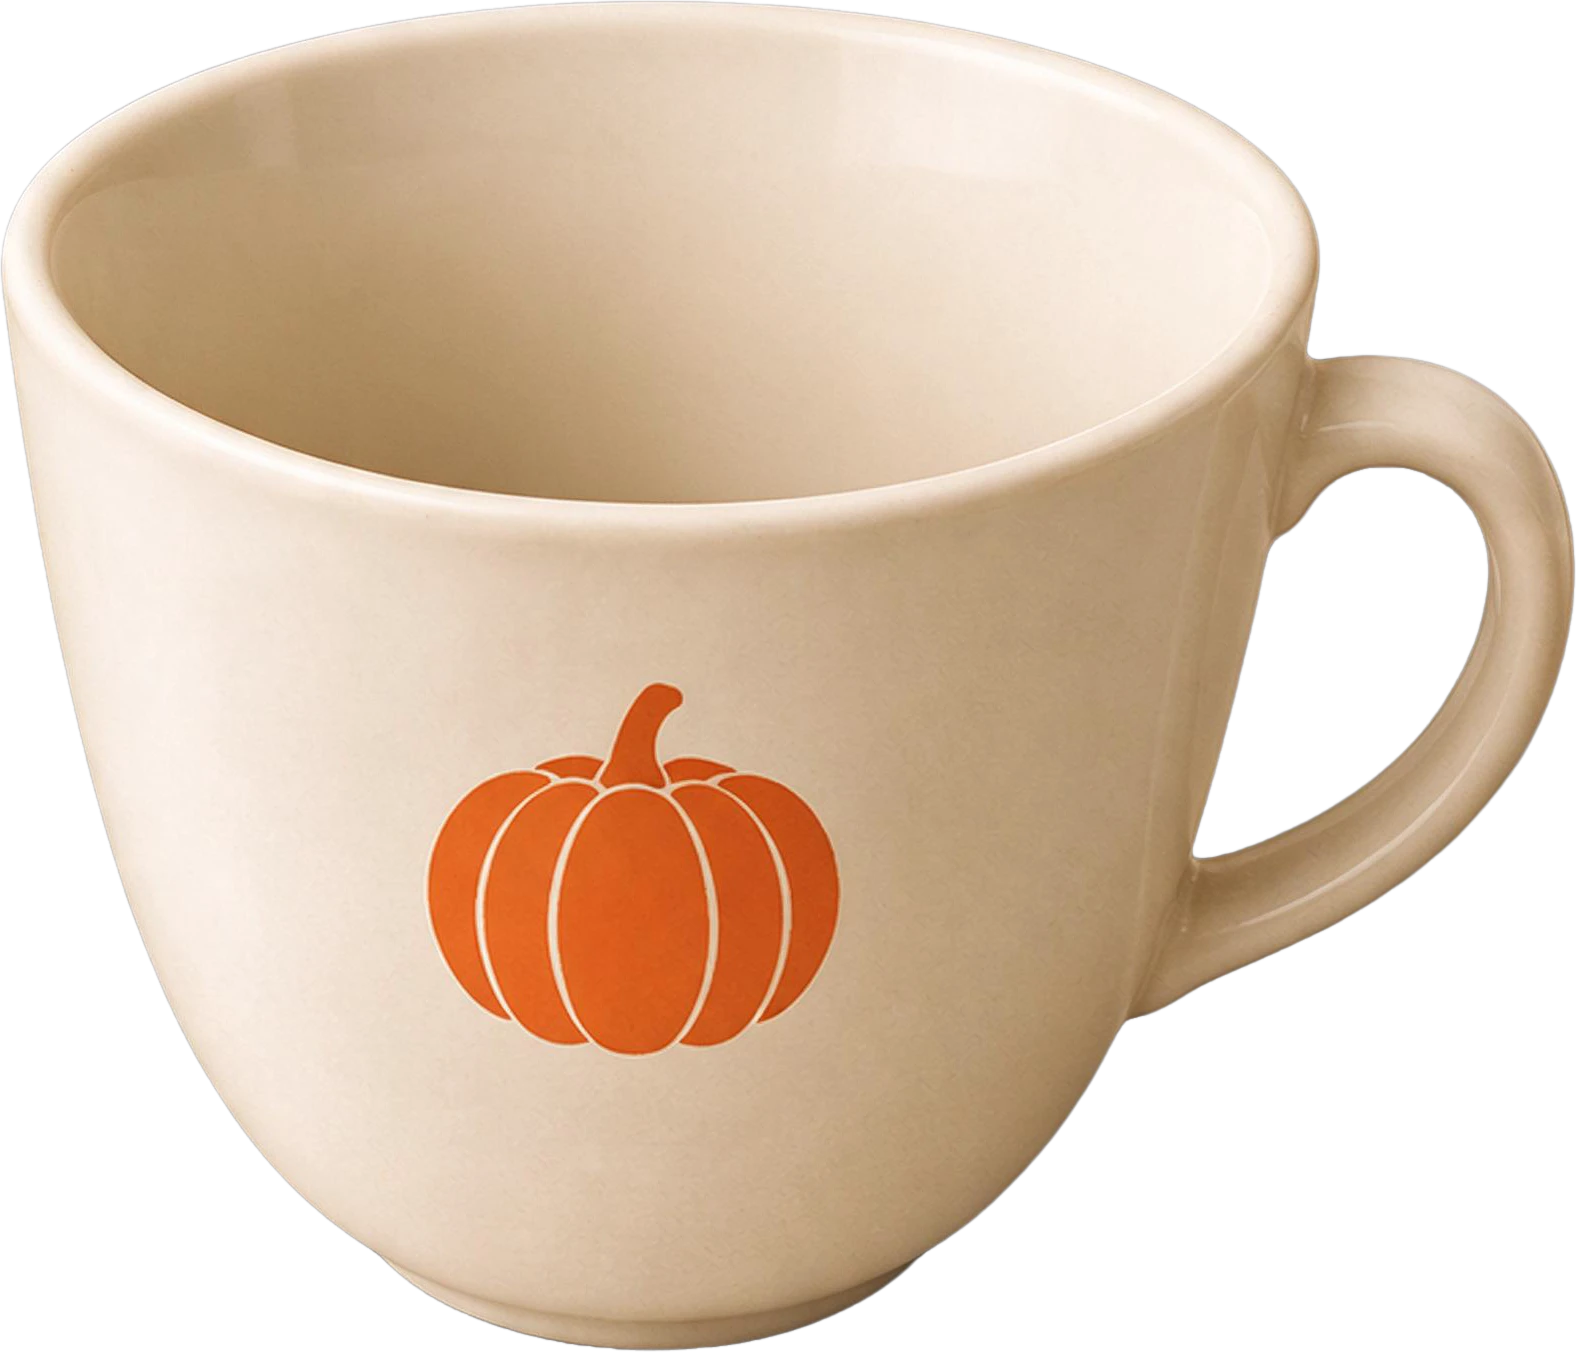
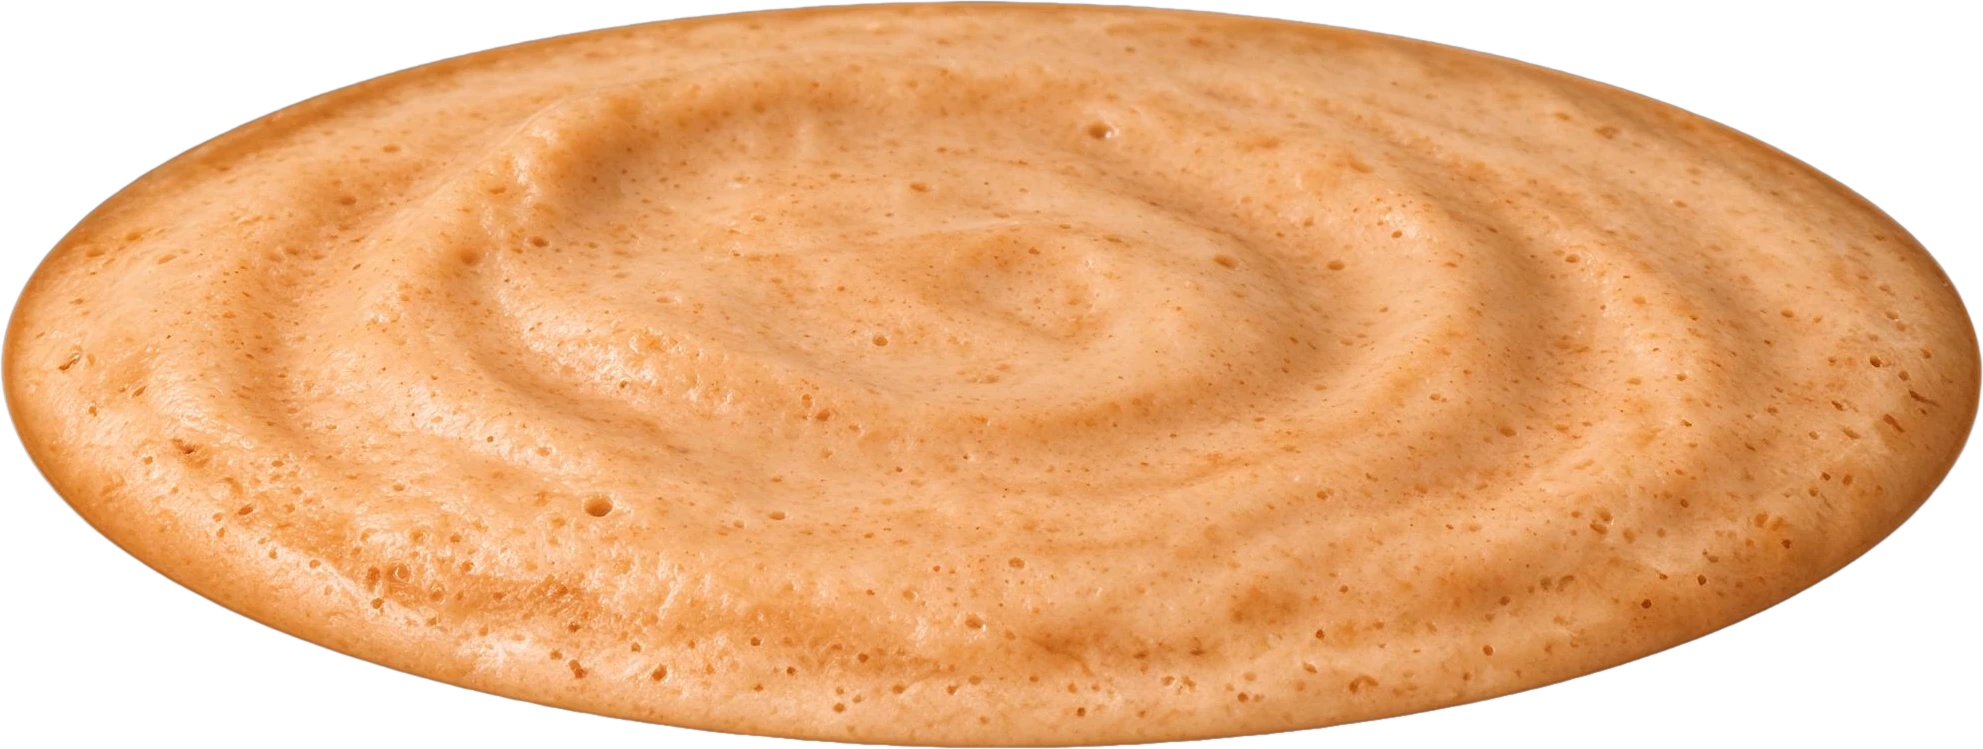
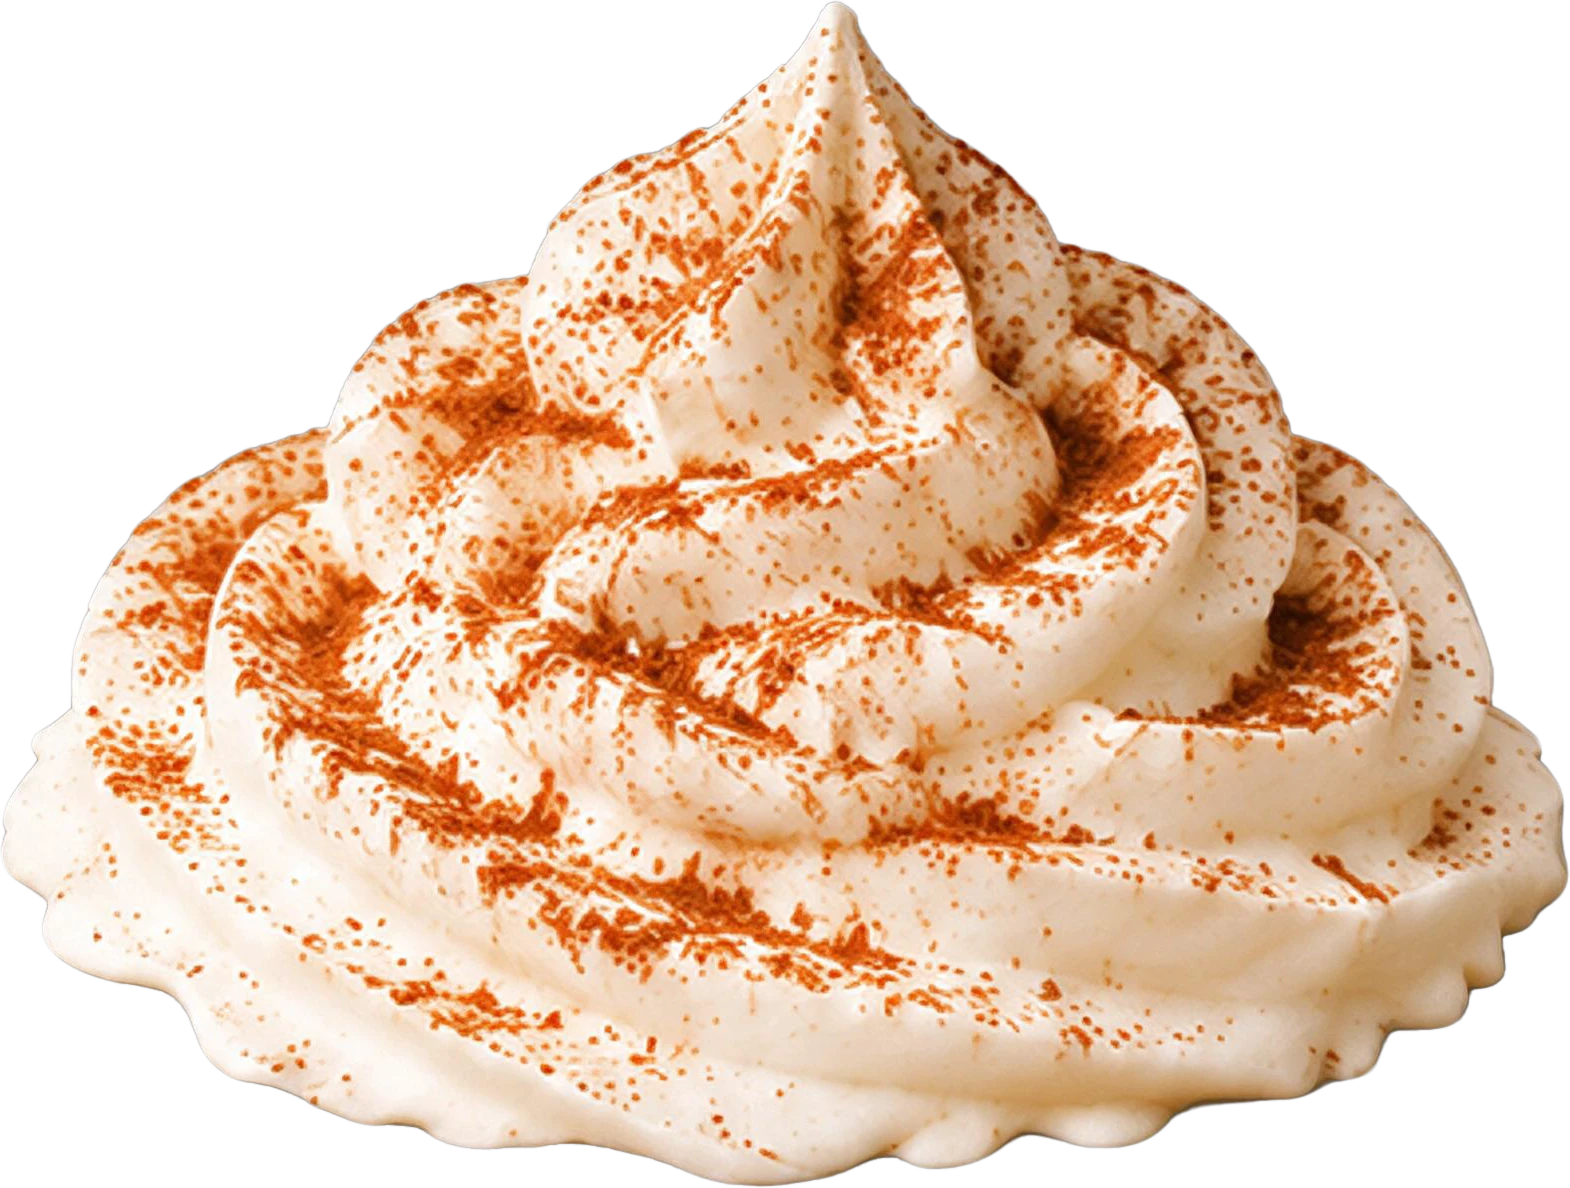

11 個圖層
100 秒完成
背景(已補完)上傳一張平面圖片,AI 會把它拆成圖層:每個元素各自回傳為一張有名字的透明 PNG 圖層,被遮住的部分會補完,元素拿掉後的背景也會補上。任何一層都能移動、隱藏或刪除,不會留下破洞。
上面的範例是沒有修過的真實結果。圖層名稱和「要拆出的內容」用的是英文,因為模型只看得懂英文。
圖片拆圖層,就是把一個沒有圖層的平面檔案還原成一疊可編輯的素材:文字、每個商品、每個圖形和背景各自一層。手動做的話要一個一個元素去背,再把後面被遮住的地方補畫回來;AI 把這兩件事一次做完。
和單純去背的差別在於補完。把杯子前面的南瓜拿掉,杯子不會缺一塊,而是完整回來,南瓜原本的位置也會把背景畫上。
1
PNG、JPG 或 WebP,最大 20 MB:海報、橫幅、插畫、商品照、AI 生成圖,任何沒有圖層的平面圖片都可以。
2
留空會拆出所有元素。用英文寫 "only the text" 或 "the product and the price tag",就只拆那些。模型看得懂英文,所以指示用英文。
3
AI 會逐一找出元素,各自回傳為一張透明 PNG 圖層。被其他元素遮住的部分會補完,元素拿掉後的背景也會補上。
4
把一個圖層複製到 Figma 或 Canva、下載成 PNG,或匯出含圖層的 PSD 給 Photoshop。在畫布編輯器裡可以移動每個圖層、只用 AI 重畫其中一層,或把一個圖層再拆細。
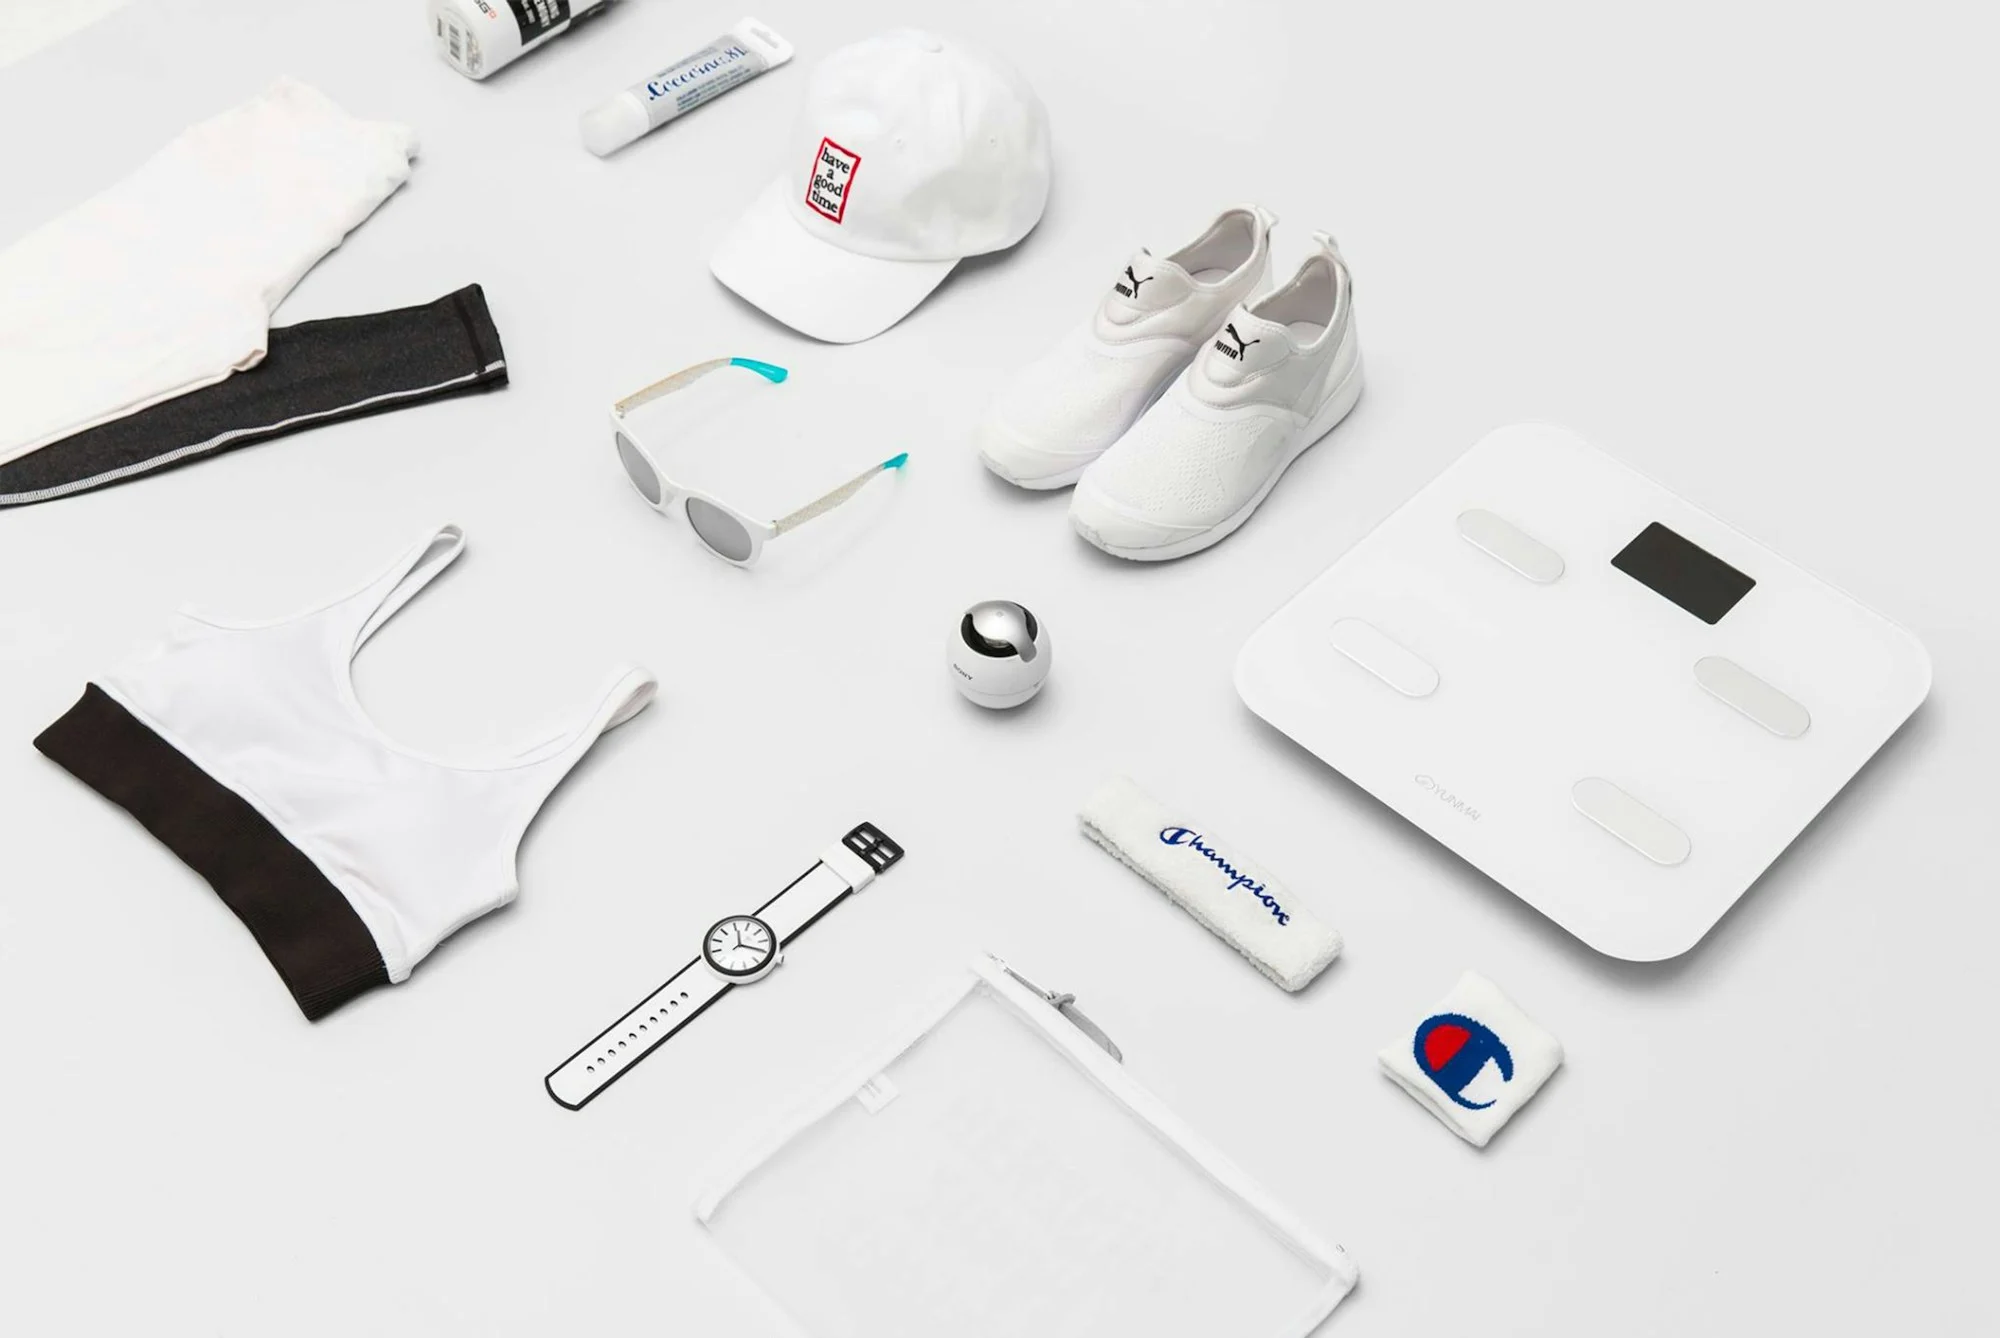
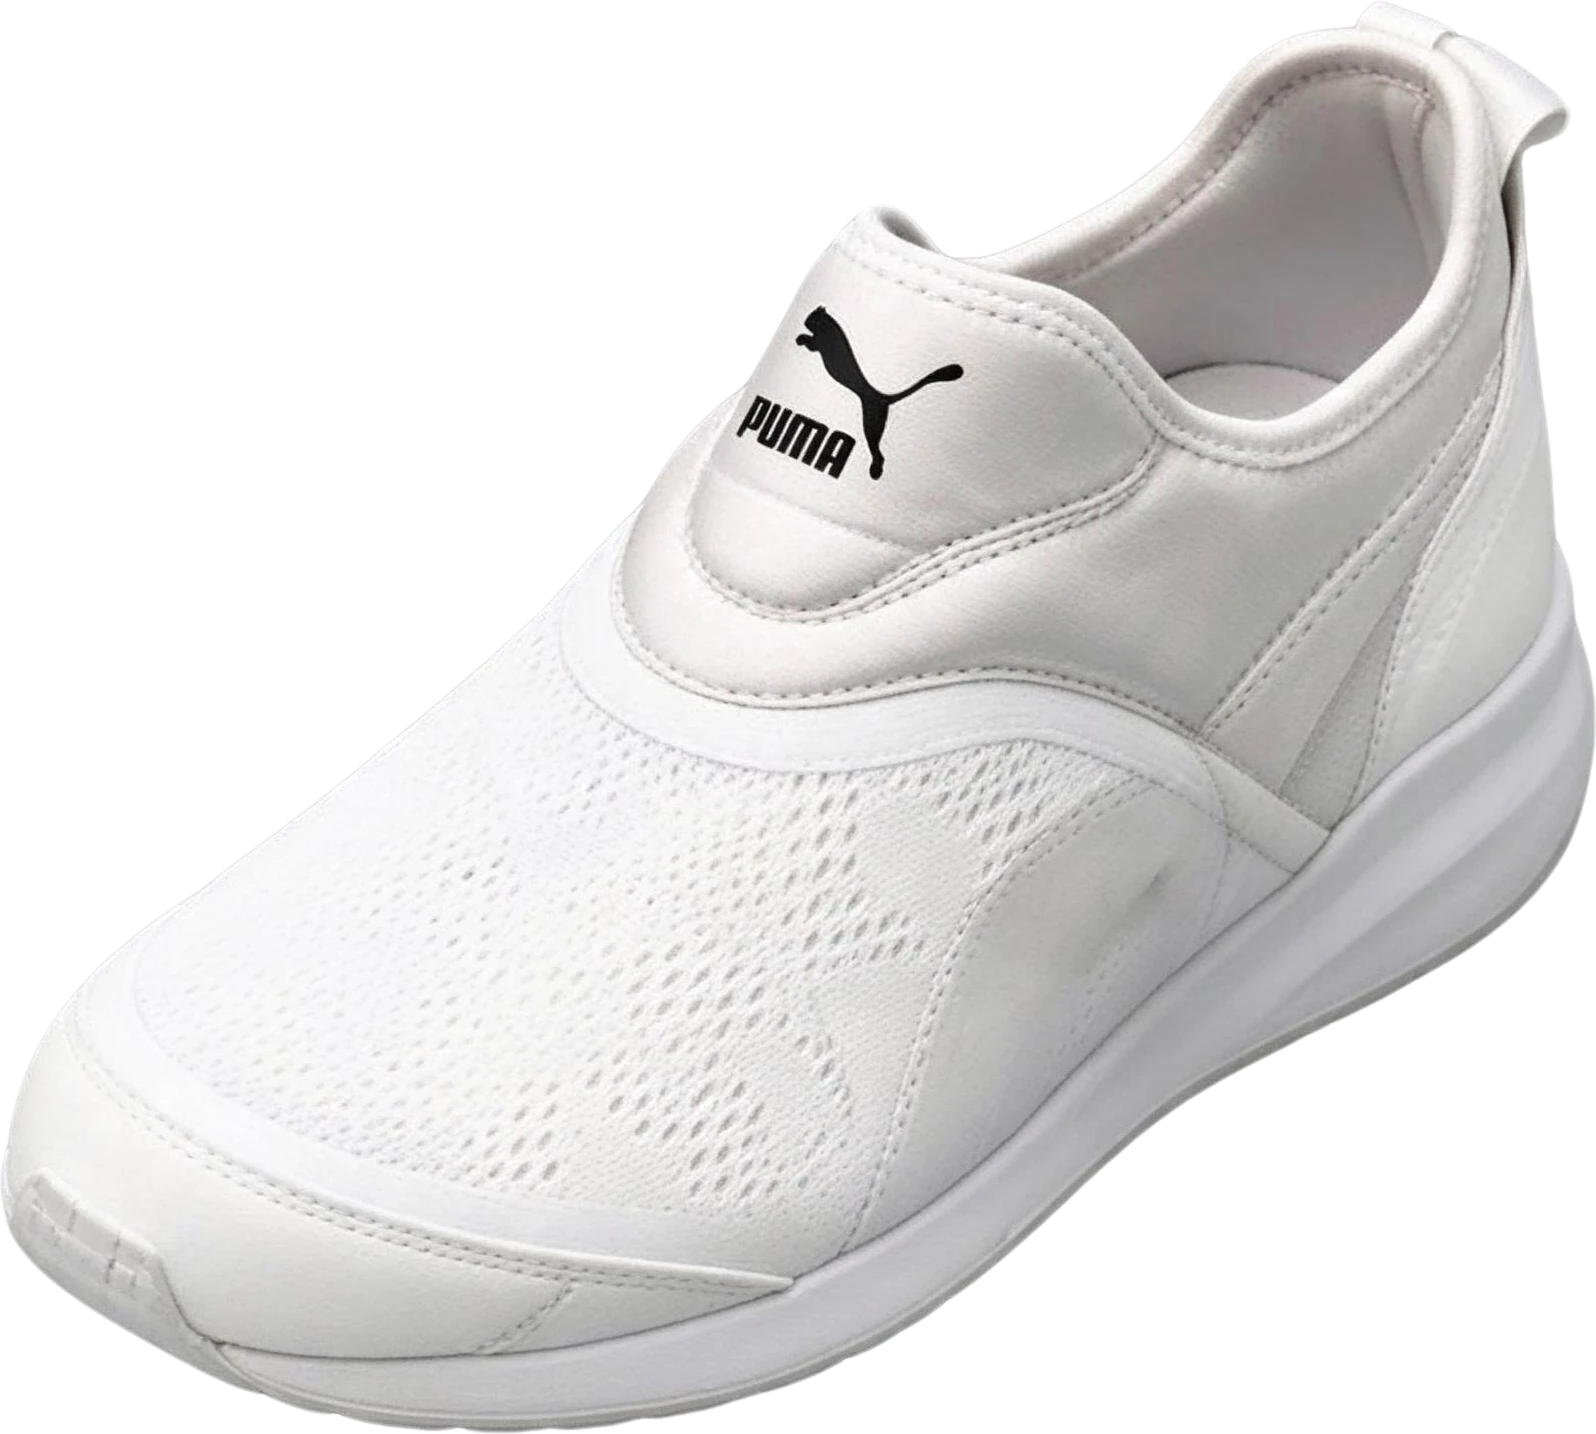
球鞋、墨鏡、帽子、手錶:照片裡的每樣東西都是完整的一層,就算在照片裡被別的東西擋住一部分也一樣。
每個圖層保留原本的大小和位置,放進新設計不用重新縮放。
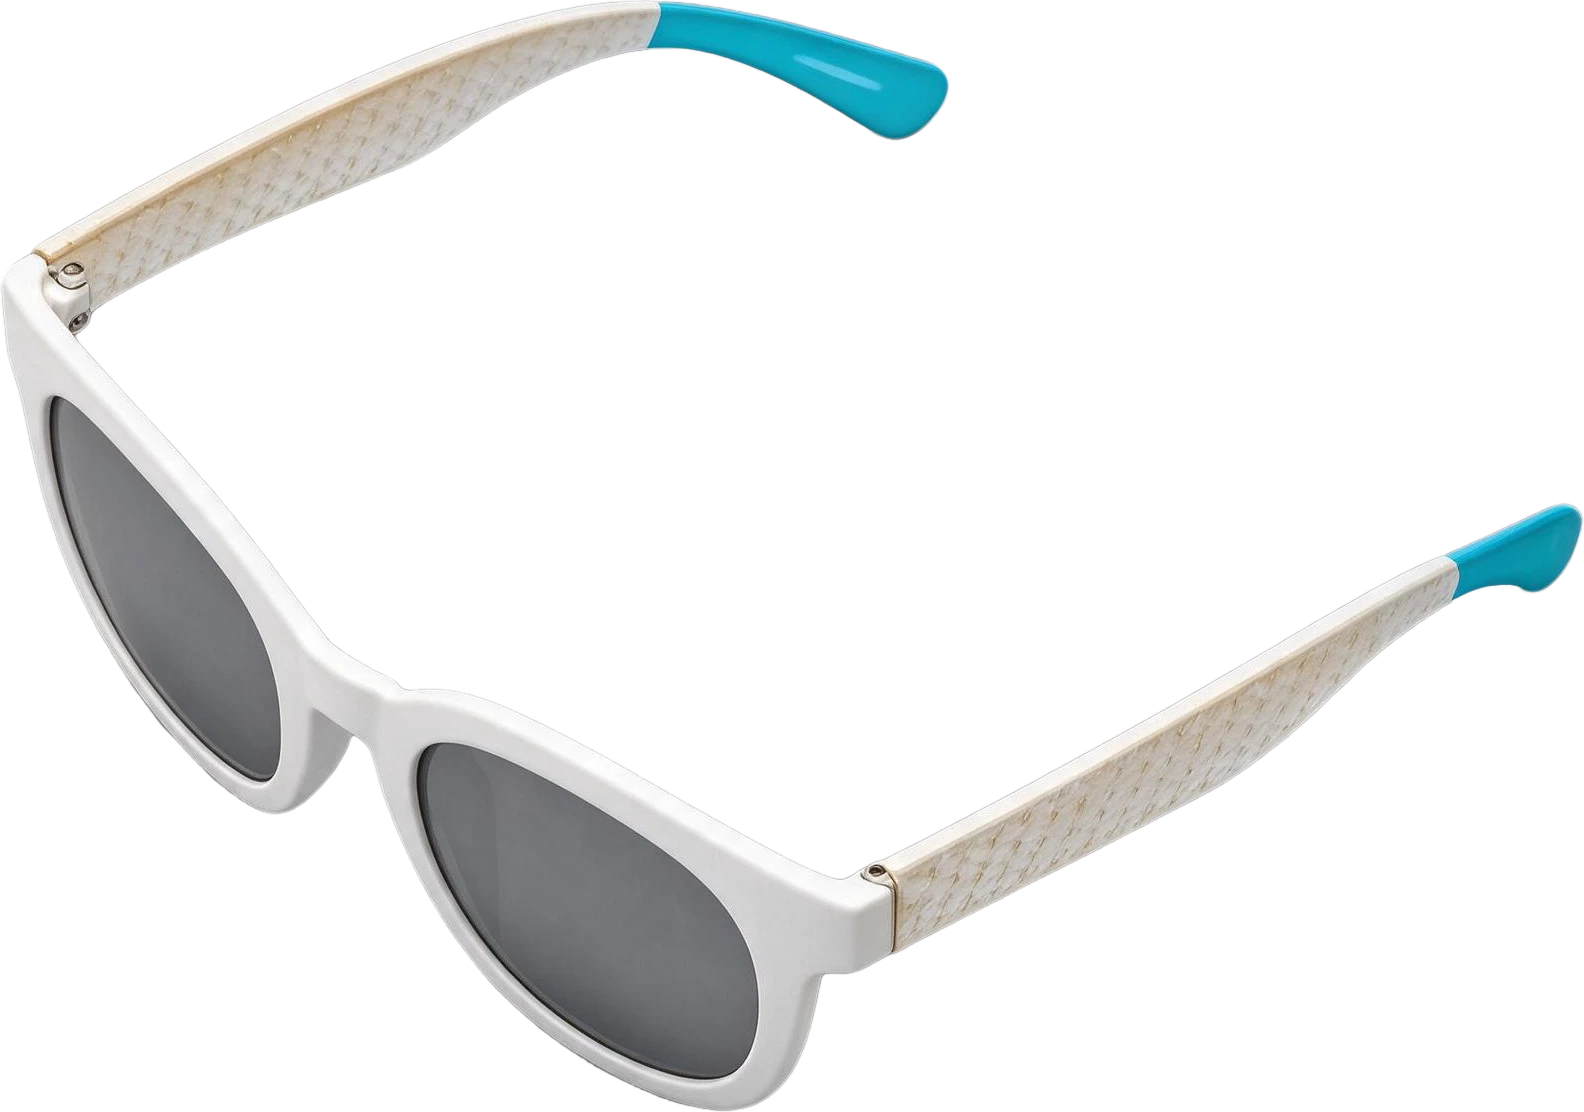
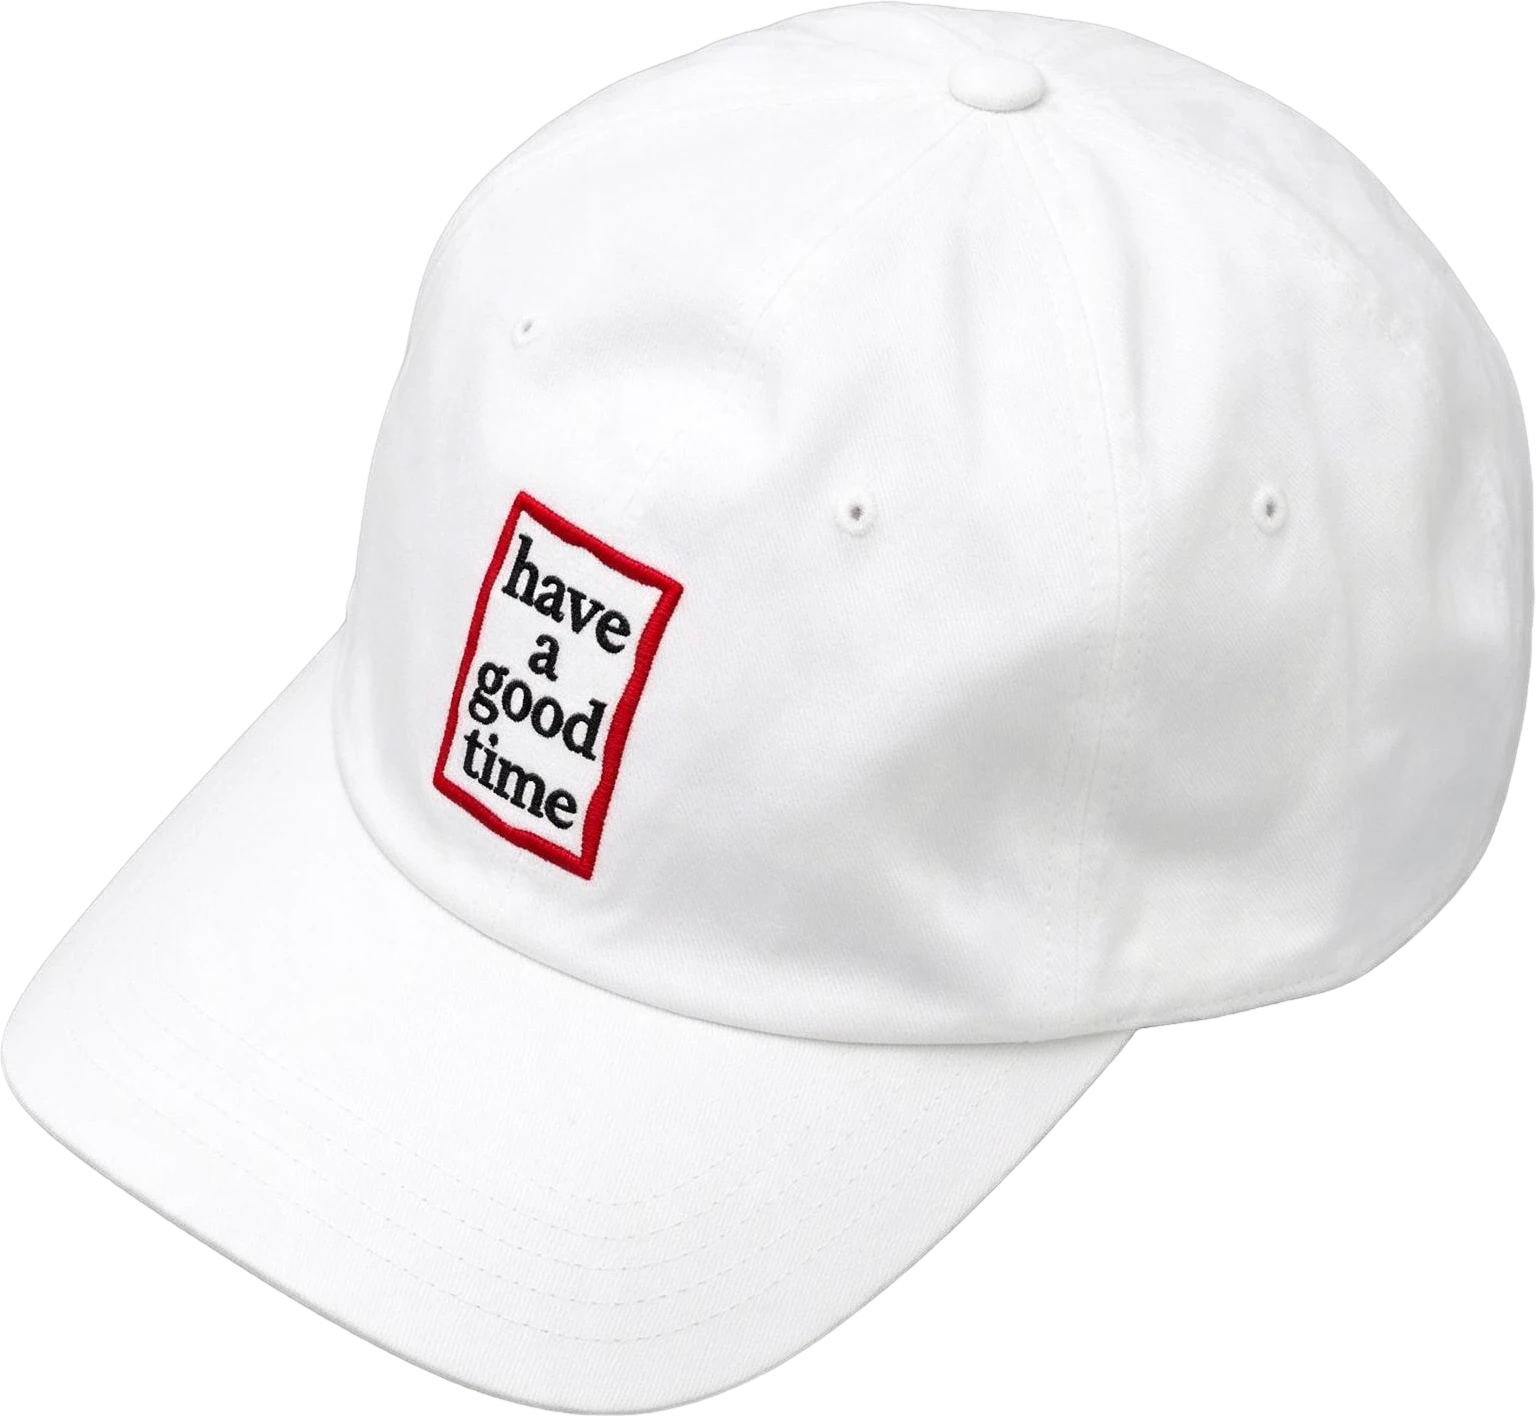
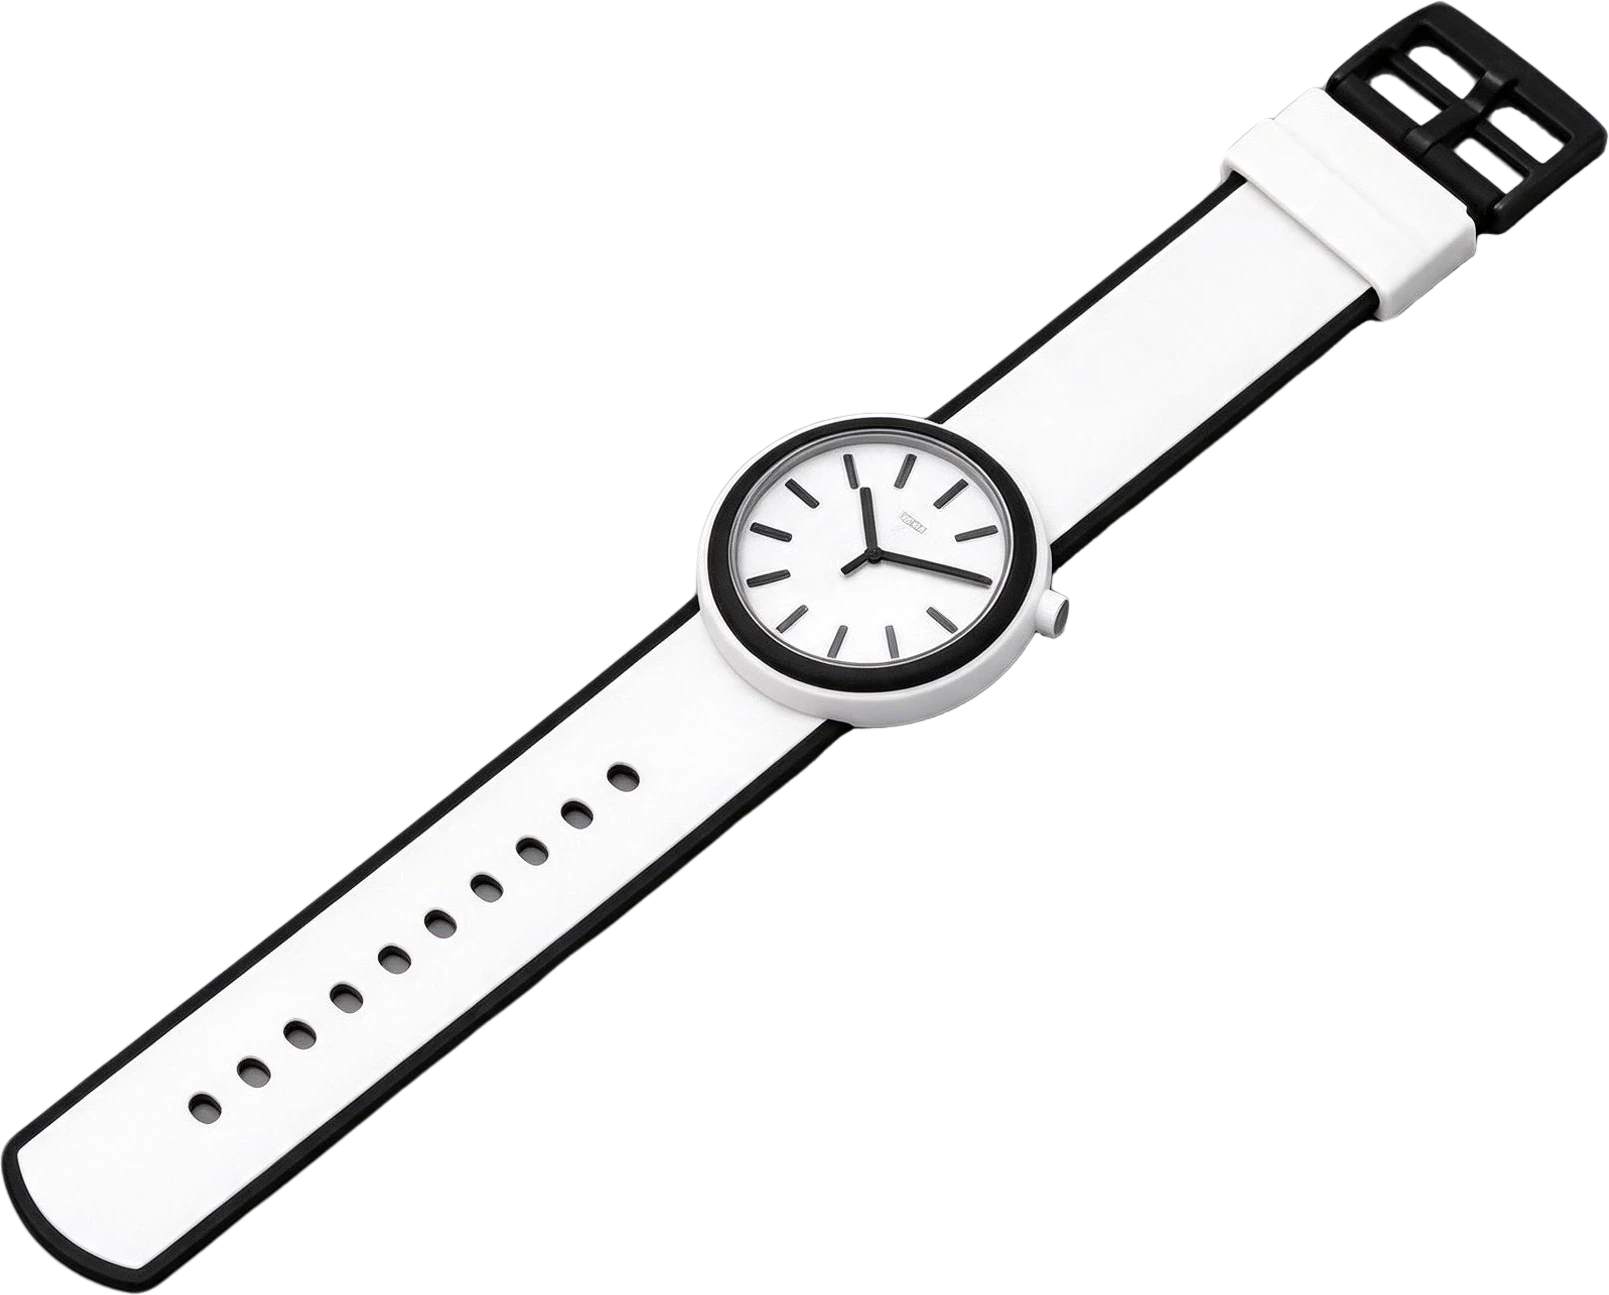
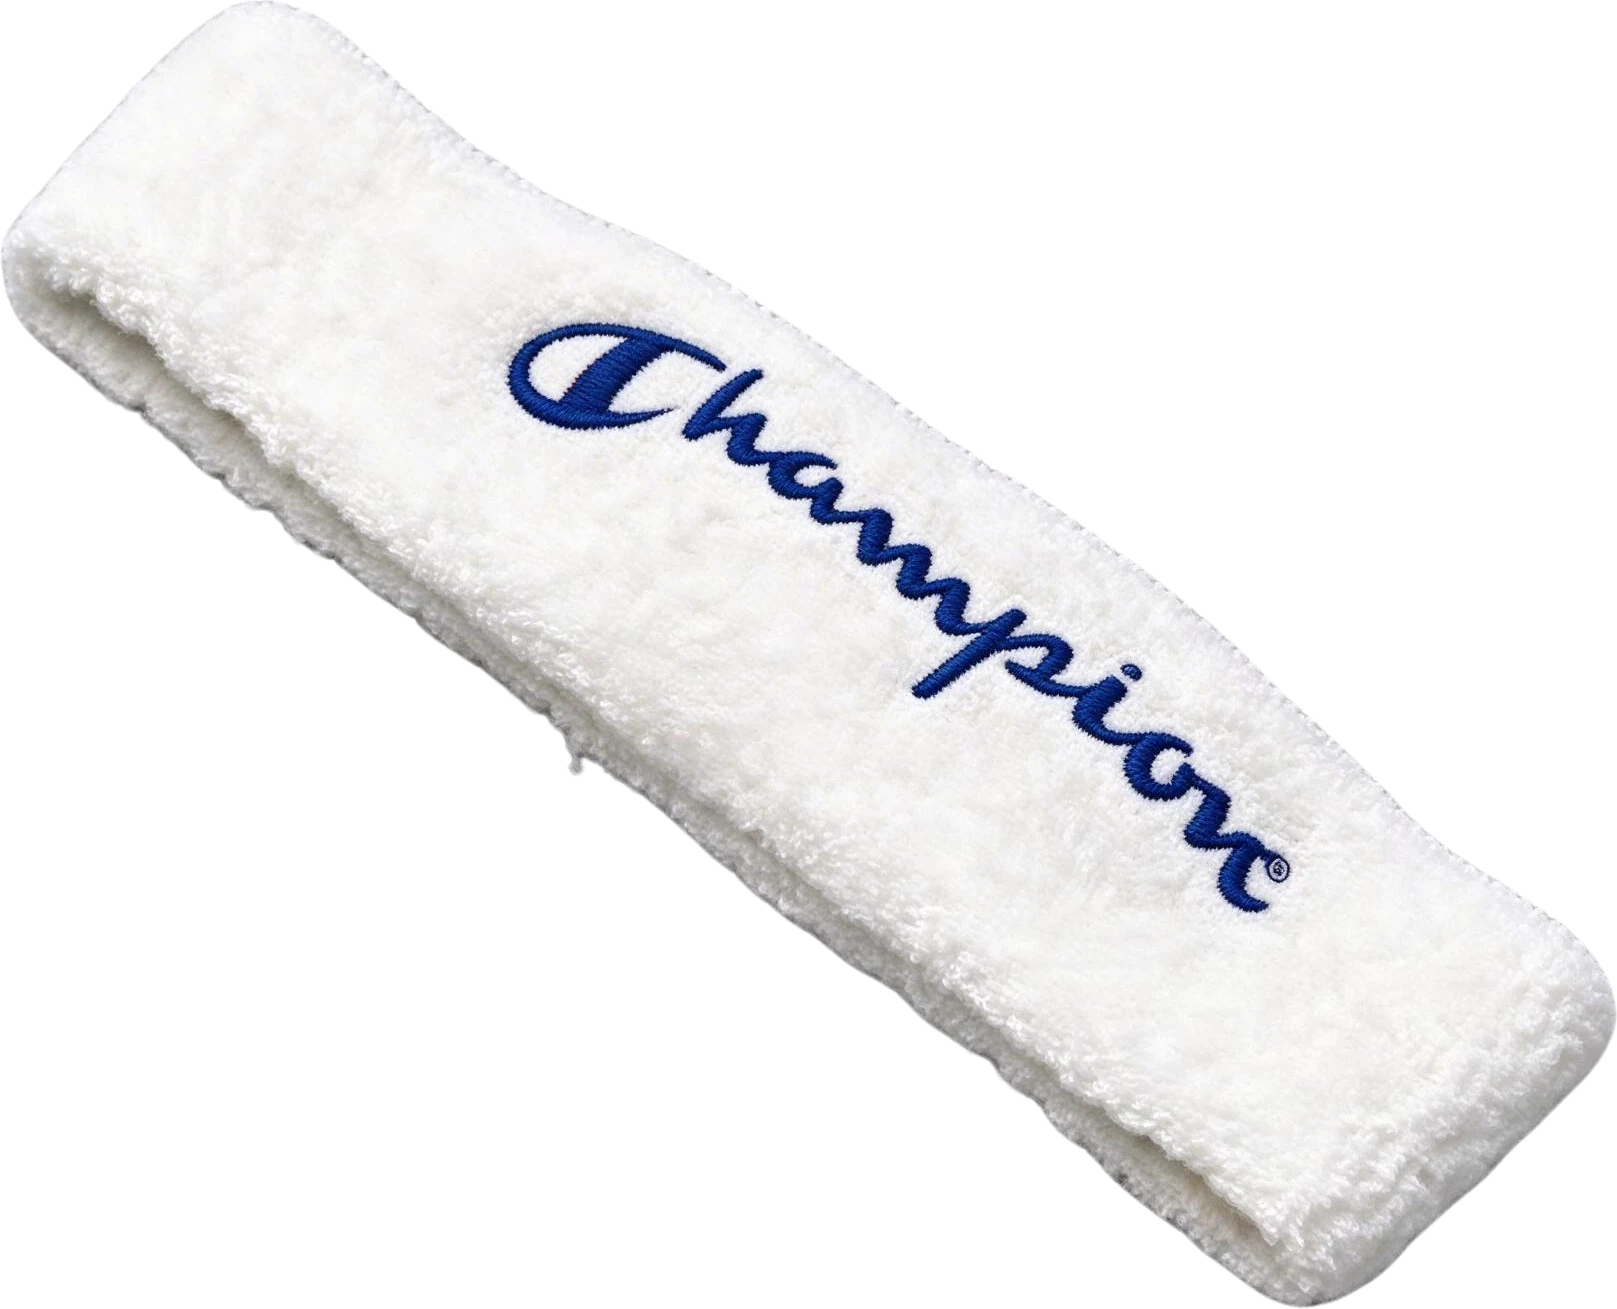
把海報的標題、標籤和價格隱藏,底下是背景,不是破洞。改海報文案、翻譯橫幅、把廣告換成另一個市場的版本,需要的就是這個。

拆一次最多 16 個圖層。某一層還要更細的話,在畫布編輯器選取它再按 Split:這裡把角色的臉拆成了眼睛、眉毛、嘴巴、鼻子和耳朵。
同一個編輯器裡也能用一句指示只重畫某一層,透明背景保持不變。開啟畫布編輯器。
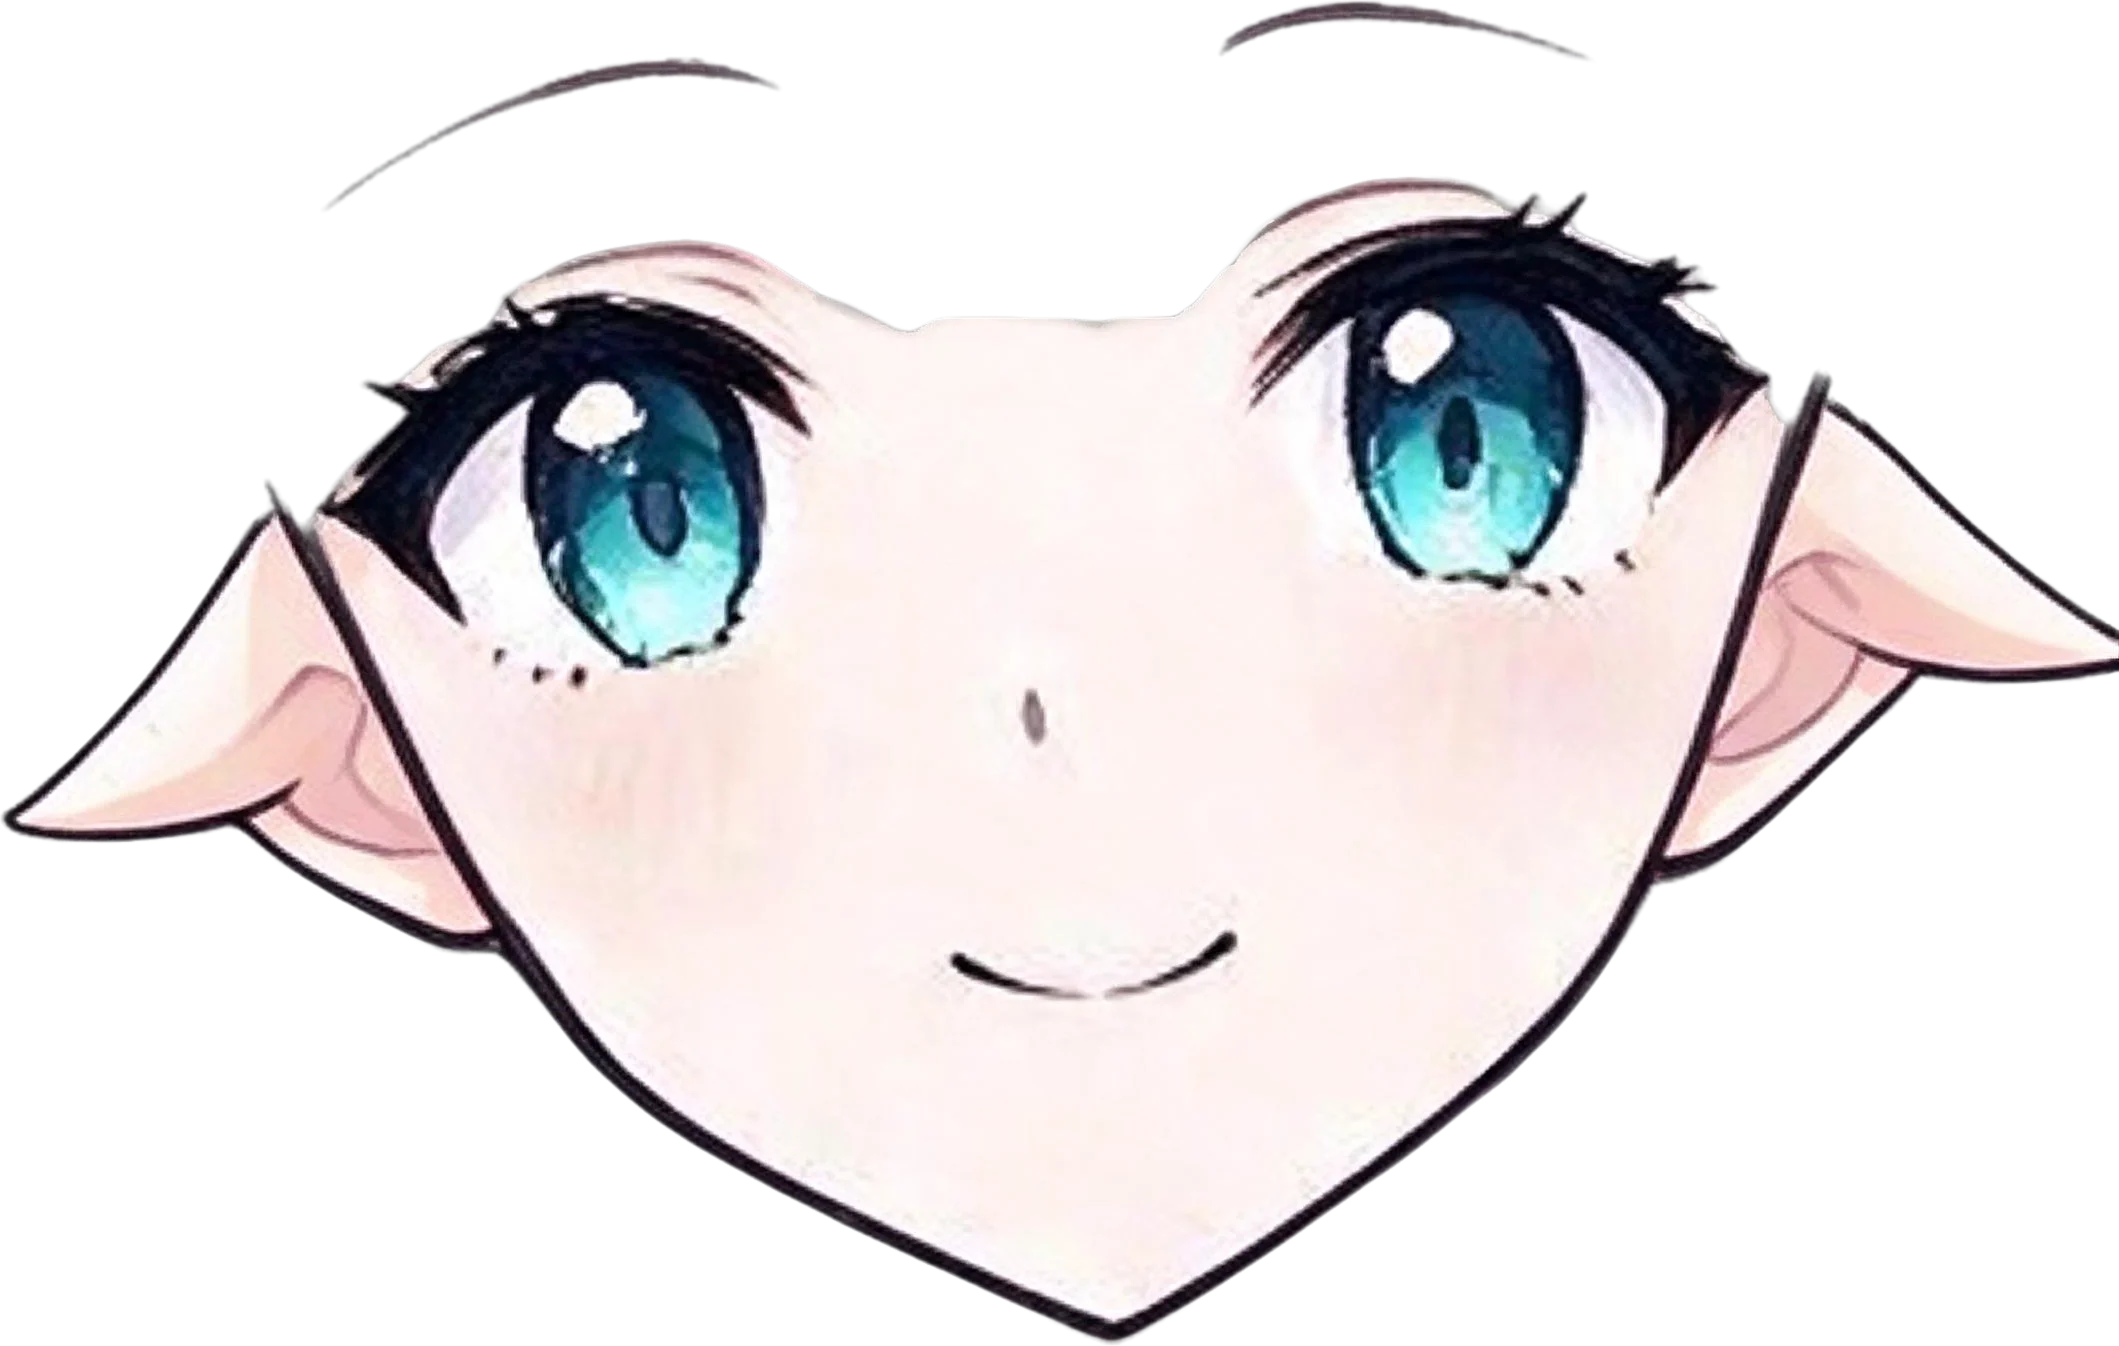
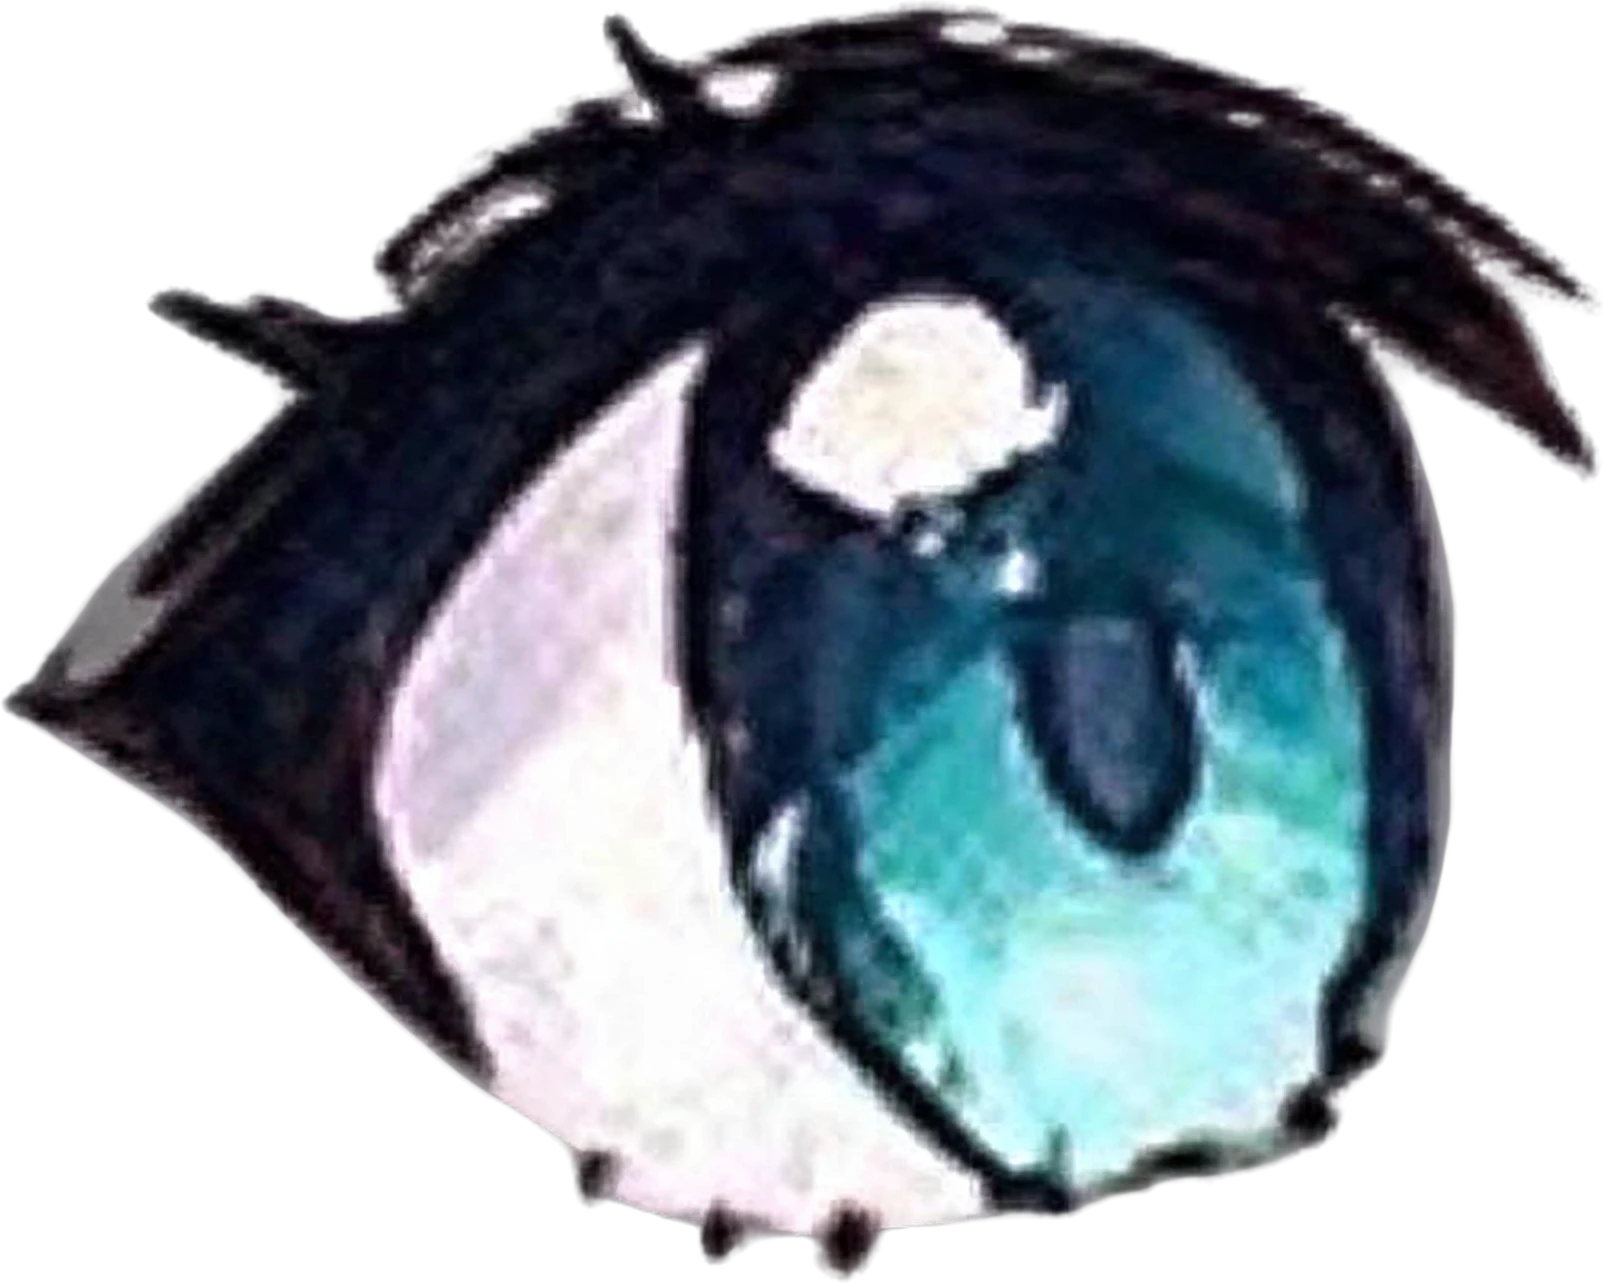
含圖層的 PSD 給 Photoshop、Affinity 或 Photopea;單一圖層的透明 PNG;或是全部圖層打包的 ZIP。全部都是原圖尺寸,直接放進 Figma、Photoshop 或 Canva。
如果原始的圖層檔還在,去找它:AI 拆出來的圖層是像素,找不回字型、向量、遮罩和效果。
它不會把插畫的線稿和上色分開,也不會把陰影獨立成一層。物件重疊很多的實拍照片,拆出來不如海報和插畫乾淨。
支援地區的新帳號有 30 點。每個圖層 10 點,只收實際回傳的圖層;餘額不夠支付完整結果時不會扣點,之後可以再解鎖。
月費 $12 的方案一個月大約 120 個圖層。看價格(英文)。
這一頁的每個範例都是真實輸出:原圖、補完的背景、每個有名字的圖層,都是工具回傳的原樣。
Coffee shop poster, a real split: the flat image and the 11 named layers it became.
11 個圖層・100 秒
Anime room illustration, a real split: the flat image and the 7 named layers it became.
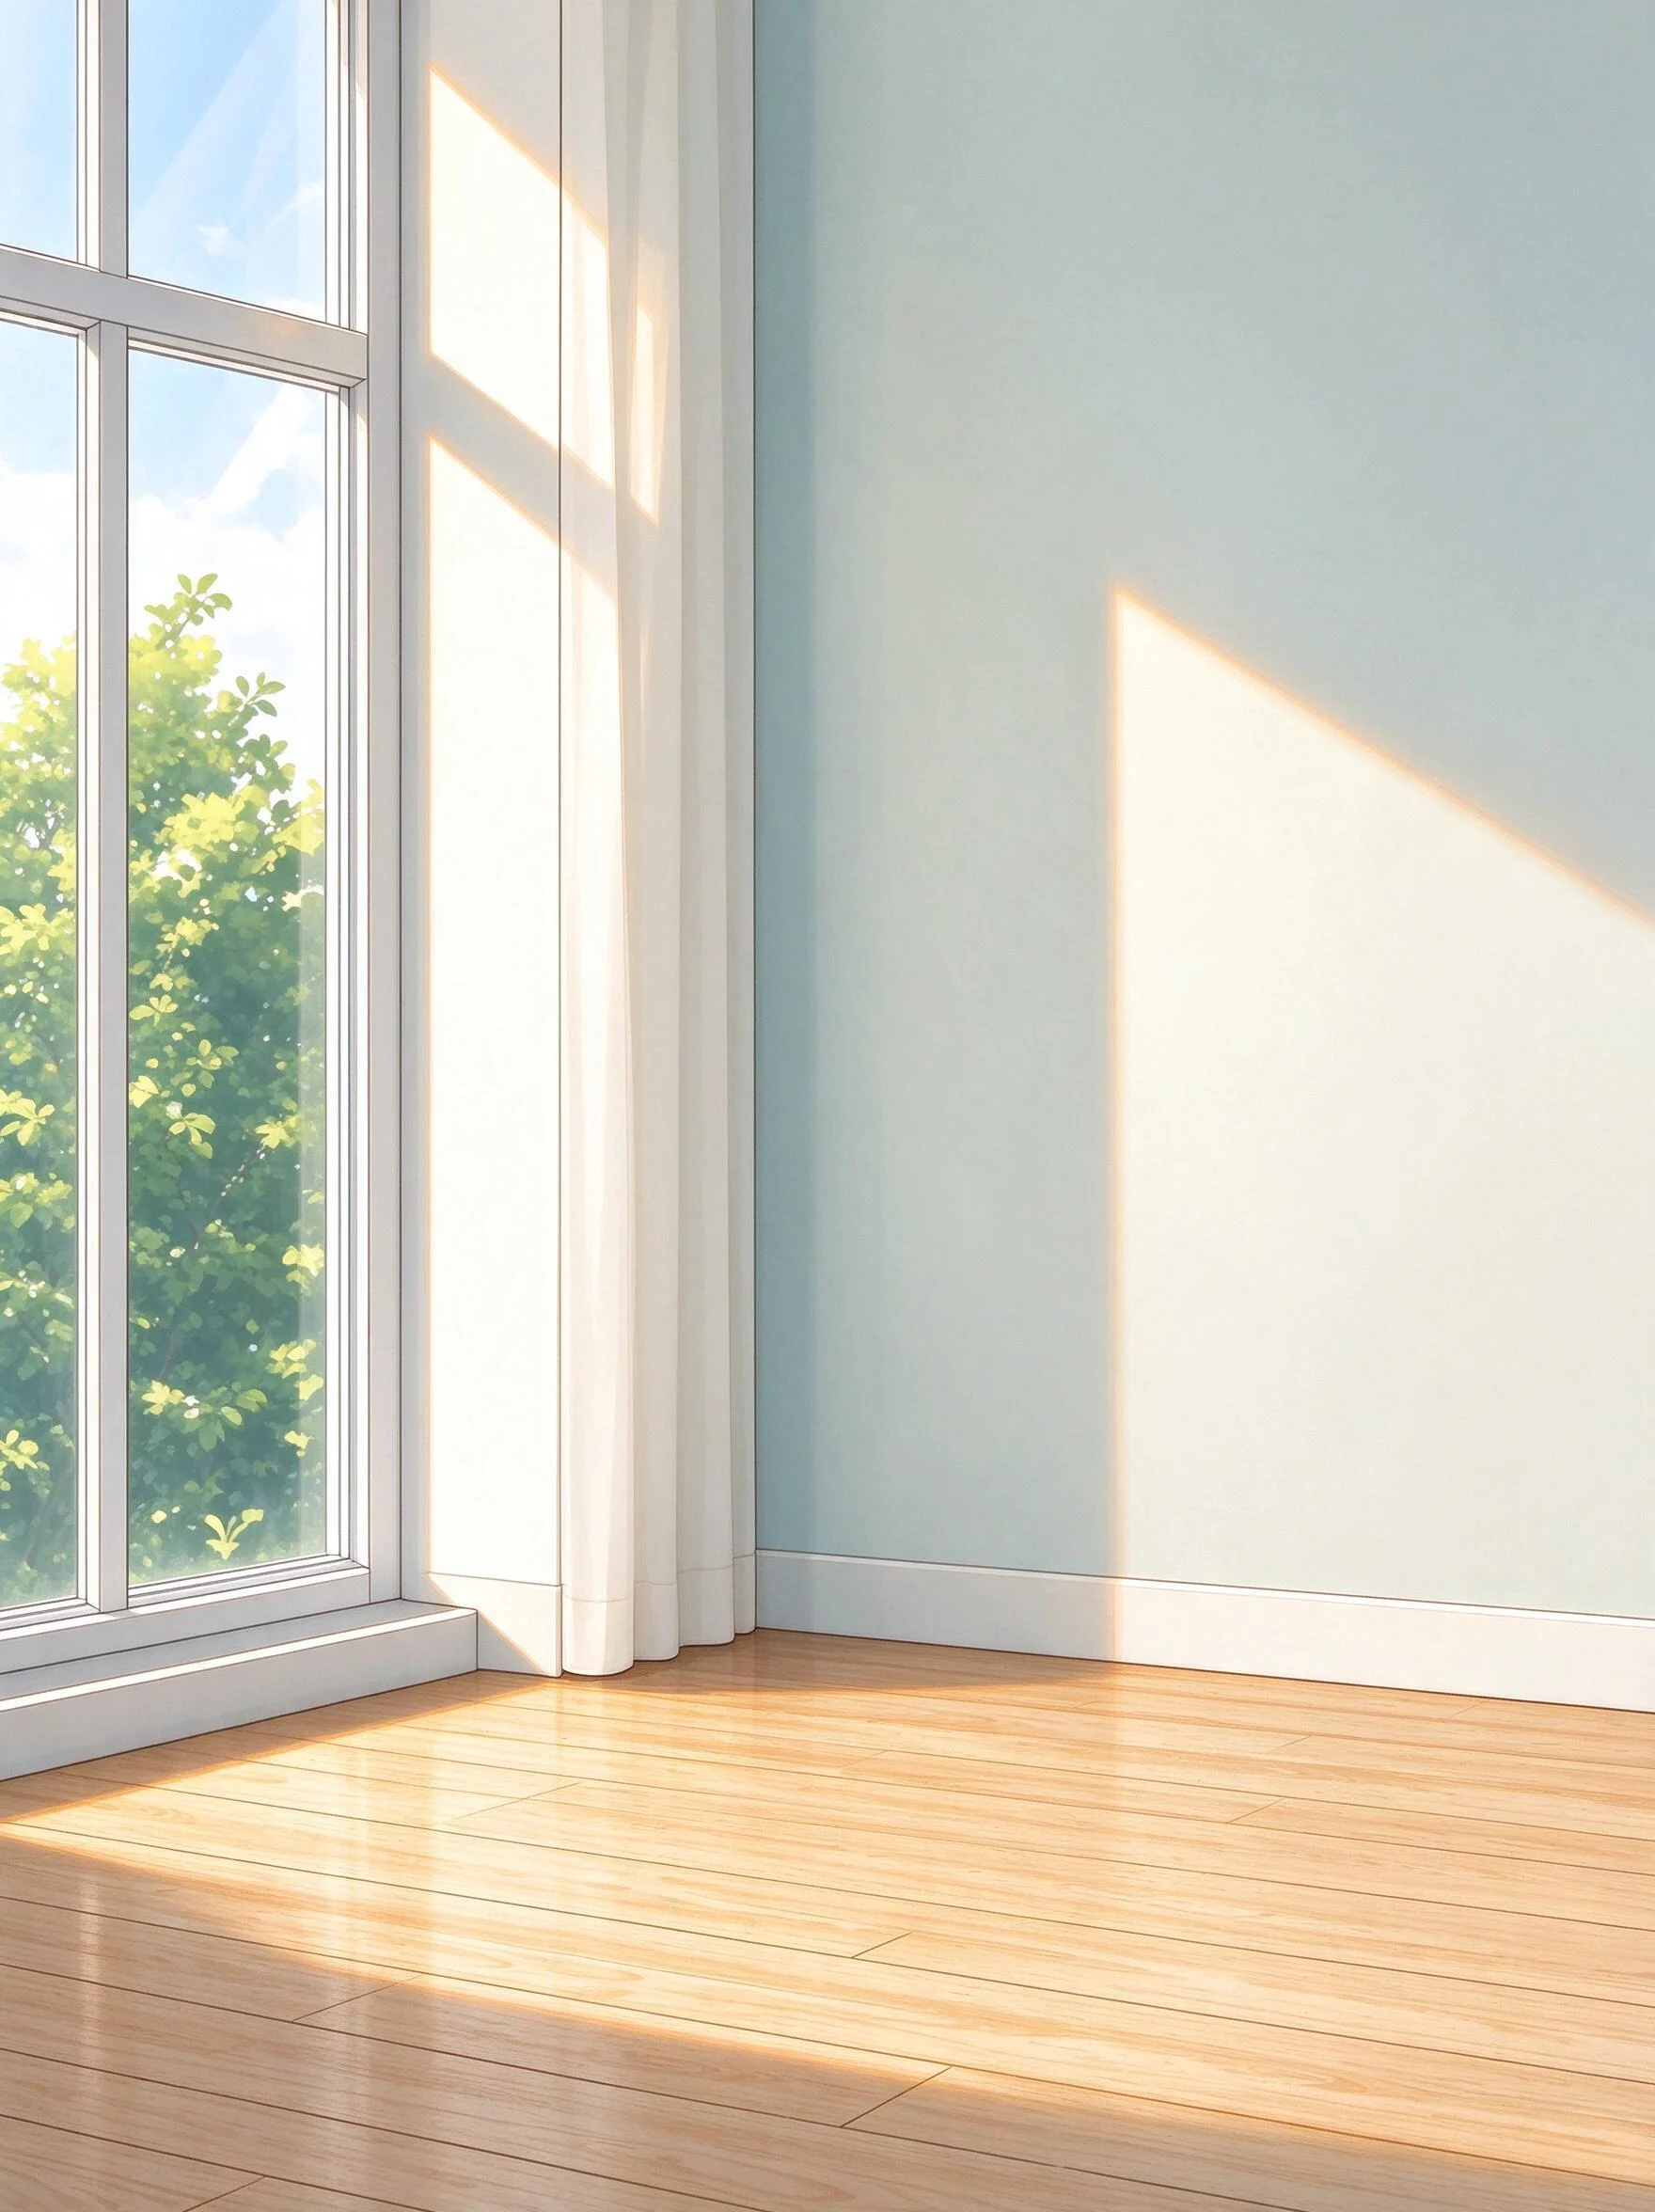
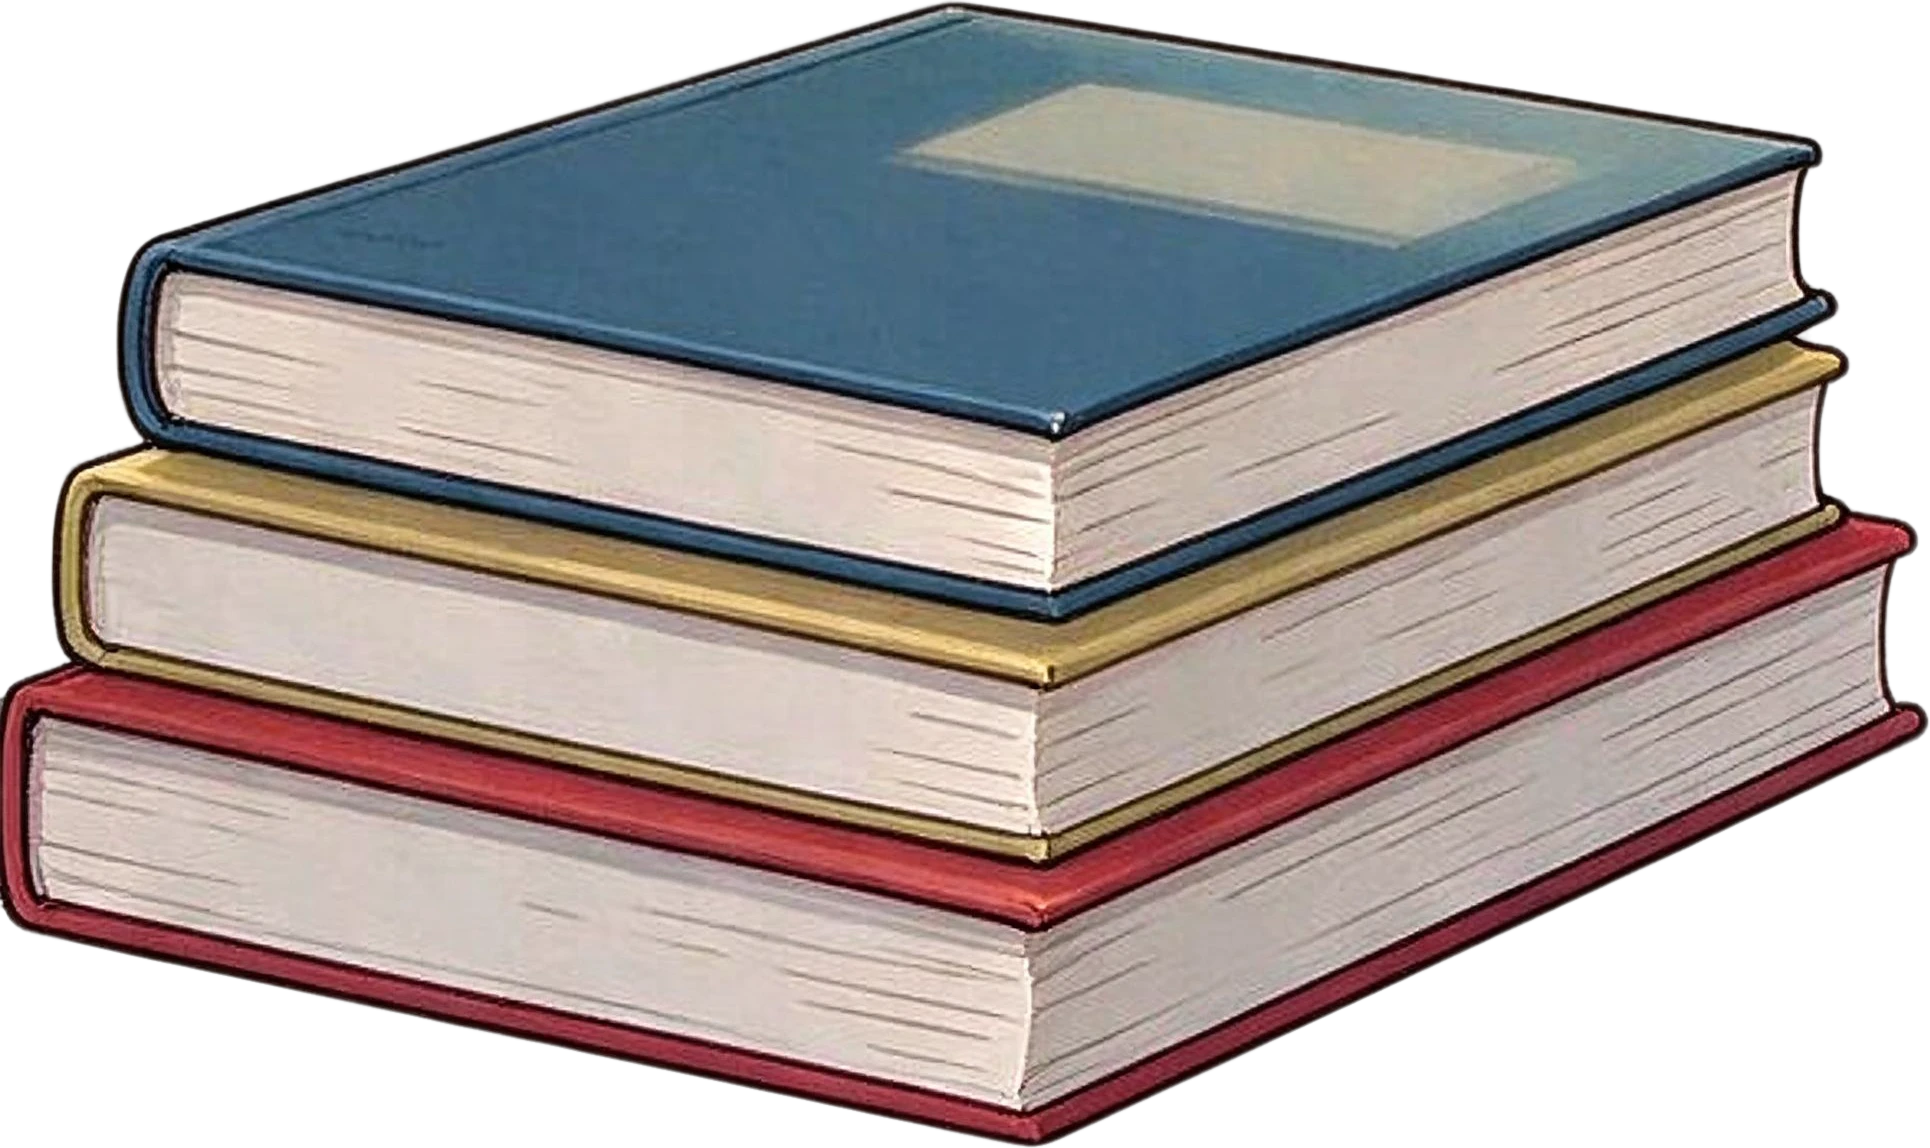
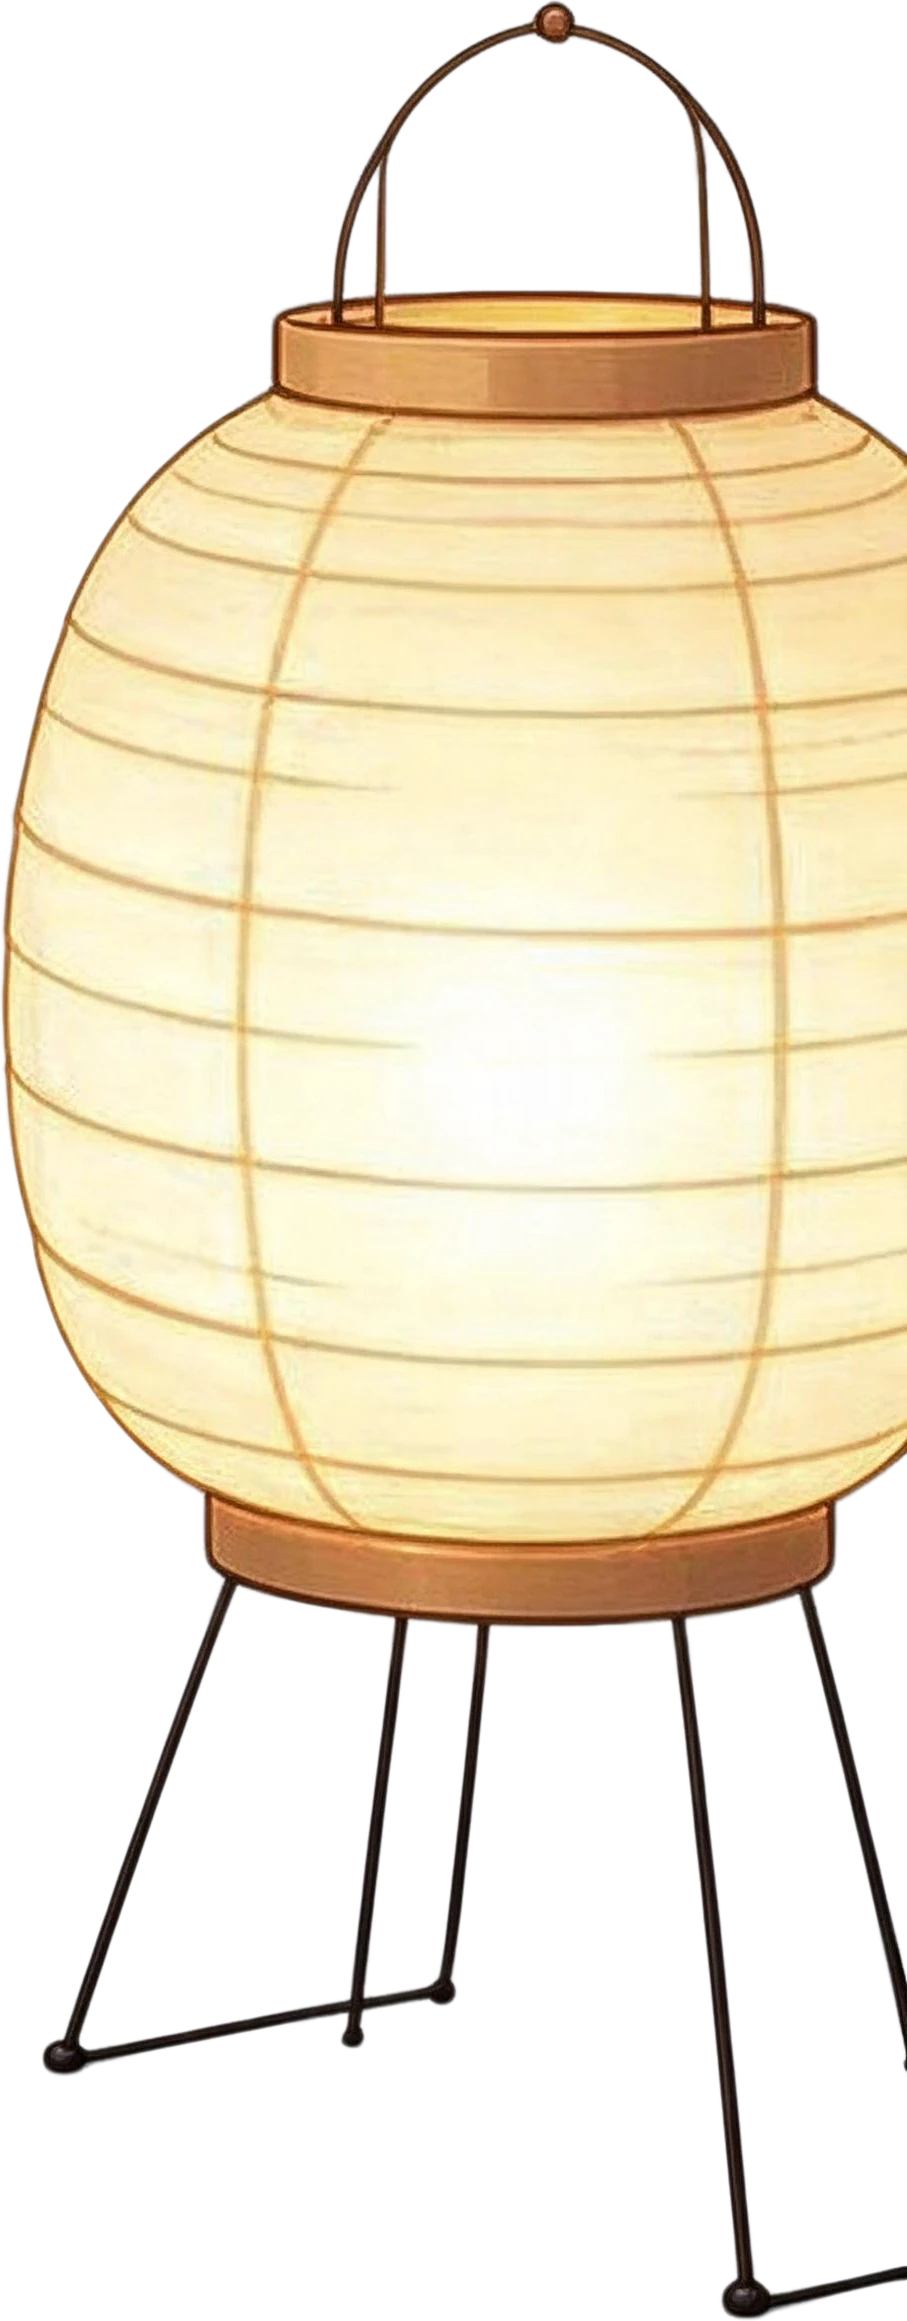
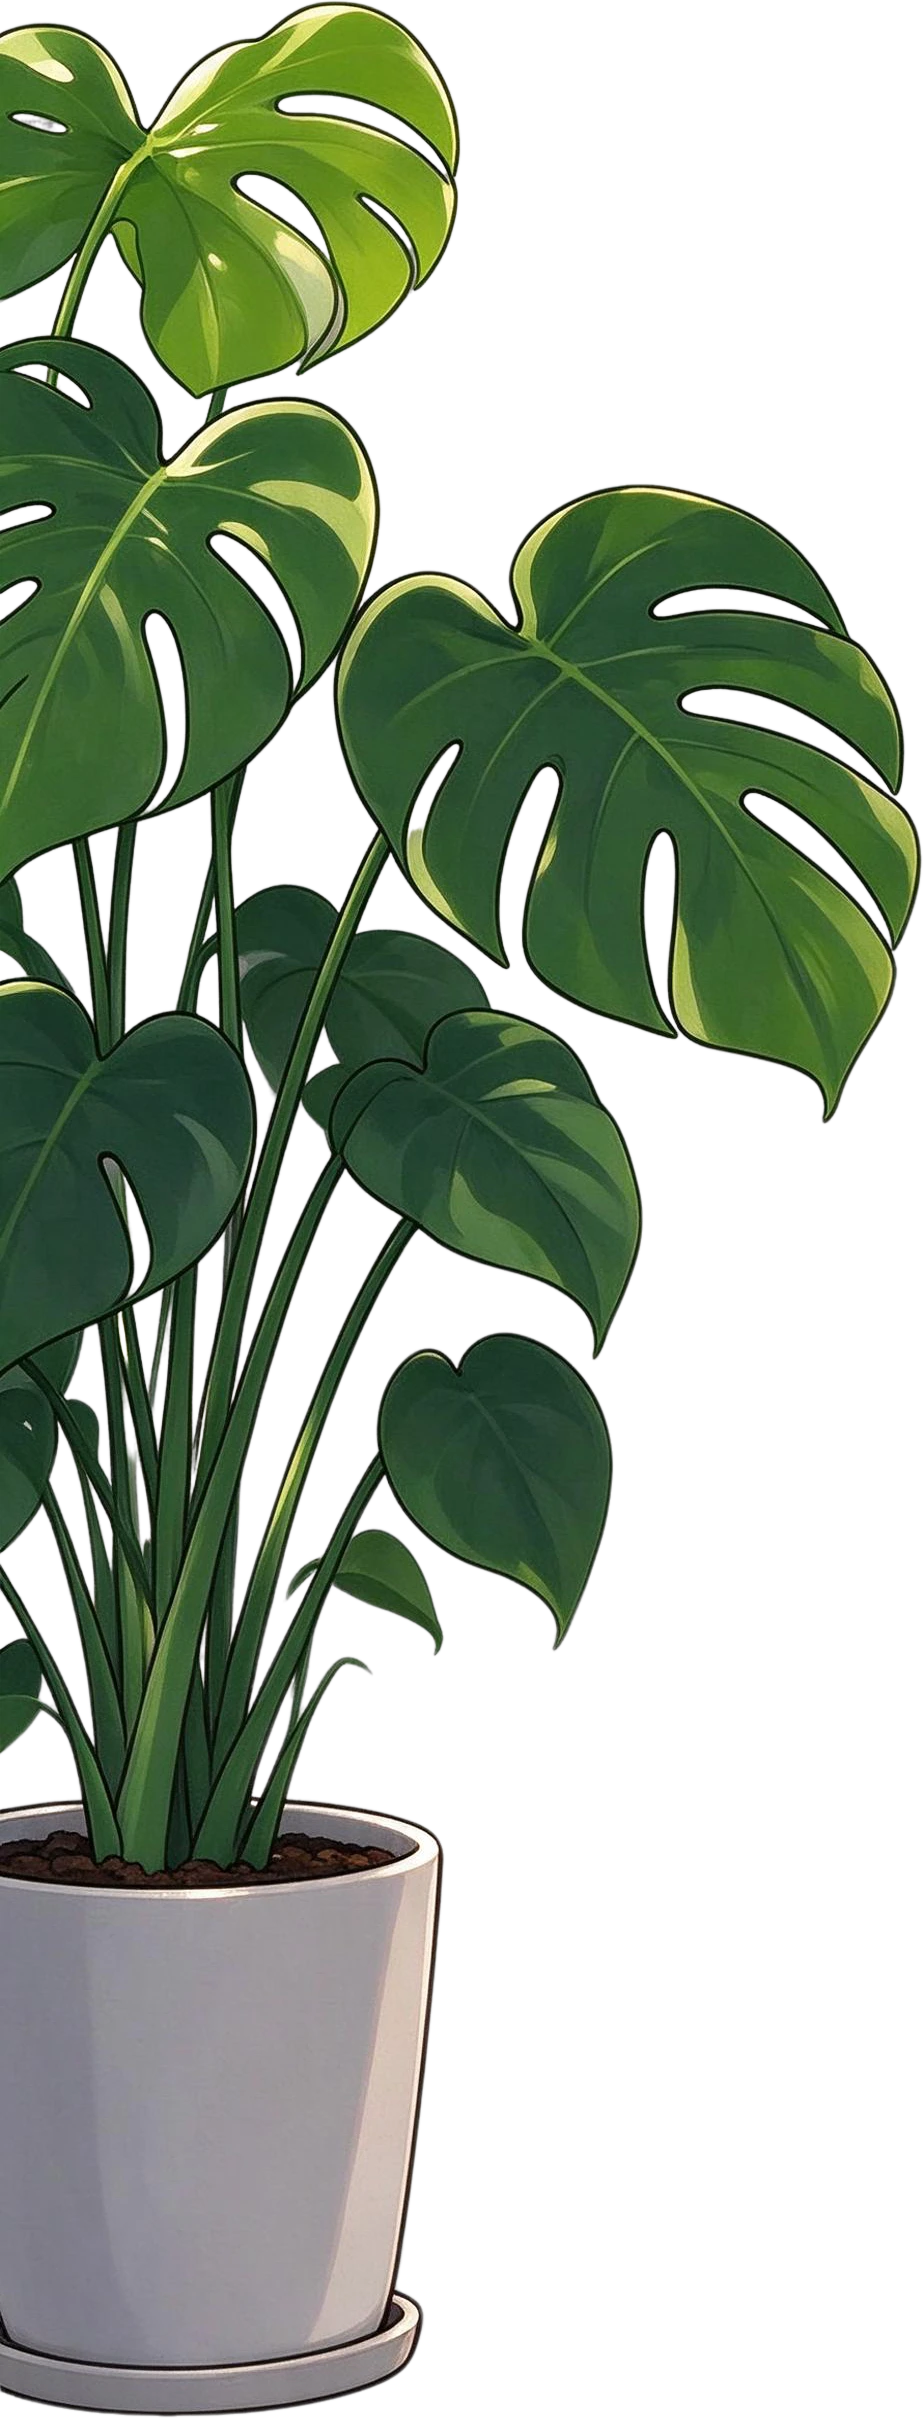
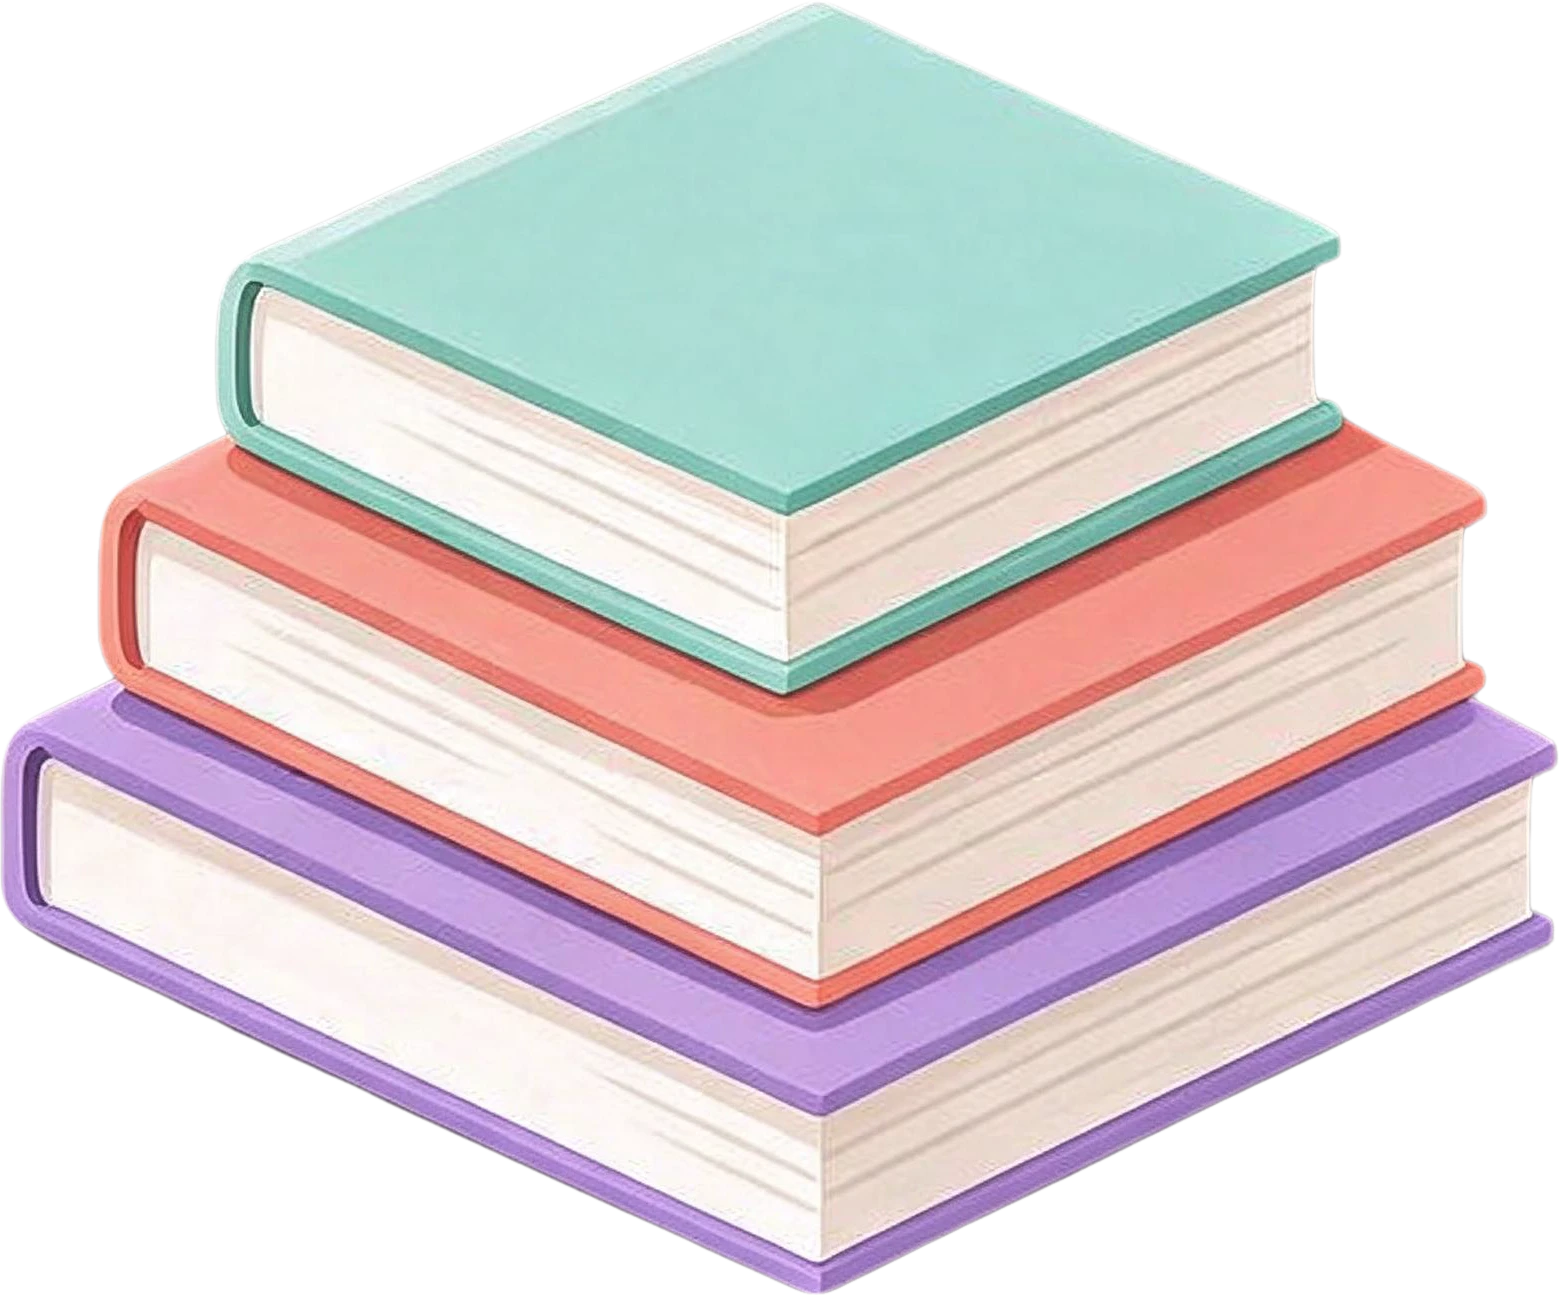
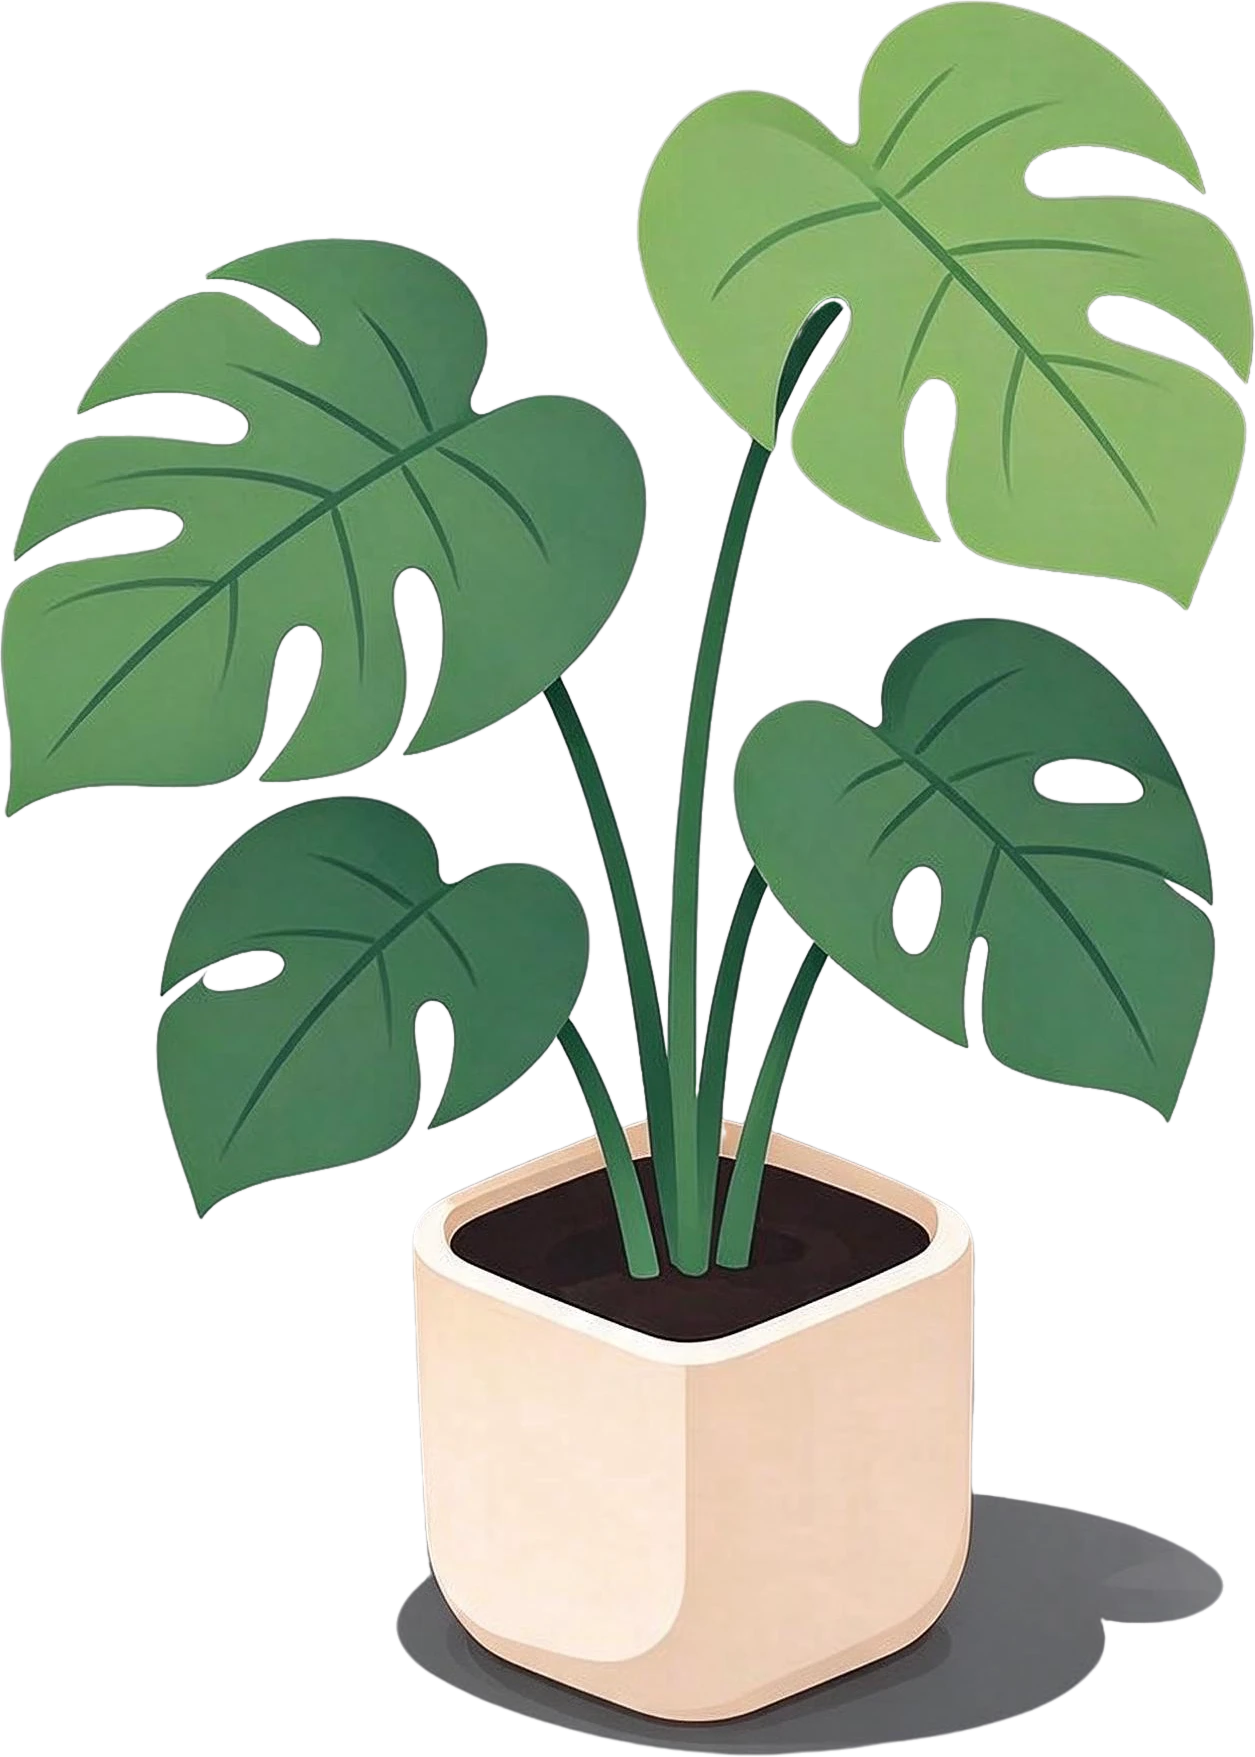
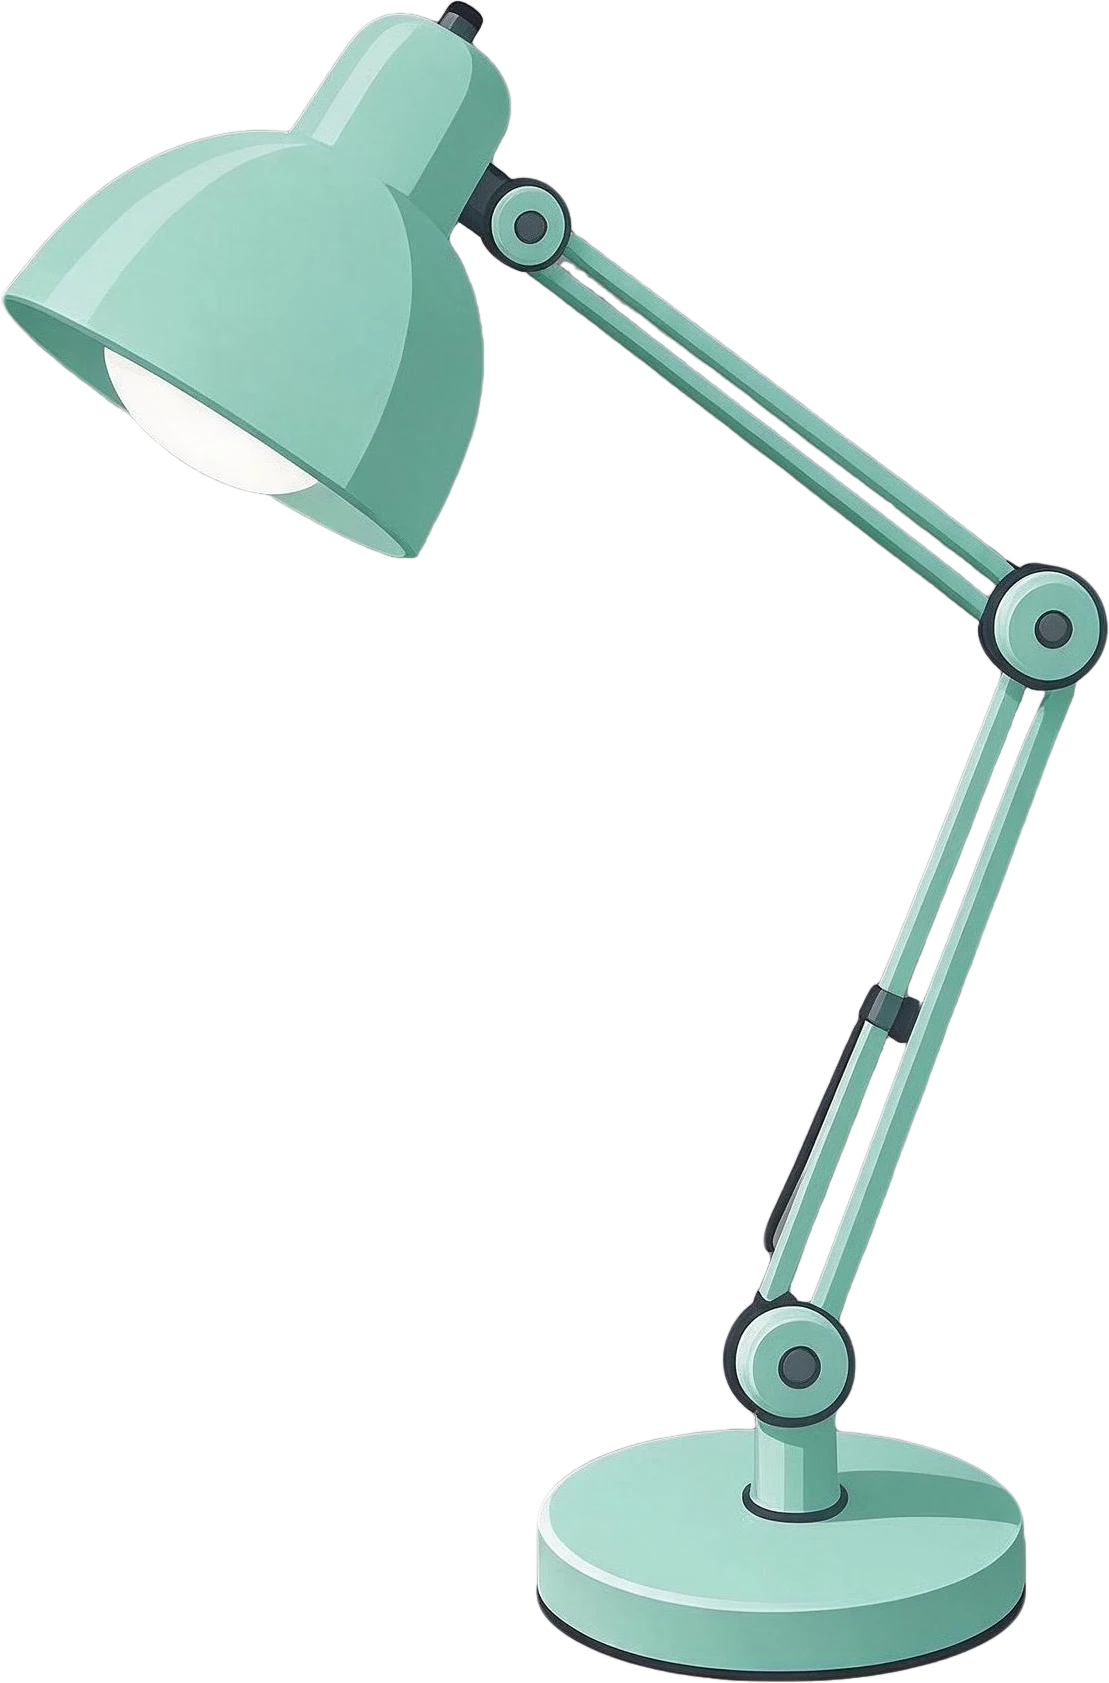
7 個圖層・63 秒 · 指定: “girl with dark blue hair holding an open book, orange sleeping cat, monstera plant in a white pot, stack of three books, mug of coffee on a wooden tray, paper lantern lamp on a stand”
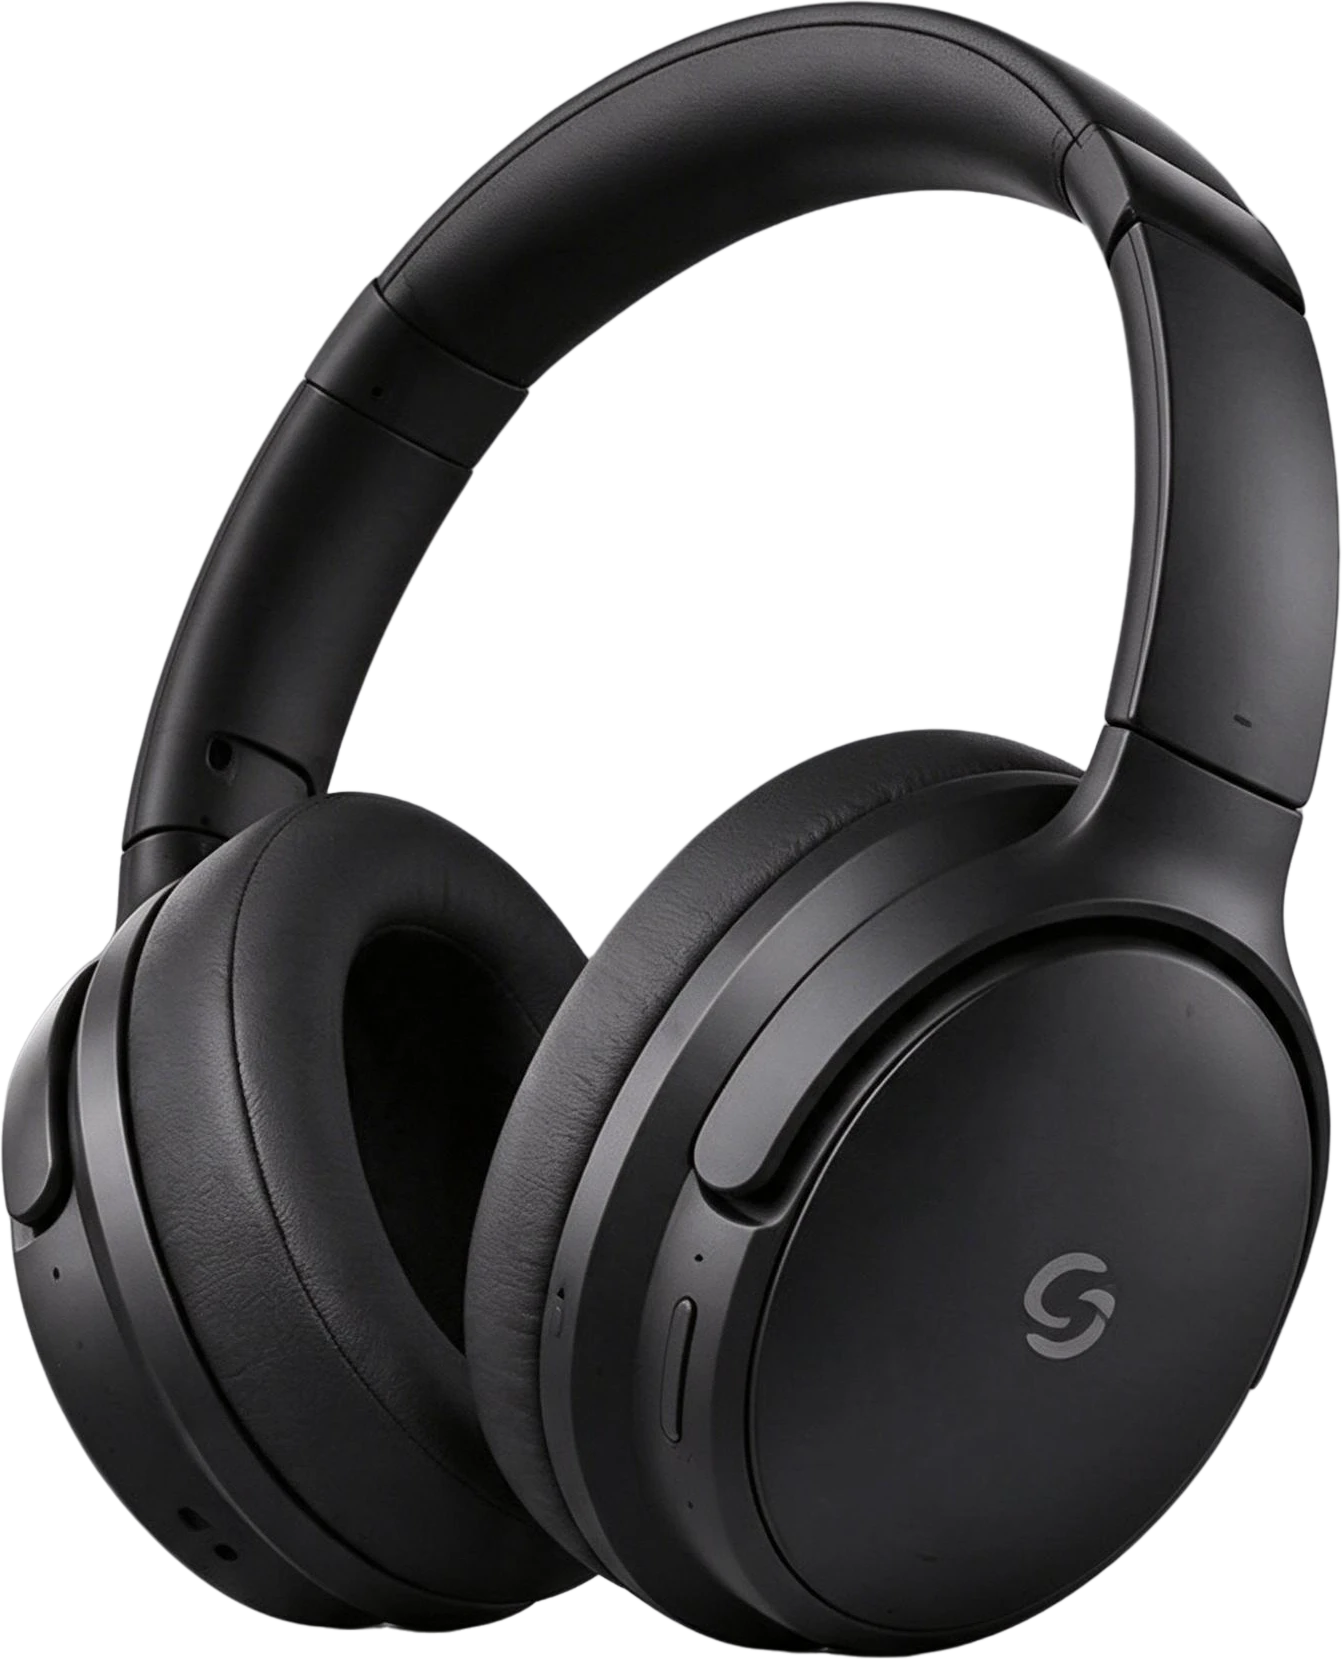
Headphones product banner, a real split: the flat image and the 8 named layers it became.
8 個圖層・66 秒
Skincare Instagram post, a real split: the flat image and the 8 named layers it became.
8 個圖層・80 秒
AI-generated desk illustration, a real split: the flat image and the 10 named layers it became.
10 個圖層・100 秒
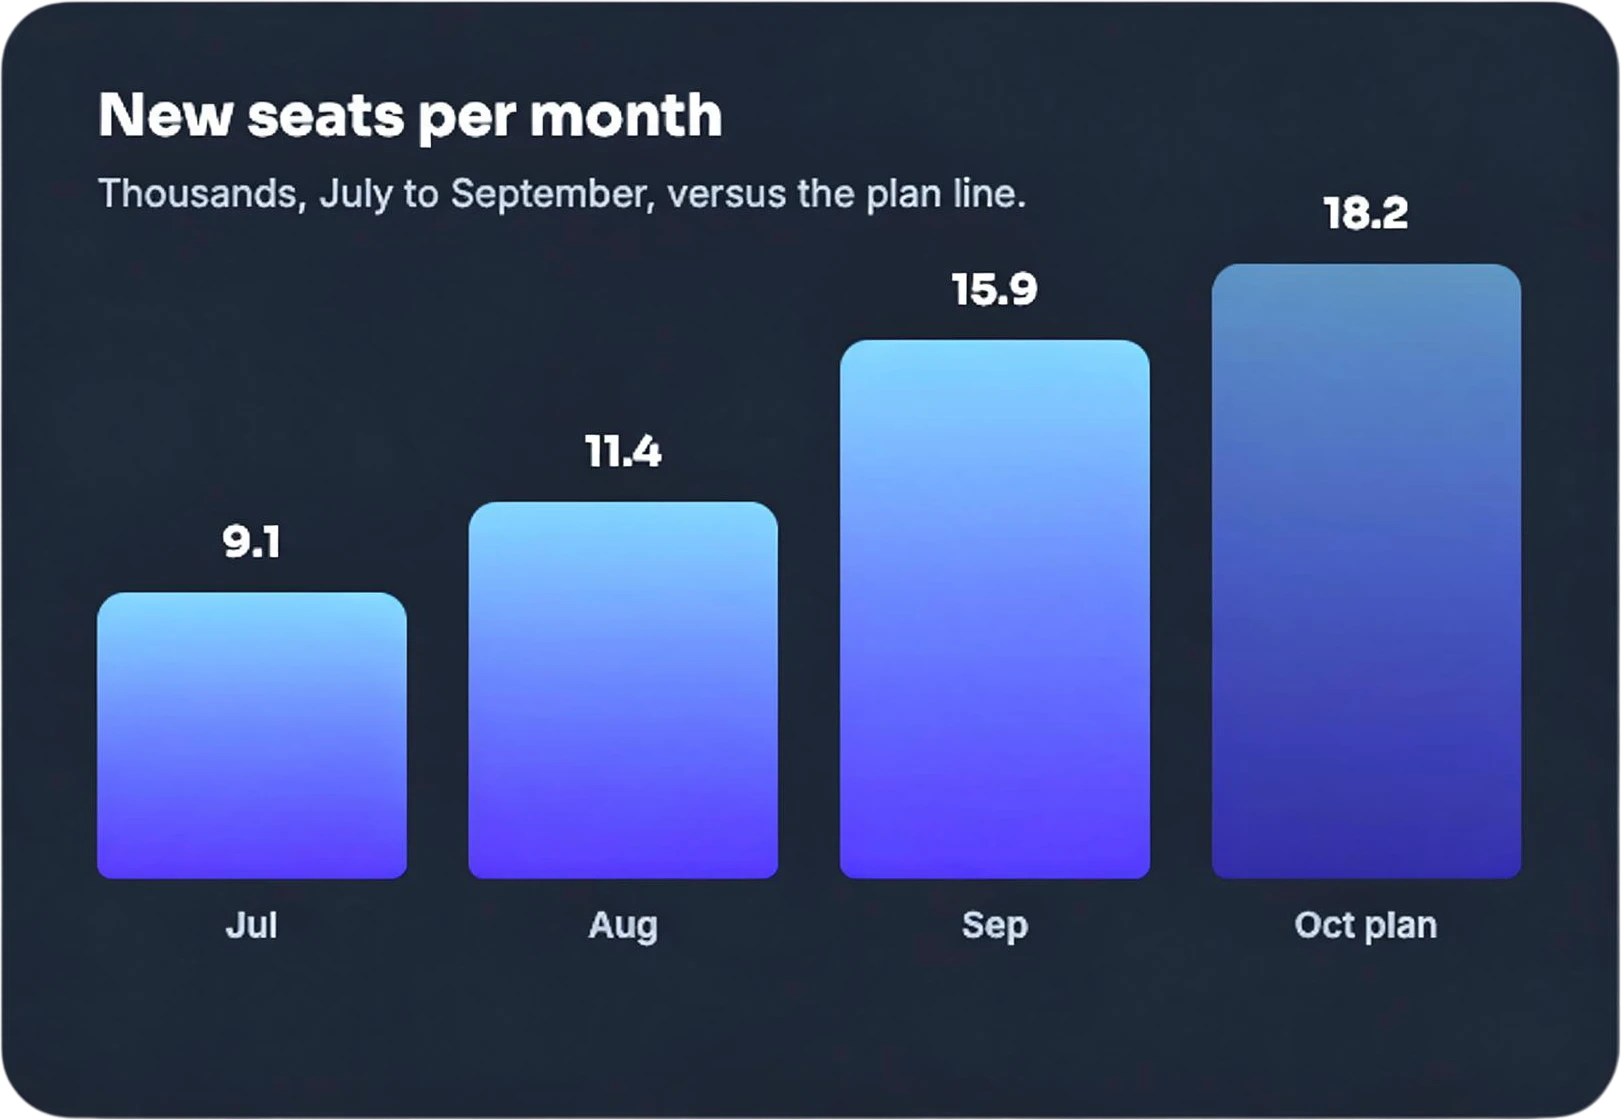
Growth report slide, a real split: the flat image and the 12 named layers it became.
12 個圖層・97 秒
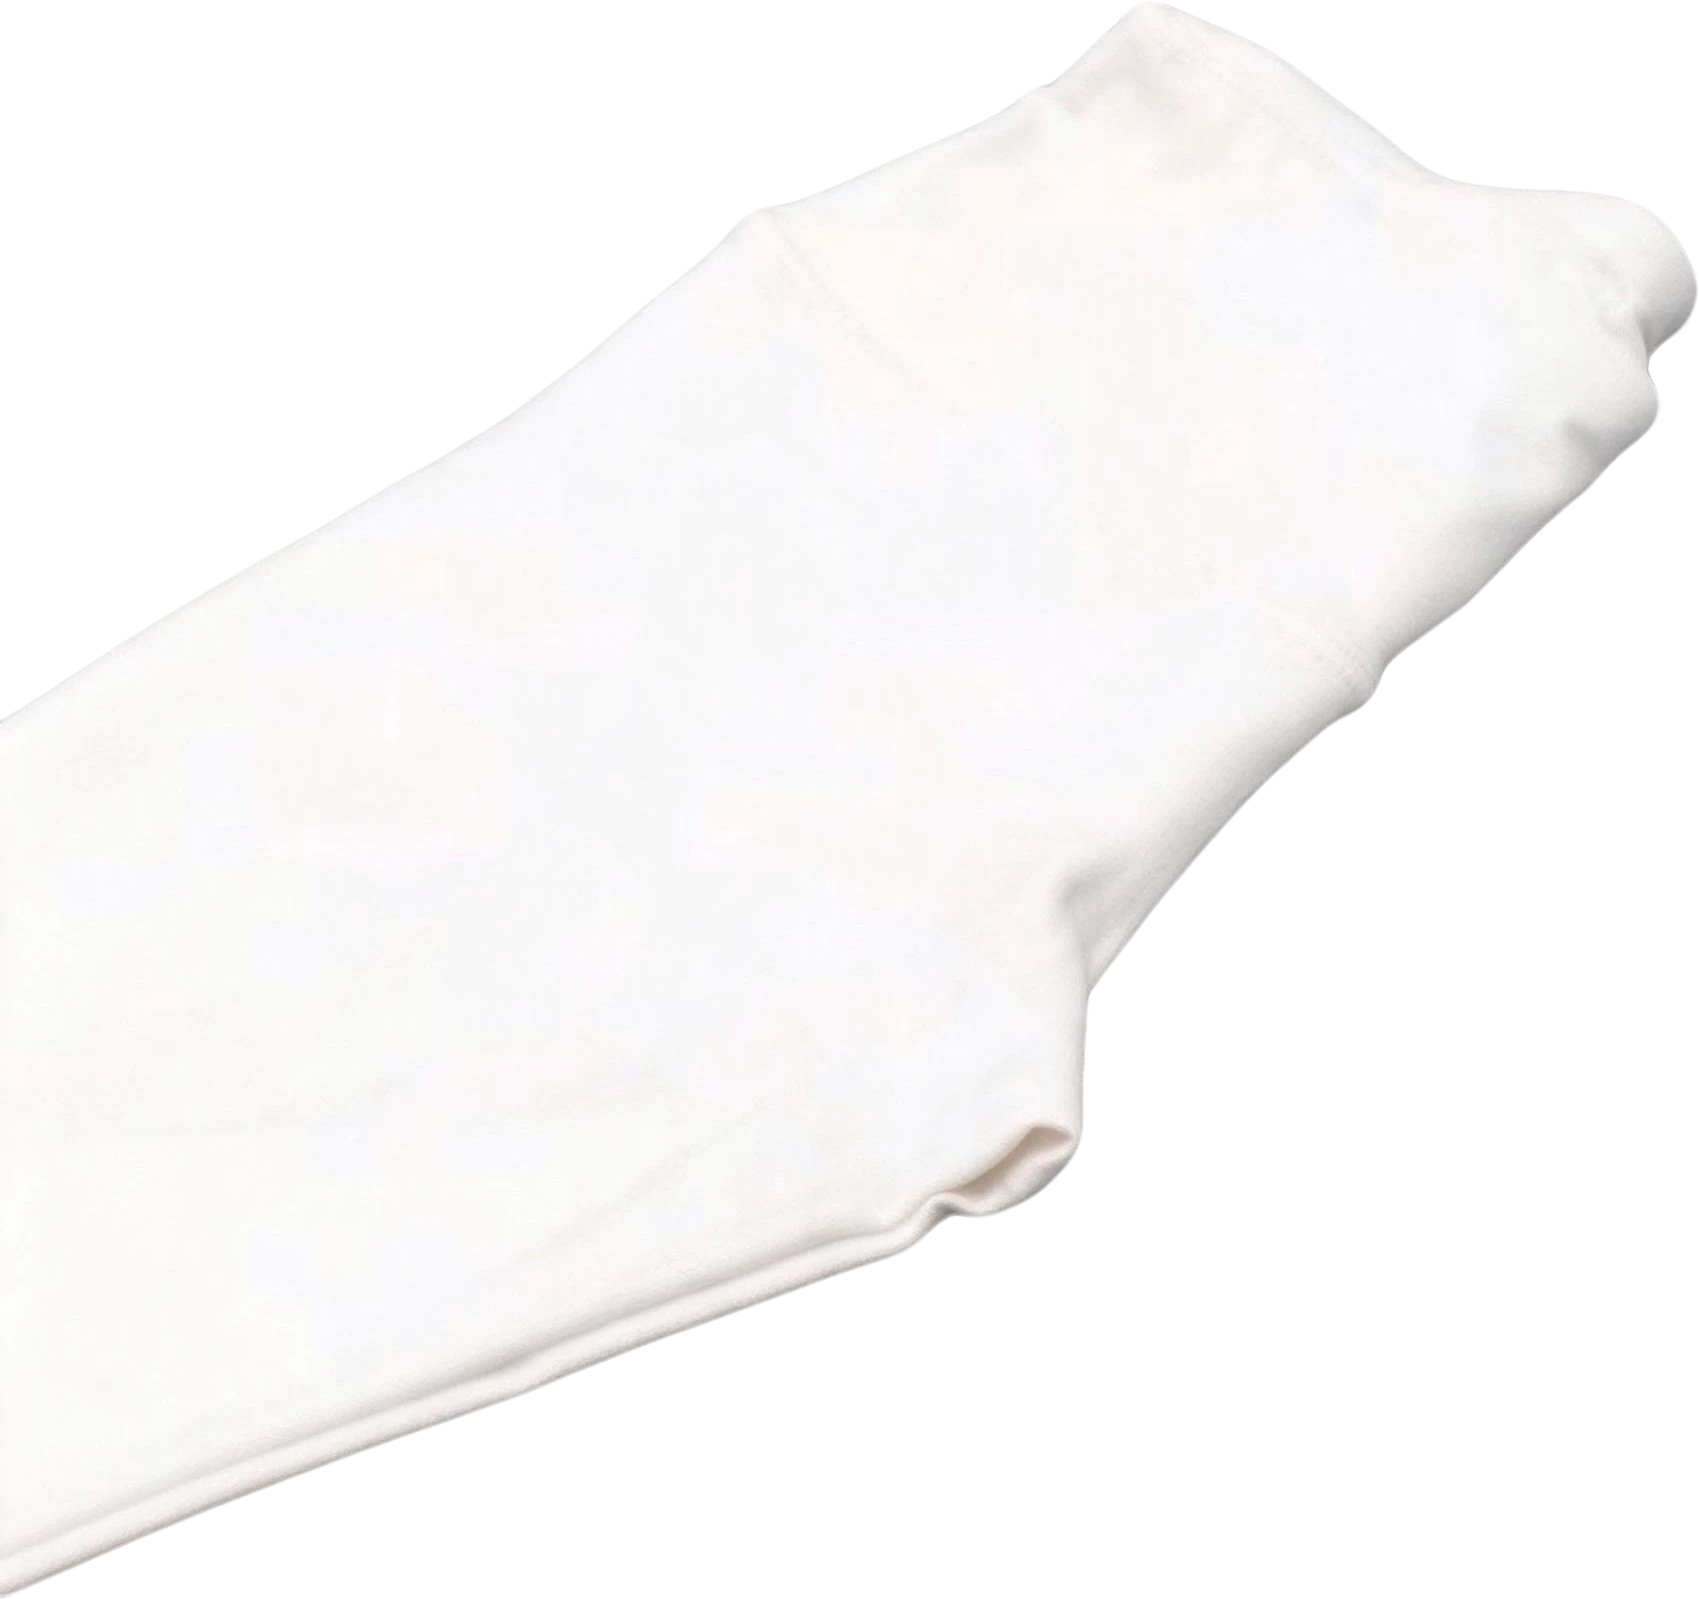
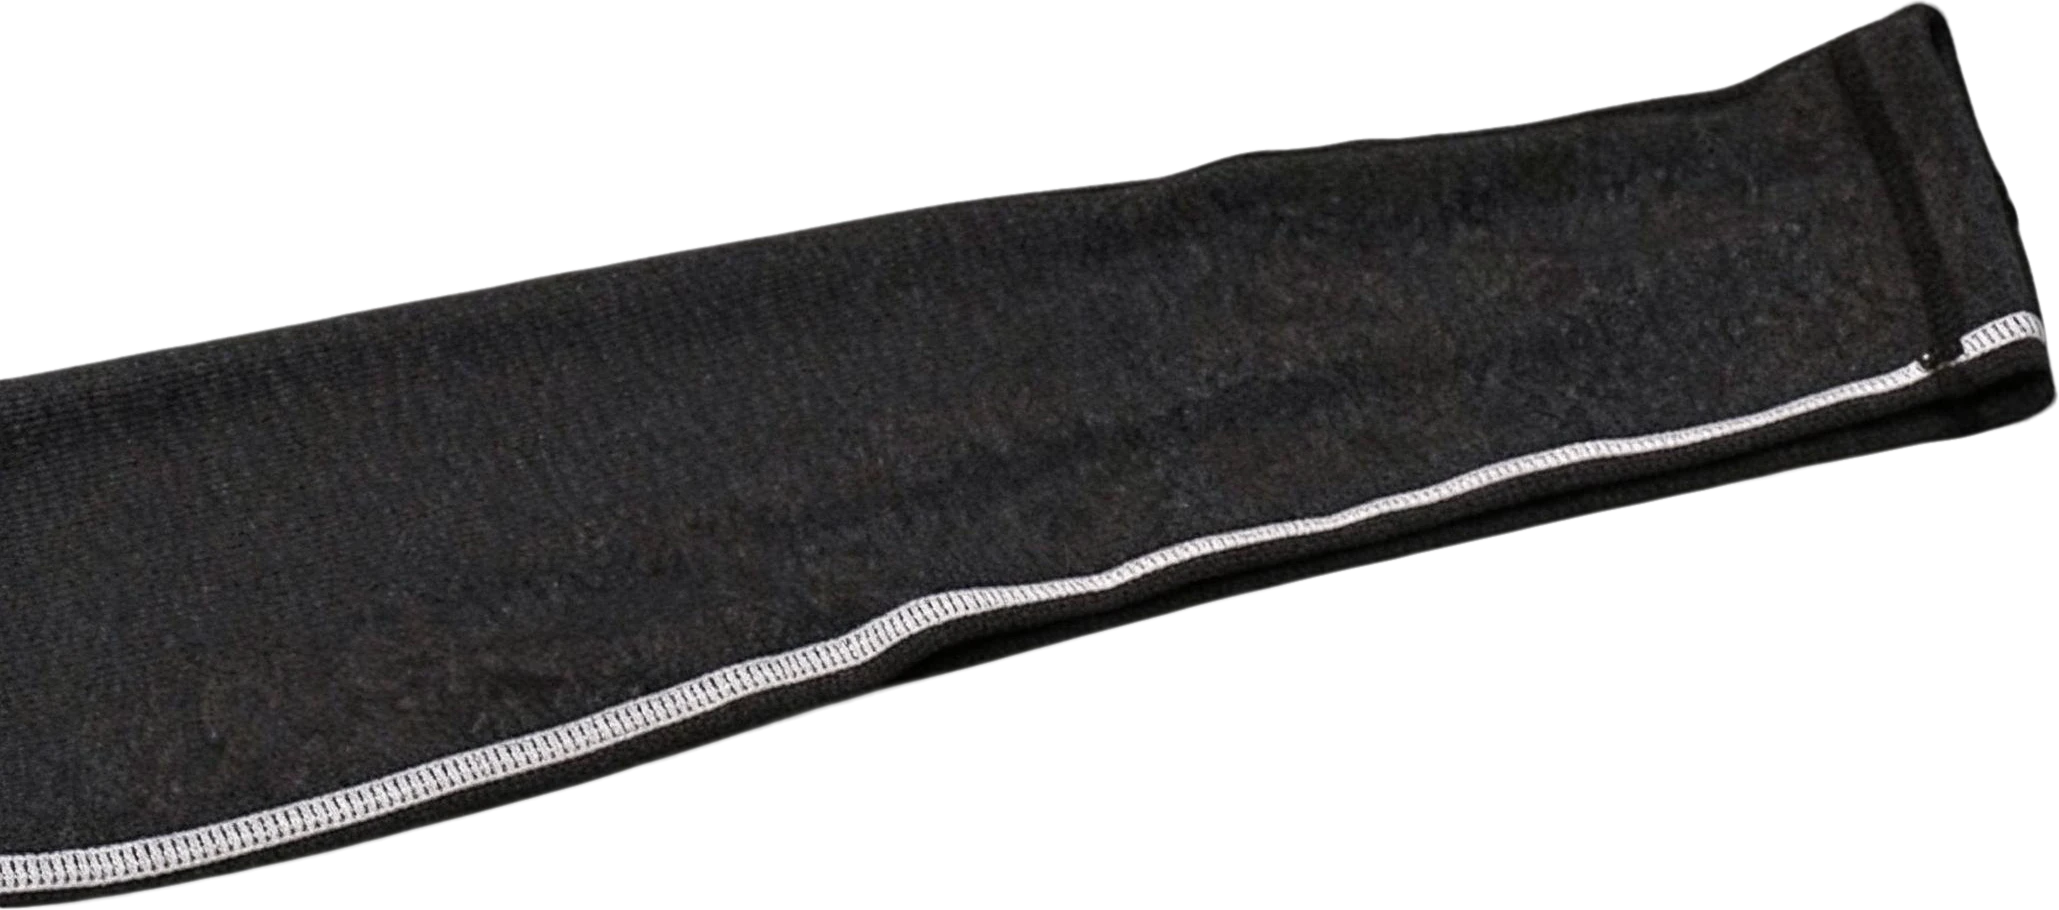
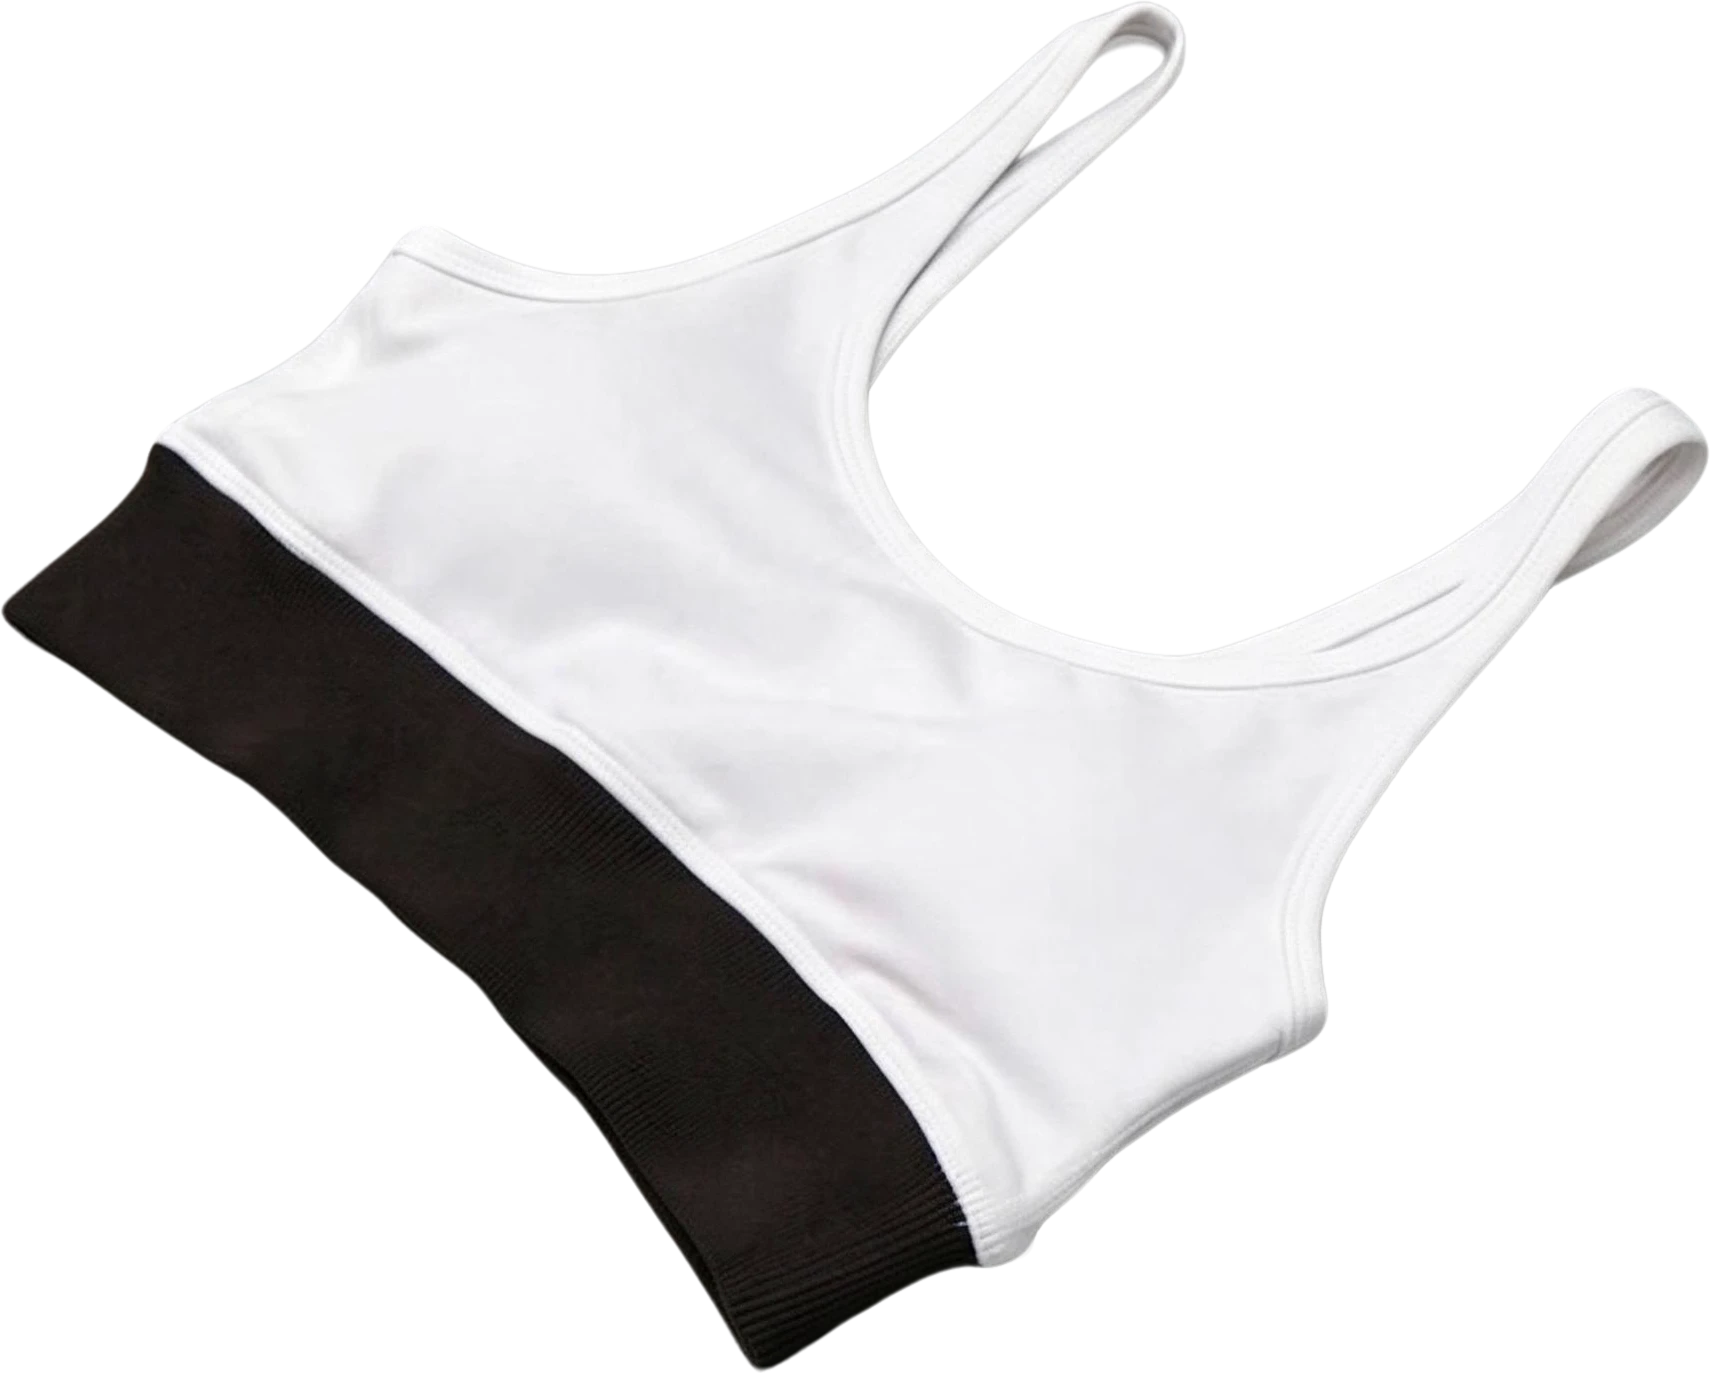
Sportswear flat-lay photo, a real split: the flat image and the 16 named layers it became.
16 個圖層・148 秒
Two-person photo, a real split: the flat image and the 2 named layers it became.
2 個圖層・46 秒 · 指定: “Separate the woman on the right”
把圖片上傳到這裡,按「拆成圖層」,一分鐘內每個元素都會變成一張有名字的透明圖層,外加補完的背景。不用安裝任何軟體,瀏覽器就能跑,匯出 PSD、PNG 或 ZIP。
這一頁的範例不用帳號就能操作。拆自己的圖片要用點數:支援地區的新帳號會拿到 30 點,夠拆 3 個圖層。之後每個圖層 10 點,月費 $12 的方案一個月大約可拆 120 個圖層。
去背只留一個主體,其他全部丟掉。拆圖層會把所有元素都留下來,包括文字和小圖示,各自一層,還會把元素後面被遮住的背景重新畫出來。所以移動或刪除任何元素都不會留下破洞。
通常 7 到 10 個,加上補完的背景,最多 16 個。如果某一層還要再細(例如角色、臉),可以在編輯器選取那一層再拆一次。
文字回來的是圖片圖層,不是可編輯的文字。但因為底下的背景已經補完,你可以把文字圖層隱藏,在任何設計軟體裡直接打上新文字。
可以。匯出的 PSD 保留圖層名稱、順序和位置,Photoshop、Affinity、Photopea 都能開。每個圖層也能直接複製貼到 Figma 或 Canva。另外有 Photoshop、Figma、Sketch 外掛和 Chrome 擴充功能,介面是英文。
最後更新 2026-10-01