LayerGrab

How to Split an Image into Layers for After Effects

To animate a still image in After Effects, every part that moves has to sit on its own layer, and the picture behind it has to be filled in, or the motion uncovers a hole. After Effects animates layers; it does not split a flat JPG into them. The manual route is an afternoon in Photoshop: select each element, copy it to a new layer, then patch the gap it left. An AI layer splitter does that step in one pass: upload the image, get every element back as a named transparent layer over a filled background, download a layered PSD and import it into After Effects as a composition.

Last updated 2026-11-13

What After Effects needs from a still image

One element per layer. The headline, the product and the badge of a poster; or the foreground, the middle ground and the sky of a scene. Anything that moves on its own needs its own layer.

A background with no holes. The moment a layer moves, the viewer sees what was behind it. If that area is empty, the animation shows a cut-out silhouette.

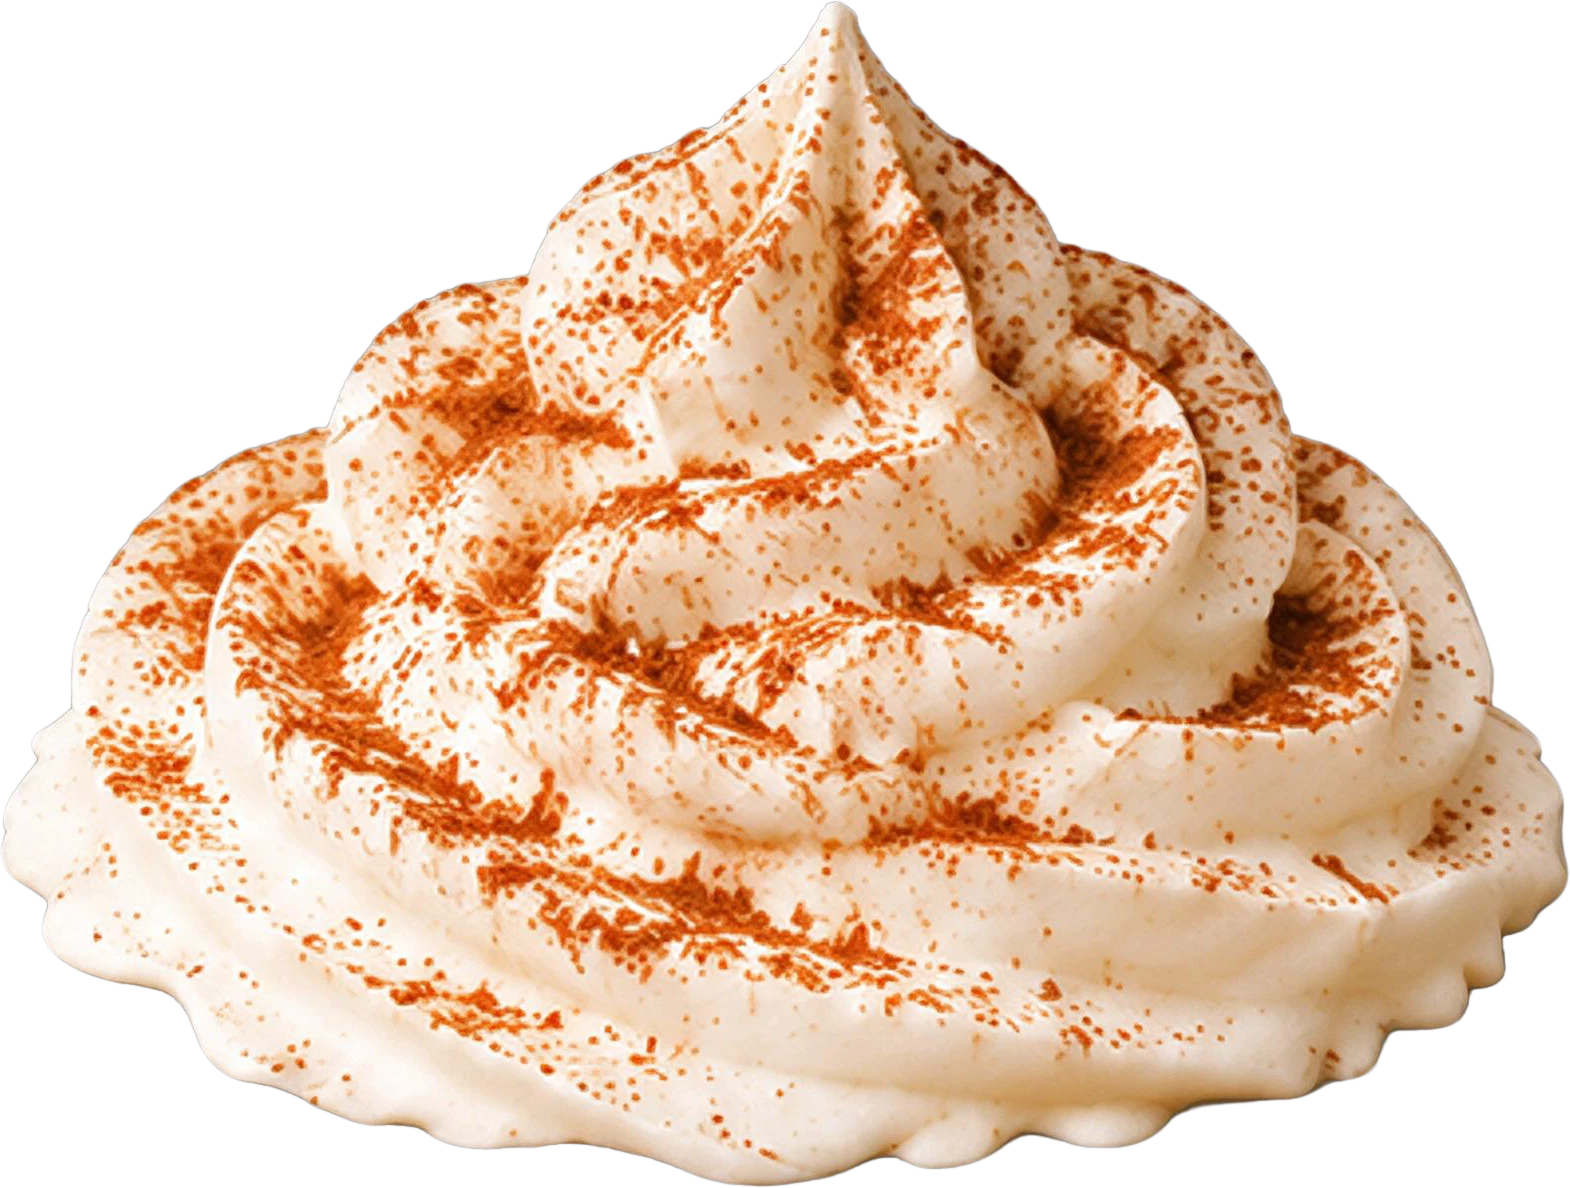
Whole elements, not pieces. If whipped cream sits on a cup and both should move, the cup layer has to be a whole cup, not a cup with a cream-shaped hole in it.

Names and positions kept. A PSD whose layers land in place, so the composition opens looking exactly like the original before you touch a keyframe.

The manual way, and the faster one

Ask most people how to prepare a picture for After Effects and you get the Photoshop routine: Select Subject or the Object Selection tool, copy the element to its own layer, then fill the gap with Content-Aware Fill or Generative Fill, element by element, before you save a PSD. It works. On a poster with ten parts it is also the slowest piece of the whole job, and the fill tools paint the gap only after you have cut each part out yourself.

An AI splitter does the separating and the filling together. LayerGrab, for example, returns up to 16 named, transparent layers plus the filled background in 45–120 seconds, and hands you the stack as a layered PSD. Disclosure: LayerGrab is the author's product; the import and animation steps below are the same whichever tool made the layers, and follow Adobe's guide to importing Photoshop files.

From flat image to After Effects composition

  1. 1

    Start from the largest copy you have

    PNG, JPG or WebP, up to 20 MB. Layers come back at about 2K, so a bigger, sharper source gives cleaner edges when the camera pushes in.

  2. 2

    Choose All layers or One layer

    All layers splits the whole picture: right for an animated poster or a scene with several moving parts. One layer pulls out only what you name, such as “the cat” or “the woman on the right”, plus the filled background: right when one thing moves in front of a still backdrop.

  3. 3

    Check the layers before you leave the browser

    Click a layer to see where it sits, hide a few to look at the filled background, and make sure the parts you want to move separately really are separate. If two of them came back as one layer, run the split again and name them in the box.

  4. 4

    Download the layered PSD

    Each layer keeps its name and its place in the frame, with the filled background at the bottom of the stack. A ZIP of transparent PNG files is there too if your editor prefers loose images.

  5. 5

    Import the PSD into After Effects as a composition

    File › Import › File, pick the PSD and set Import As to Composition - Retain Layer Sizes. Every Photoshop layer arrives as its own After Effects layer at its own size, in the same position. Keep the PSD in RGB: a CMYK file imports as one flat image.

  6. 6

    Animate

    Keyframe position, scale and opacity for an animated poster; switch layers to 3D and add a camera for a parallax push-in; pin a character with the Puppet Position Pin tool or rig it with Duik, a free rigging toolkit for After Effects.

Real examples

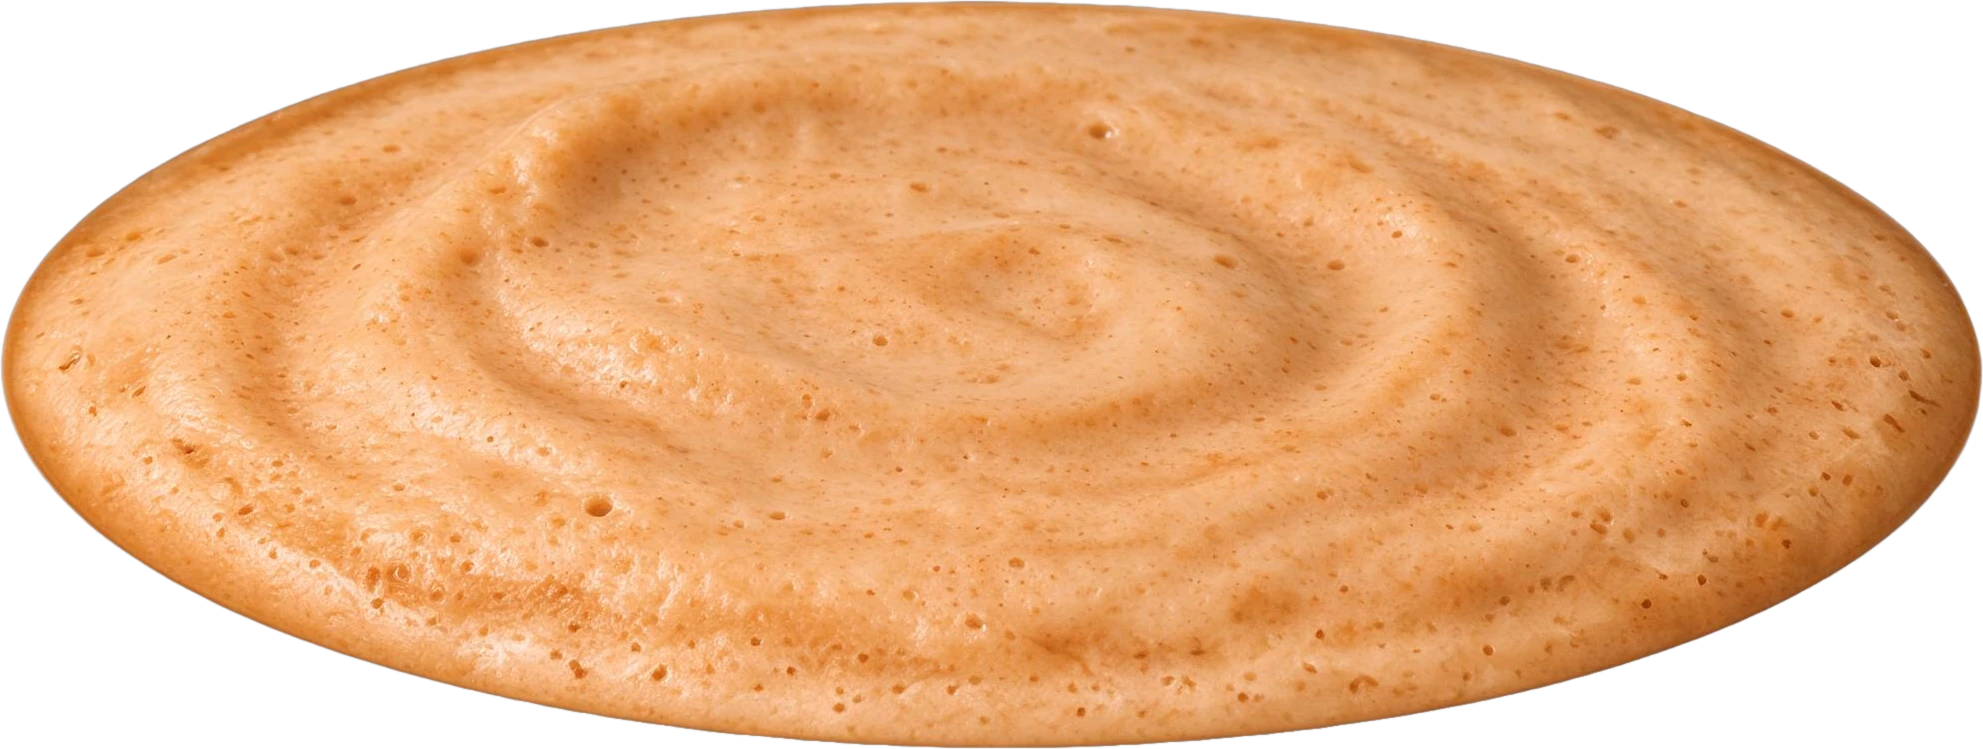
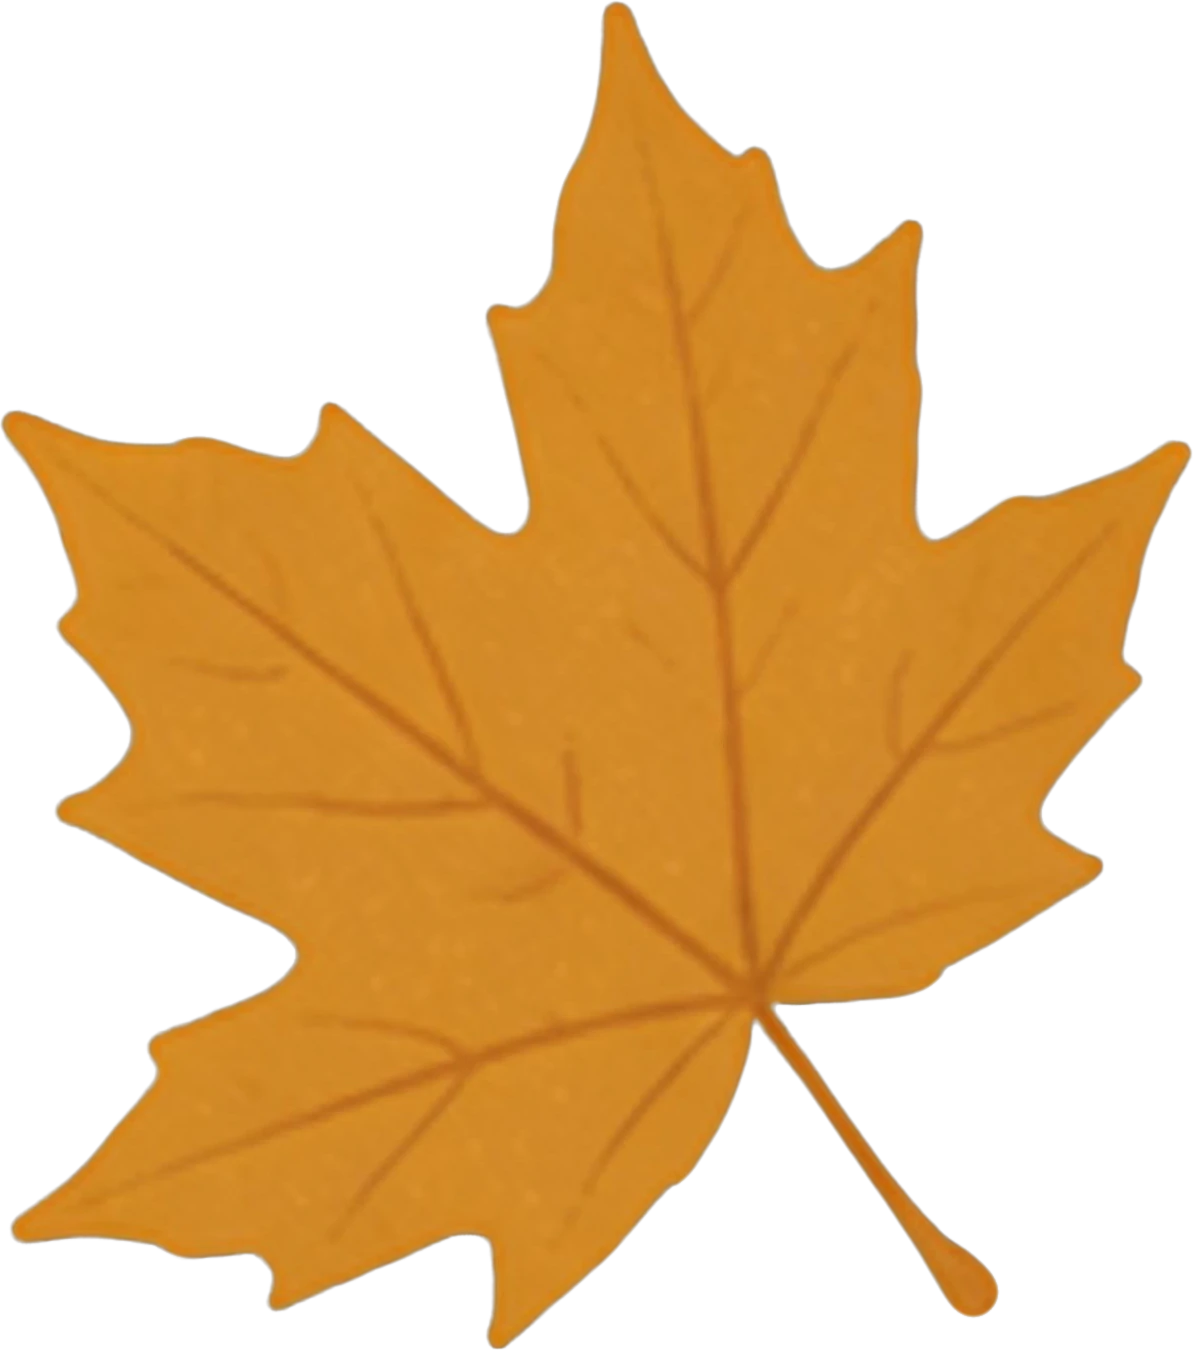
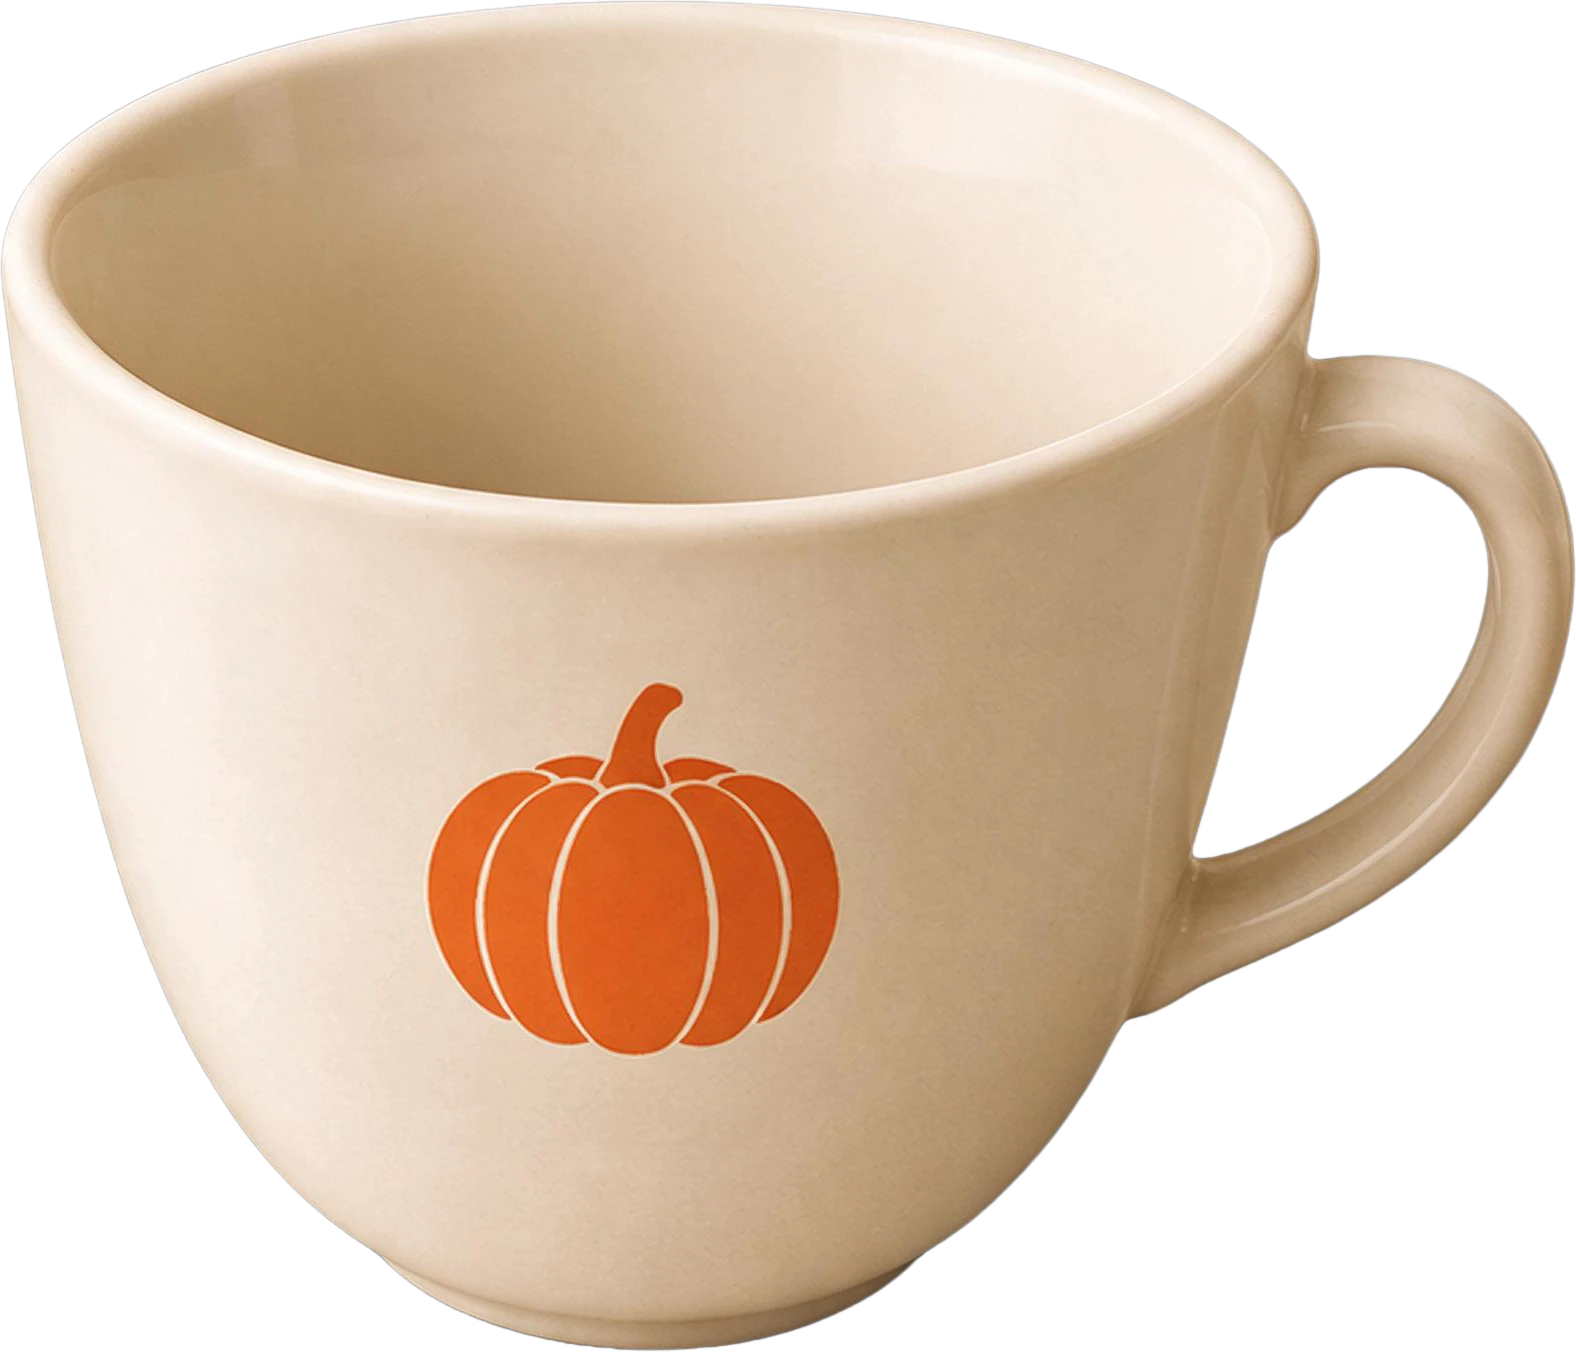
An animated poster. This coffee shop poster splits into the headline, the 20% OFF badge, four maple leaves, the cup, the drink and the whipped cream, each on its own layer. Look at the cup: it came back as an empty cup with its inside painted, not a cup with a hole where the cream used to be. That means the cream can drop in, the drink can fill up and the leaves can drift, without patching anything in After Effects.

Coffee shop poster — the flat original
White coffee cup with pumpkin logo — separated layerPumpkin spice latte drink base — separated layerWhipped cream topping with cinnamon dust — separated layer20% OFF red badge — separated layerAUTUMN LATTE WEEK headline text — separated layerYellow maple leaf (top left) — separated layer

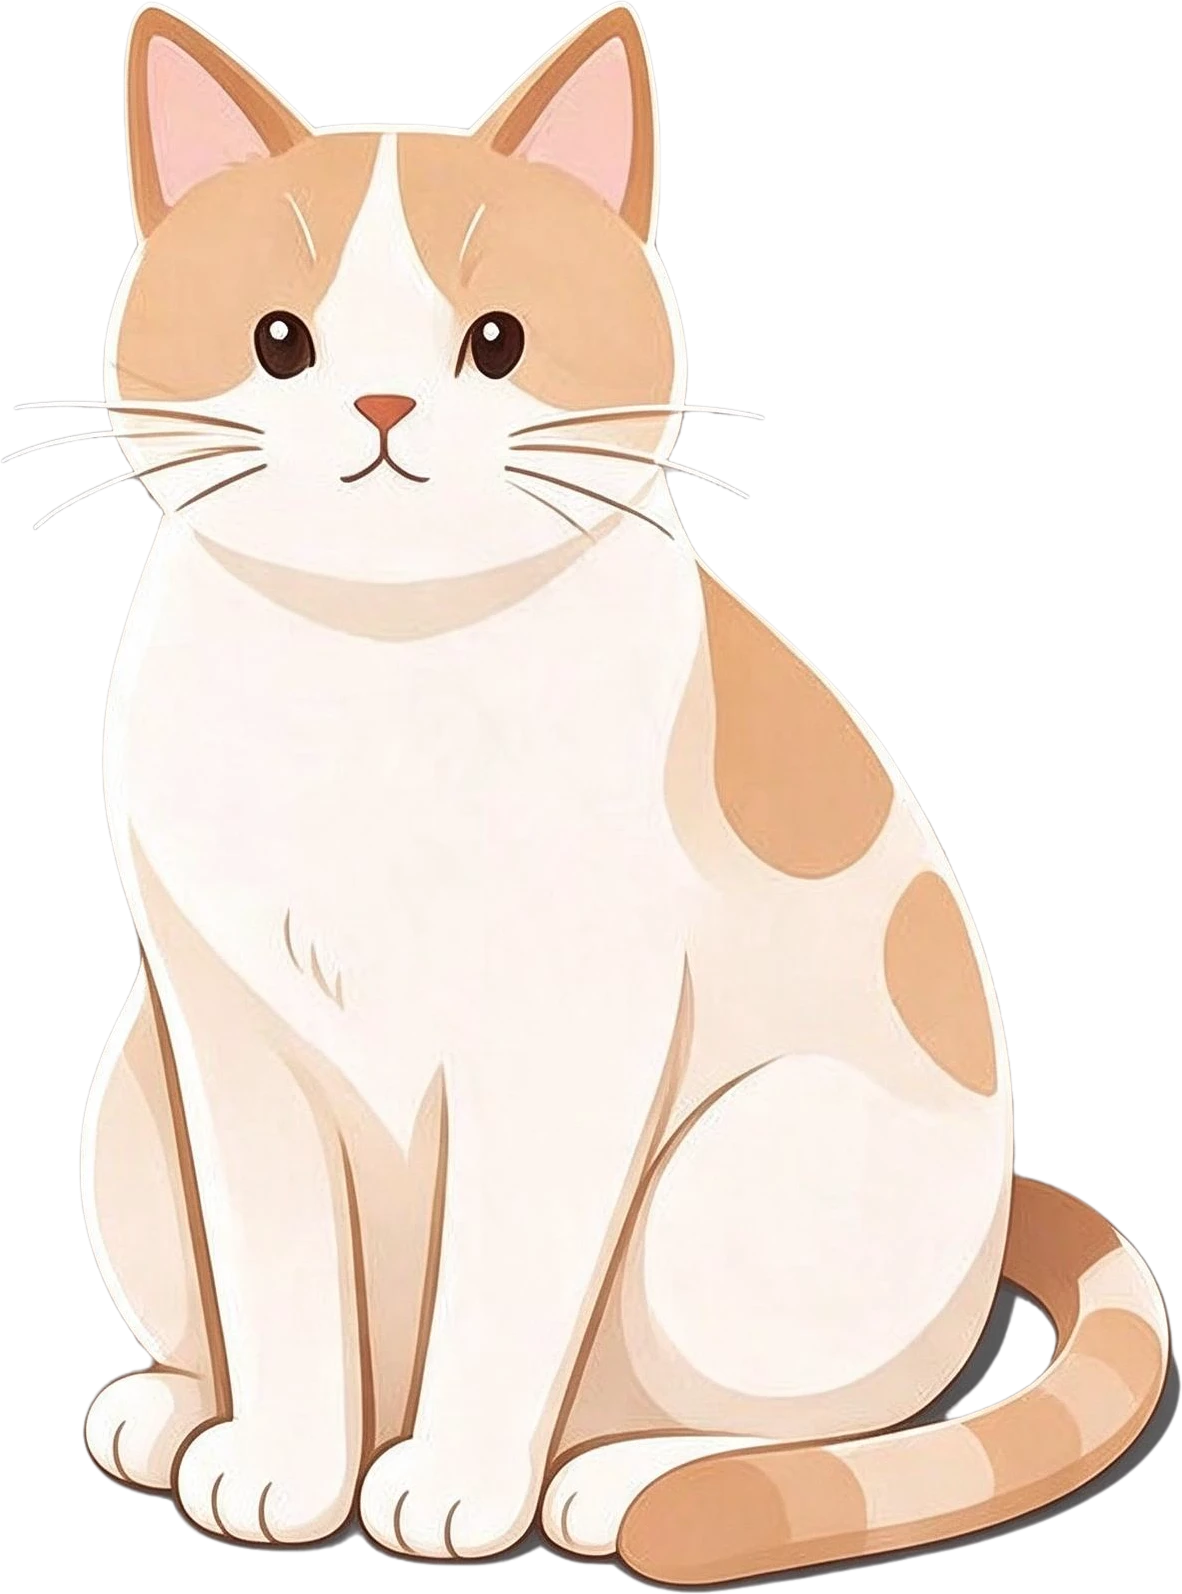
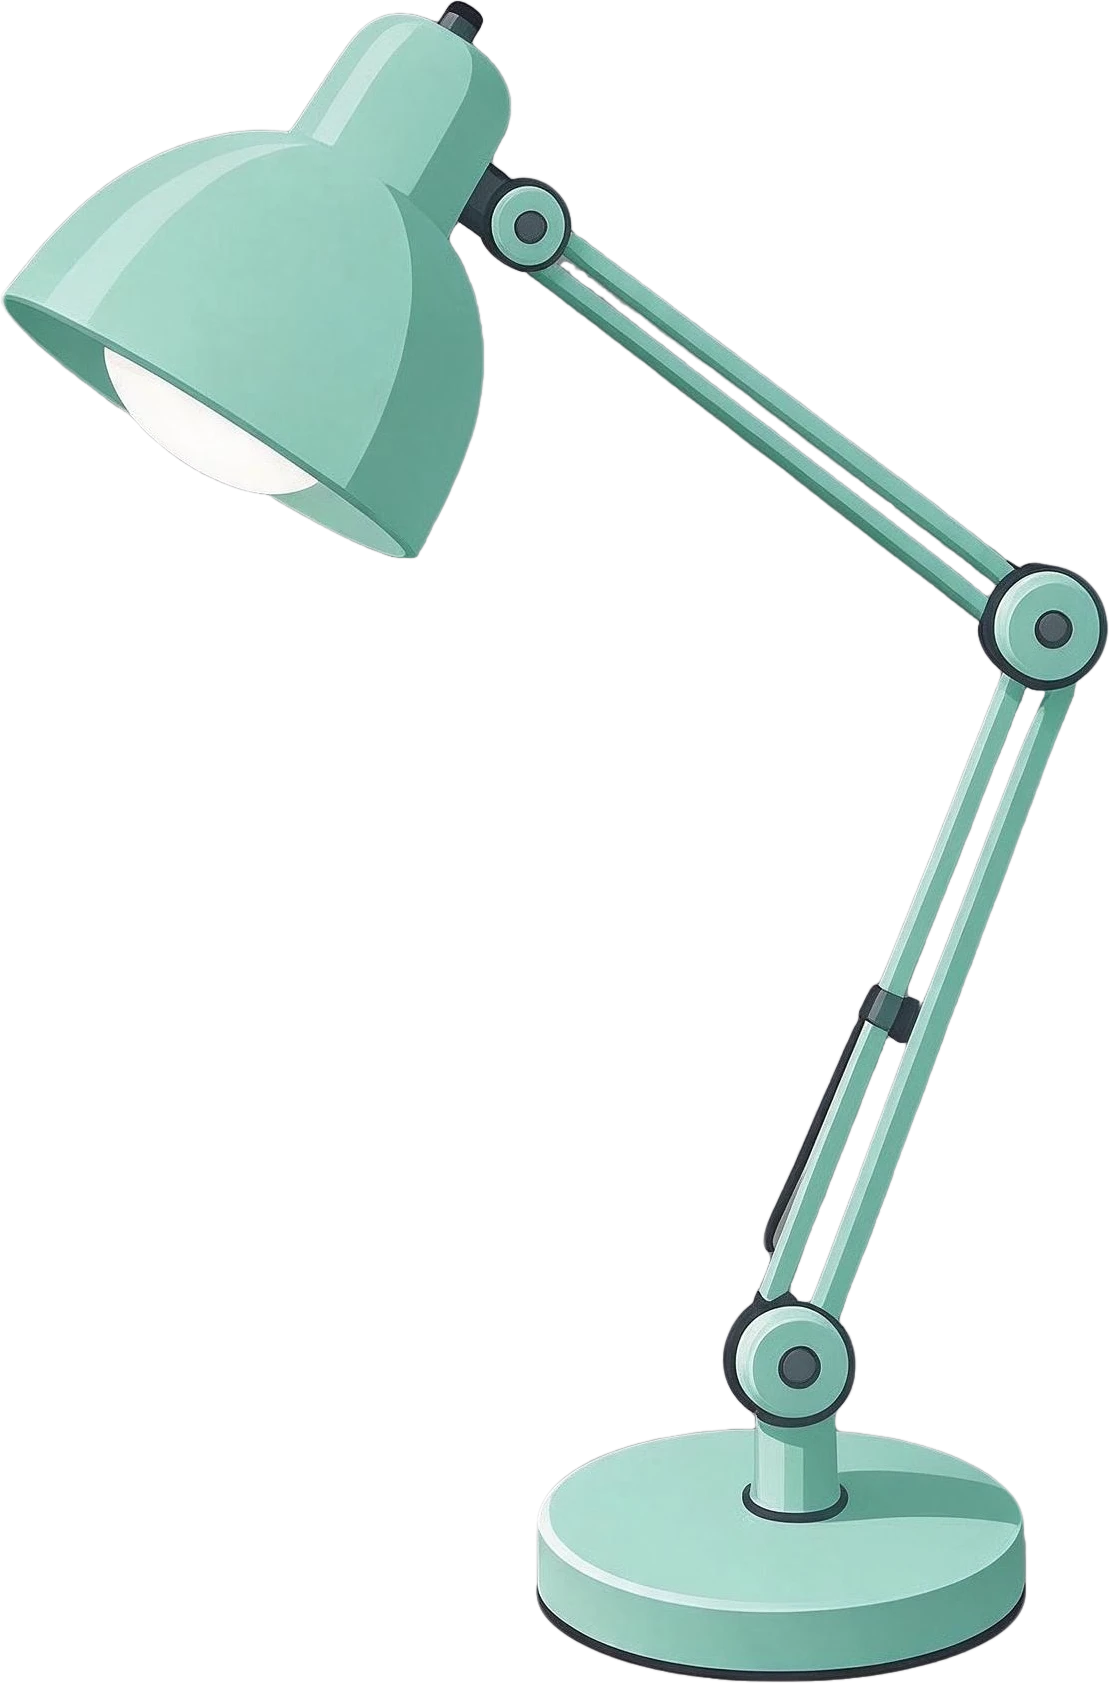
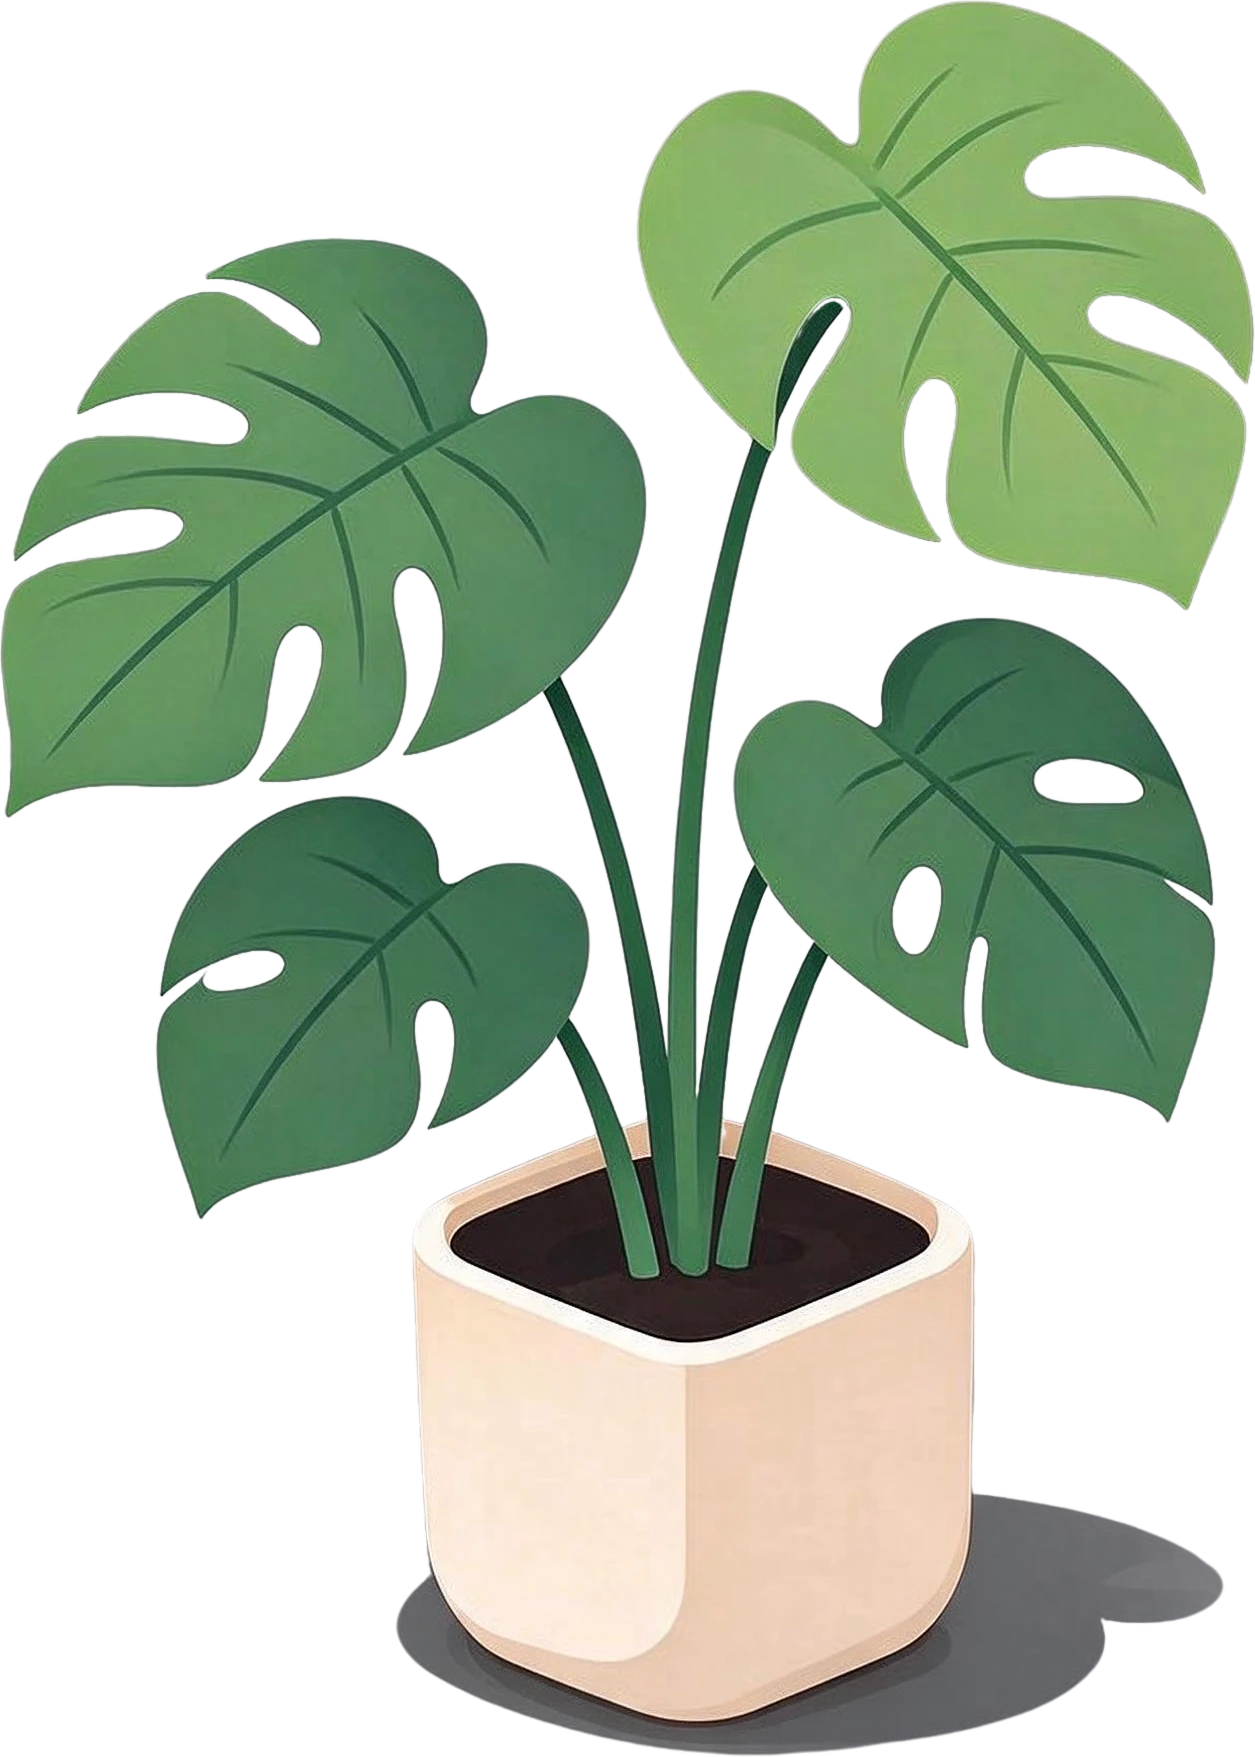
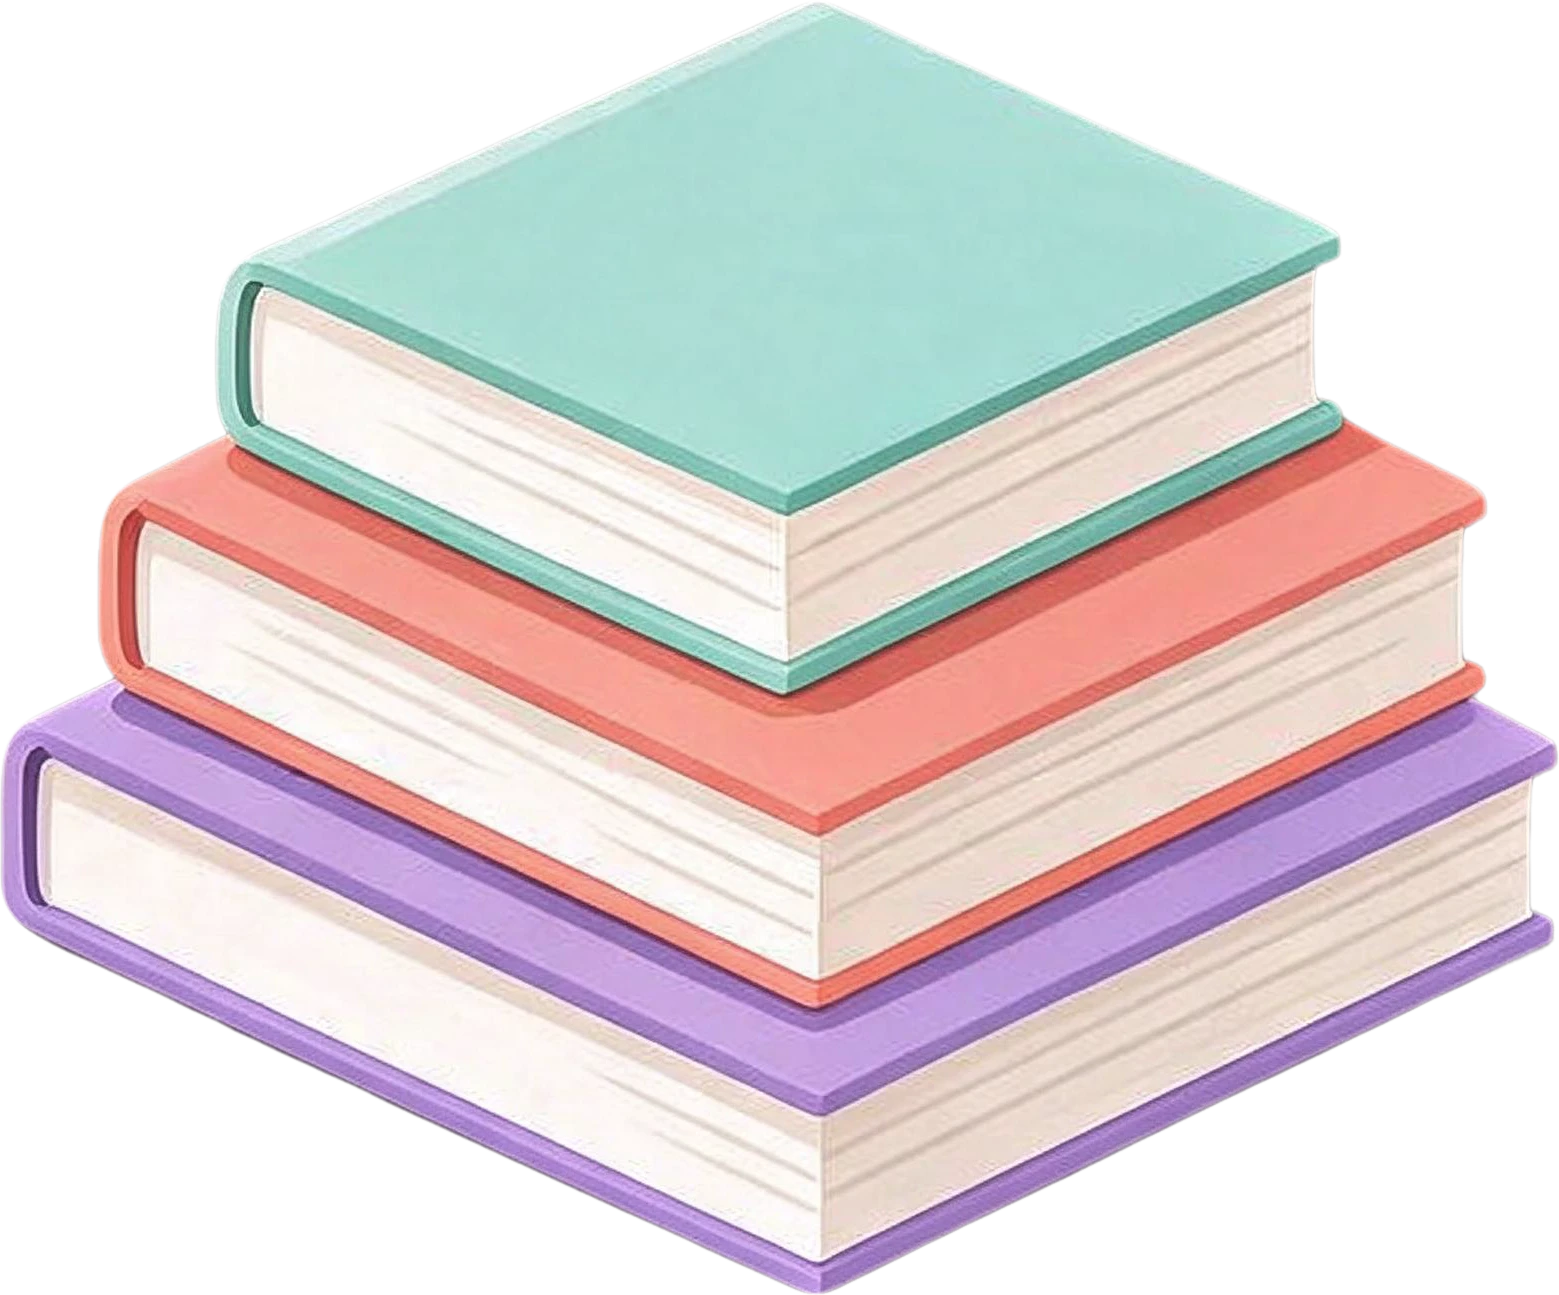
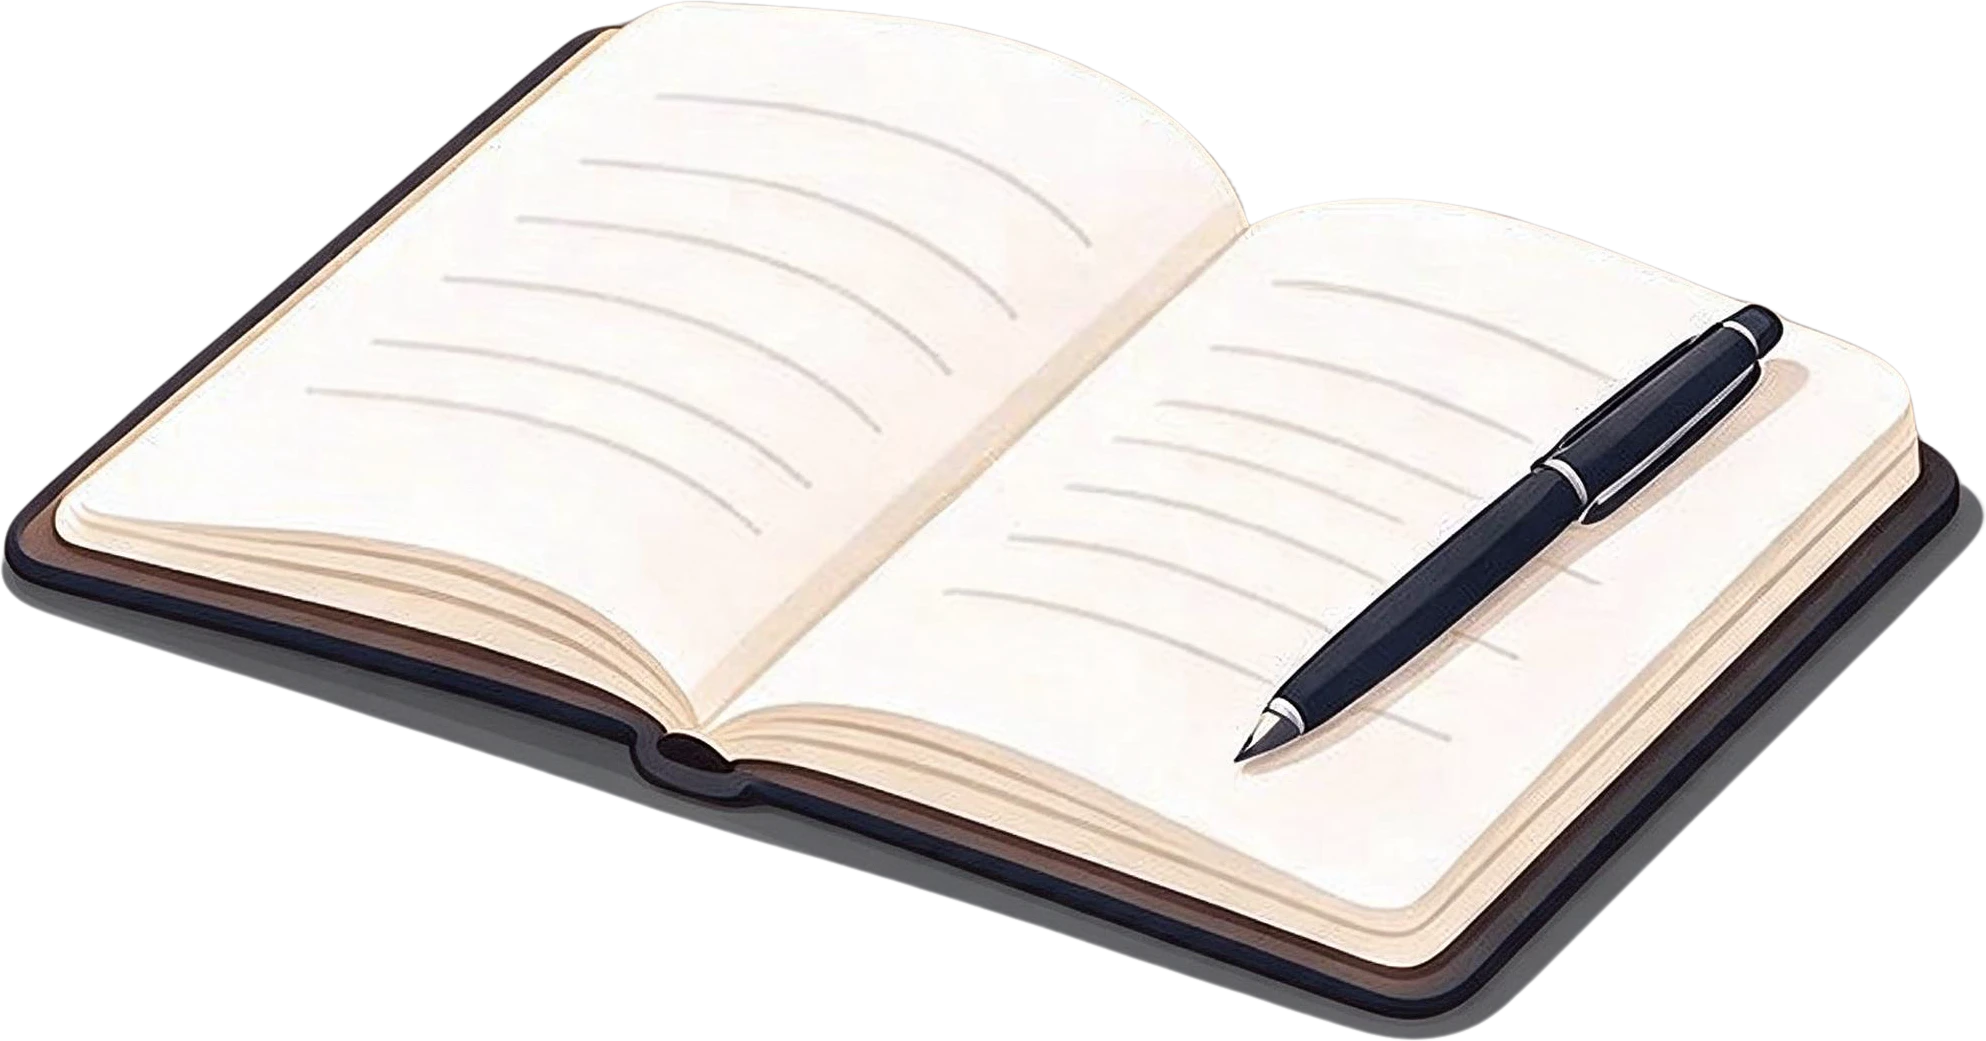
A parallax scene. The desk illustration comes back as the desk, laptop, lamp, plant, books, notebook and cat. Hide the front objects and the room behind them is already painted in, which is what a camera move needs: put the background far back in Z, the desk in the middle and the cat closest to the camera.

AI-generated desk illustration — original

10 layers

  • Sitting orange and white cat — separated layerSitting orange and white cat
  • Laptop with data visualization screen — separated layerLaptop with data visualization screen
  • Mint green adjustable desk lamp — separated layerMint green adjustable desk lamp
  • Potted plant in coffee mug — separated layerPotted plant in coffee mug
  • Monstera potted plant — separated layerMonstera potted plant
  • Stack of three books — separated layerStack of three books
  • Open notebook with pen — separated layerOpen notebook with pen
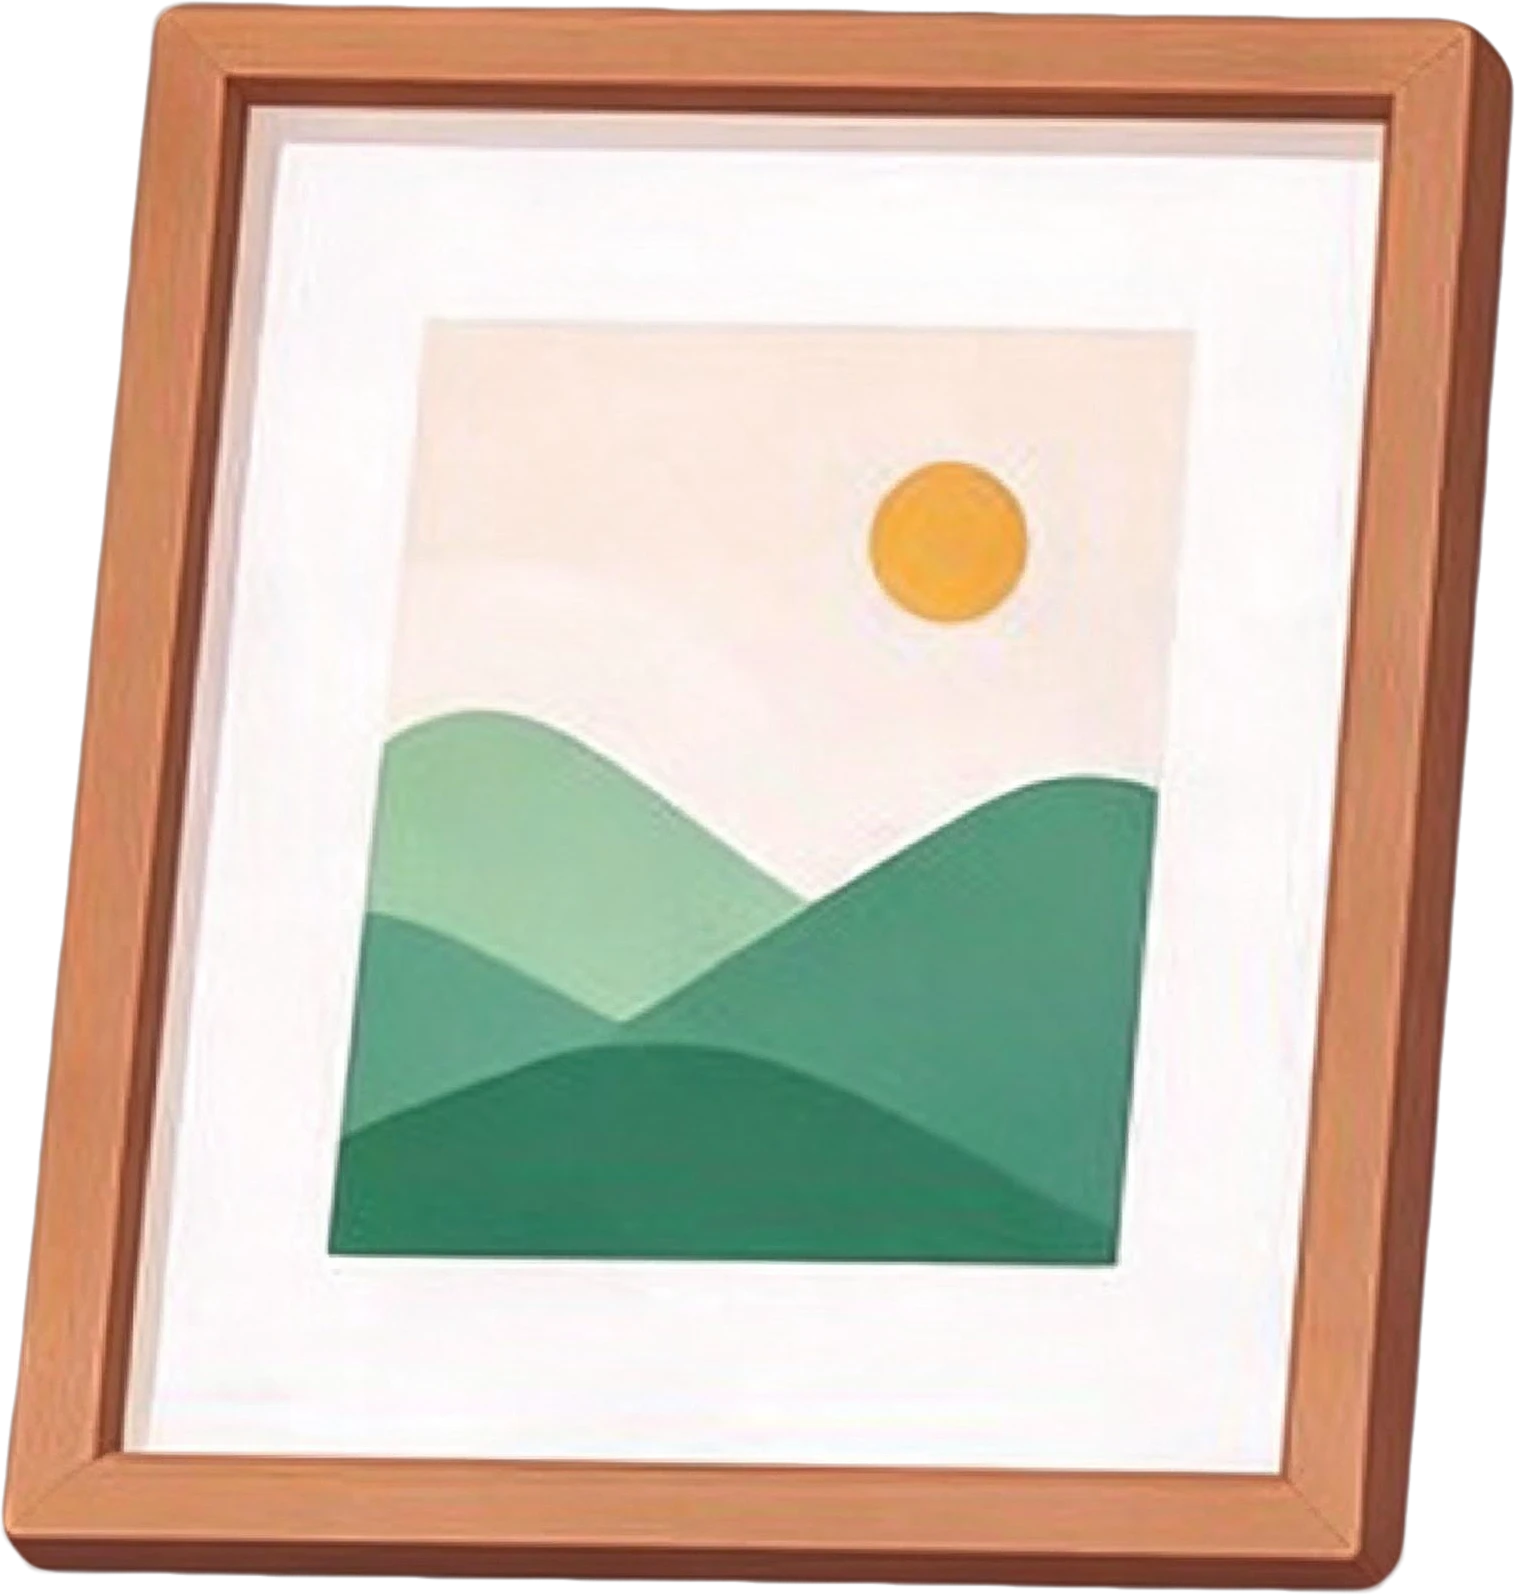
  • Small framed landscape photo — separated layerSmall framed landscape photo
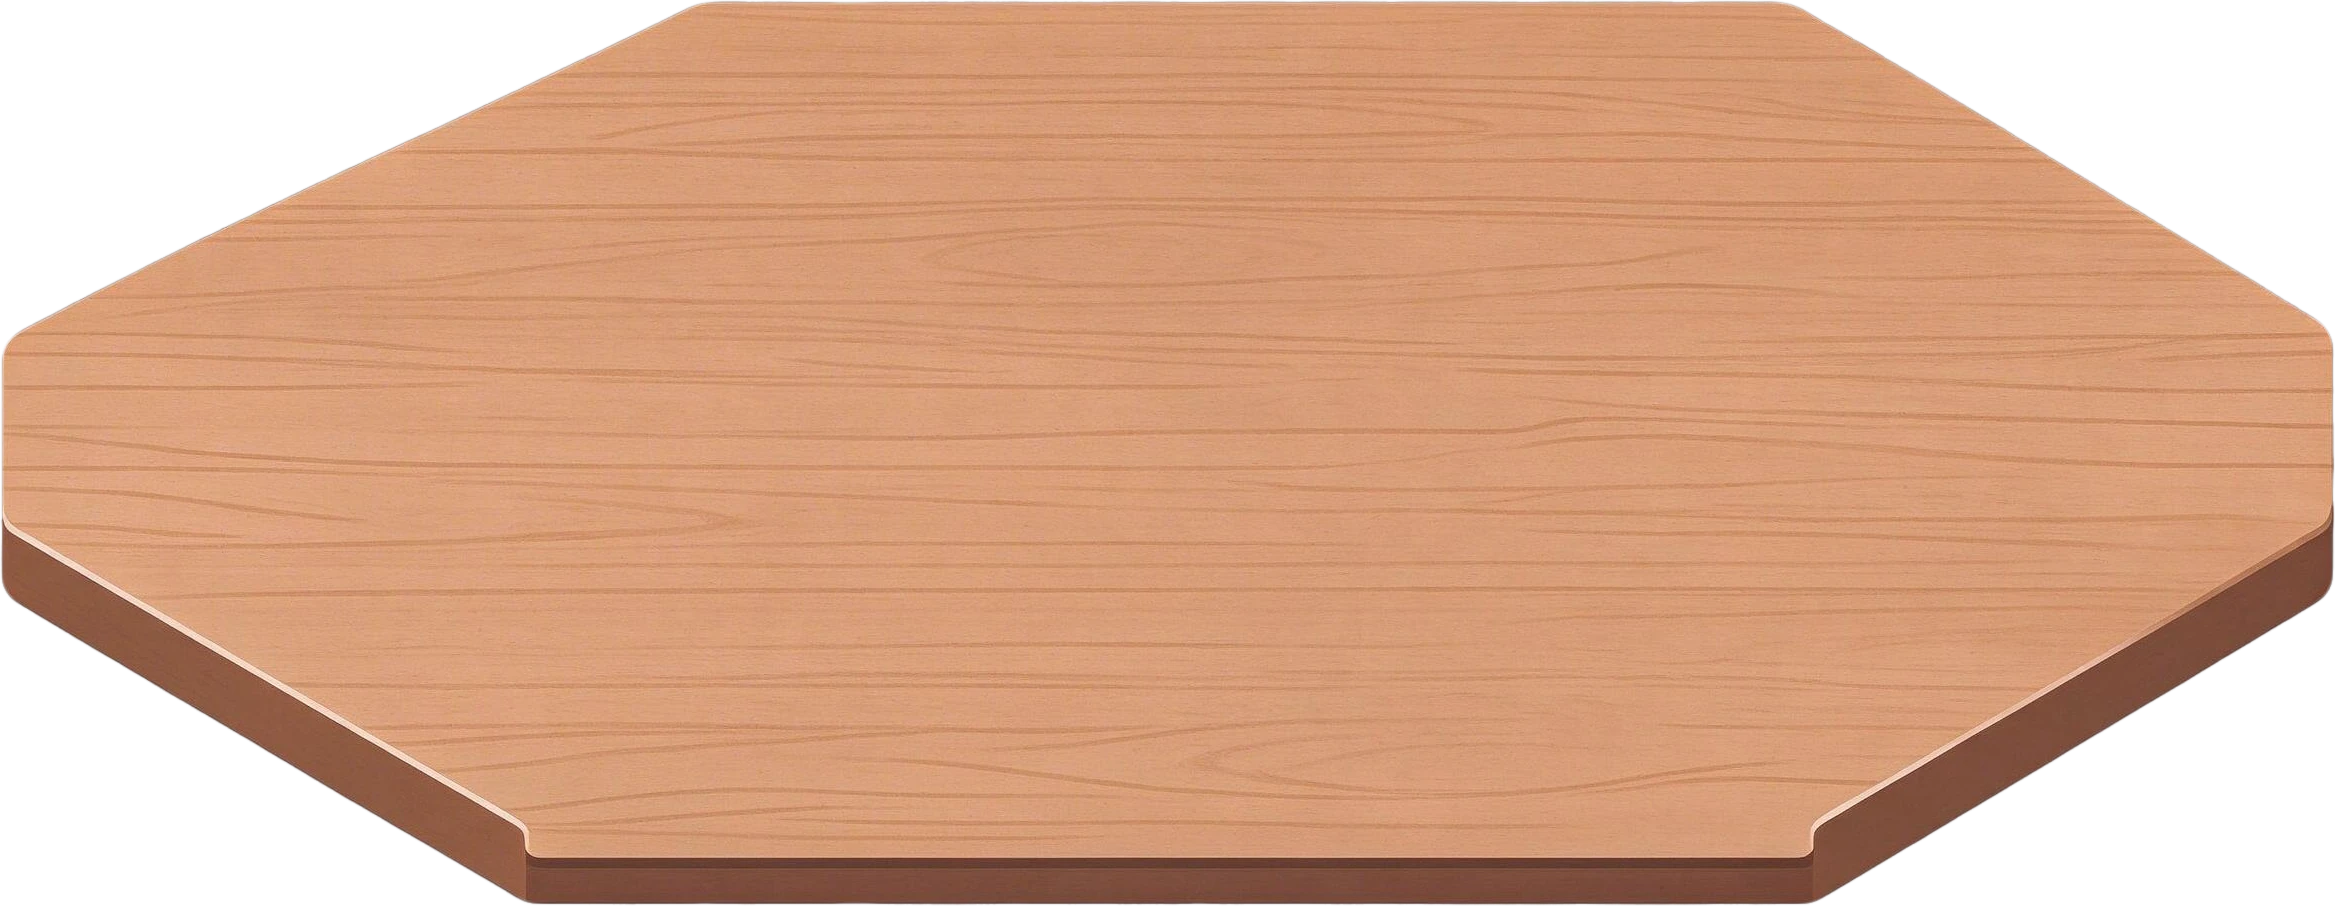
  • Wooden octagonal desk — separated layerWooden octagonal desk
  • Background (filled)
AI-generated desk illustration — original
Original
AI-generated desk illustration — front objects hidden, scene behind them filled
Front objects hidden, scene behind them filled

A photo with one subject. For a classic 2.5D push-in you only need the subject apart from the scene. A One layer split, asked for “the woman on the right” or “the red car”, returns the subject on a transparent layer and the photo with the gap filled. Two layers, two depths, and a slow camera move.

A quick parallax setup in After Effects

After importing the PSD as a composition, turn on the 3D Layer switch for each layer and add a camera (Layer › New › Camera). Push the filled background back in Z, leave the main subject near zero and pull foreground pieces towards the camera. Scale each pushed-back layer up until it fills the frame again, then animate the camera slowly. Adobe's guide to 3D layers covers the switches; the cameras guide covers the camera.

Characters are a different job: they need arms, legs and hair on separate layers, often split in more than one pass. That workflow has its own guide: how to split a character illustration into parts for animation.

When this is not the right tool

You need 4K plates for a long, slow push-in. Layers come back at about 2K. Scaled up for a 4K composition, edges soften on screen. Upscale first, or paint the plates at full size.

The scene has dozens of moving parts. One split returns at most 16 layers, so small parts get grouped. Split crops of the busy areas separately, or combine passes.

You want kinetic type from the poster text. Text comes back as a picture of the letters, not a type layer. Hide it and retype the words in After Effects to animate them character by character.

The source is video, not a still. Separating a subject across moving footage is rotoscoping inside After Effects. An image splitter works on single frames.

You still have the designer's layered file. Use it. Nothing rebuilt from a flat export is better than the original layers.

Hidden parts are usually drawn in, as with the cup above, but not always: on our character sample the neck, hands and ankles were not separated and had to be kept as an extra layer. Check each part at full size before you rig it.

Frequently asked questions

Can After Effects split an image into layers by itself?

No. After Effects animates the layers you bring in; a flat JPG or PNG imports as a single footage layer. Get the layers first, by hand in Photoshop or with an AI splitter, then import the layered PSD as a composition.

How do I import a layered PSD into After Effects with every layer separate?

Choose File › Import › File, select the PSD and set Import As to Composition - Retain Layer Sizes. After Effects builds a composition with one layer per Photoshop layer, each at its own size rather than the full frame, so anchor points sit on the element instead of the middle of the frame. Importing as Footage would merge the layers into one.

Is the background behind each element filled in?

Yes. The bottom layer of every split is the picture with all separated elements removed and the gaps painted in, so when the cup slides off the poster or the camera moves past the cat, there is scenery behind it rather than an empty silhouette. Check soft edges such as hair at full size before a long camera move.

What resolution do the layers come back at?

About 2K, or 4 megapixels, whatever size you upload: the samples on this page came back about 2,360 pixels on the long side. That is comfortable for a 1080p composition. For a 4K comp you will be scaling layers up, which shows on slow push-ins; upscale the source or the layers first if the shot is long.

Can I do the same parallax in Premiere Pro or CapCut?

Yes, with loose files. Download the ZIP of transparent PNGs, stack the filled background on the lowest track and each element above it, then animate position and scale per track. You do not get a real 3D camera, but slow opposing moves read as depth.

How much does it cost to prepare one poster for animation?

Splits are charged per layer returned, and the filled background counts as one. On the Basic plan and the credit packs a layer is 10 credits, so a ten-layer poster costs about 100 credits; a One layer split returns two layers. Every account gets one free One layer split.