Skincare Instagram post, a real split: the flat image and the 8 named layers it became.
Skincare Instagram post
8 layers in 80 s
LayerGrab turns a Canva design into a layered PSD: download it from Canva as a PNG, and each text block, photo and graphic comes back on its own named layer.
Image
Name one element. It comes back as a transparent PNG layer.
Sample split, free to explore: Skincare Instagram post


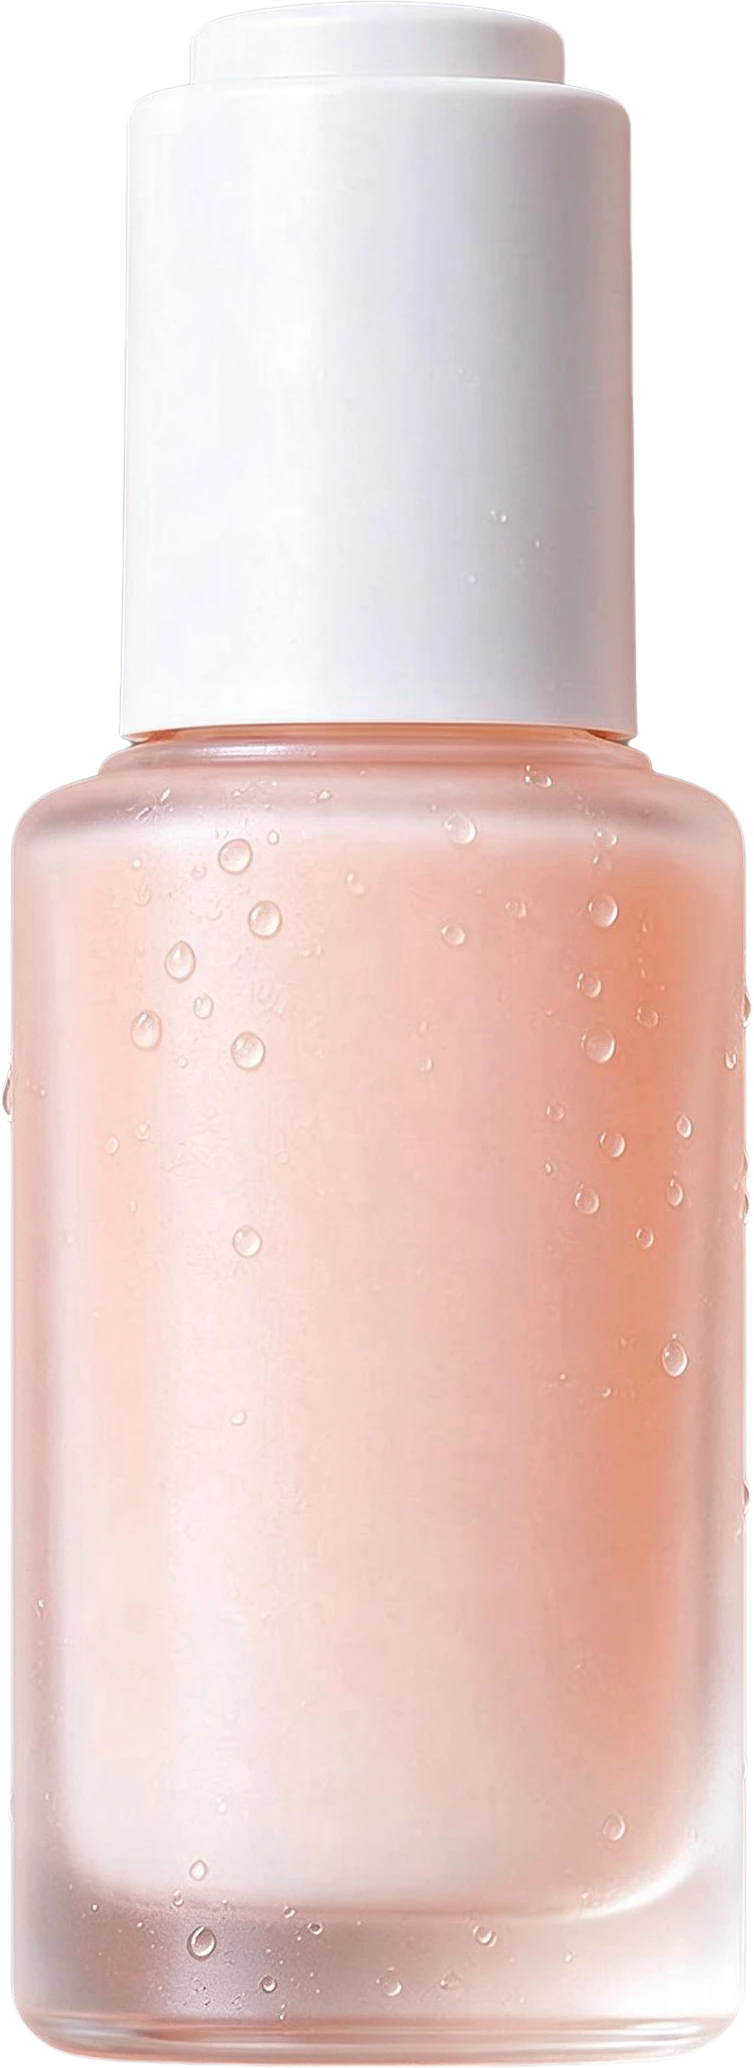
8 layers
Split in 80s
Background (filled)Every example on this page is a real result: the original, the filled background and each named layer, exactly as the tool returned them.
Skincare Instagram post, a real split: the flat image and the 8 named layers it became.
8 layers in 80 s
Coffee shop poster, a real split: the flat image and the 11 named layers it became.
11 layers in 100 s
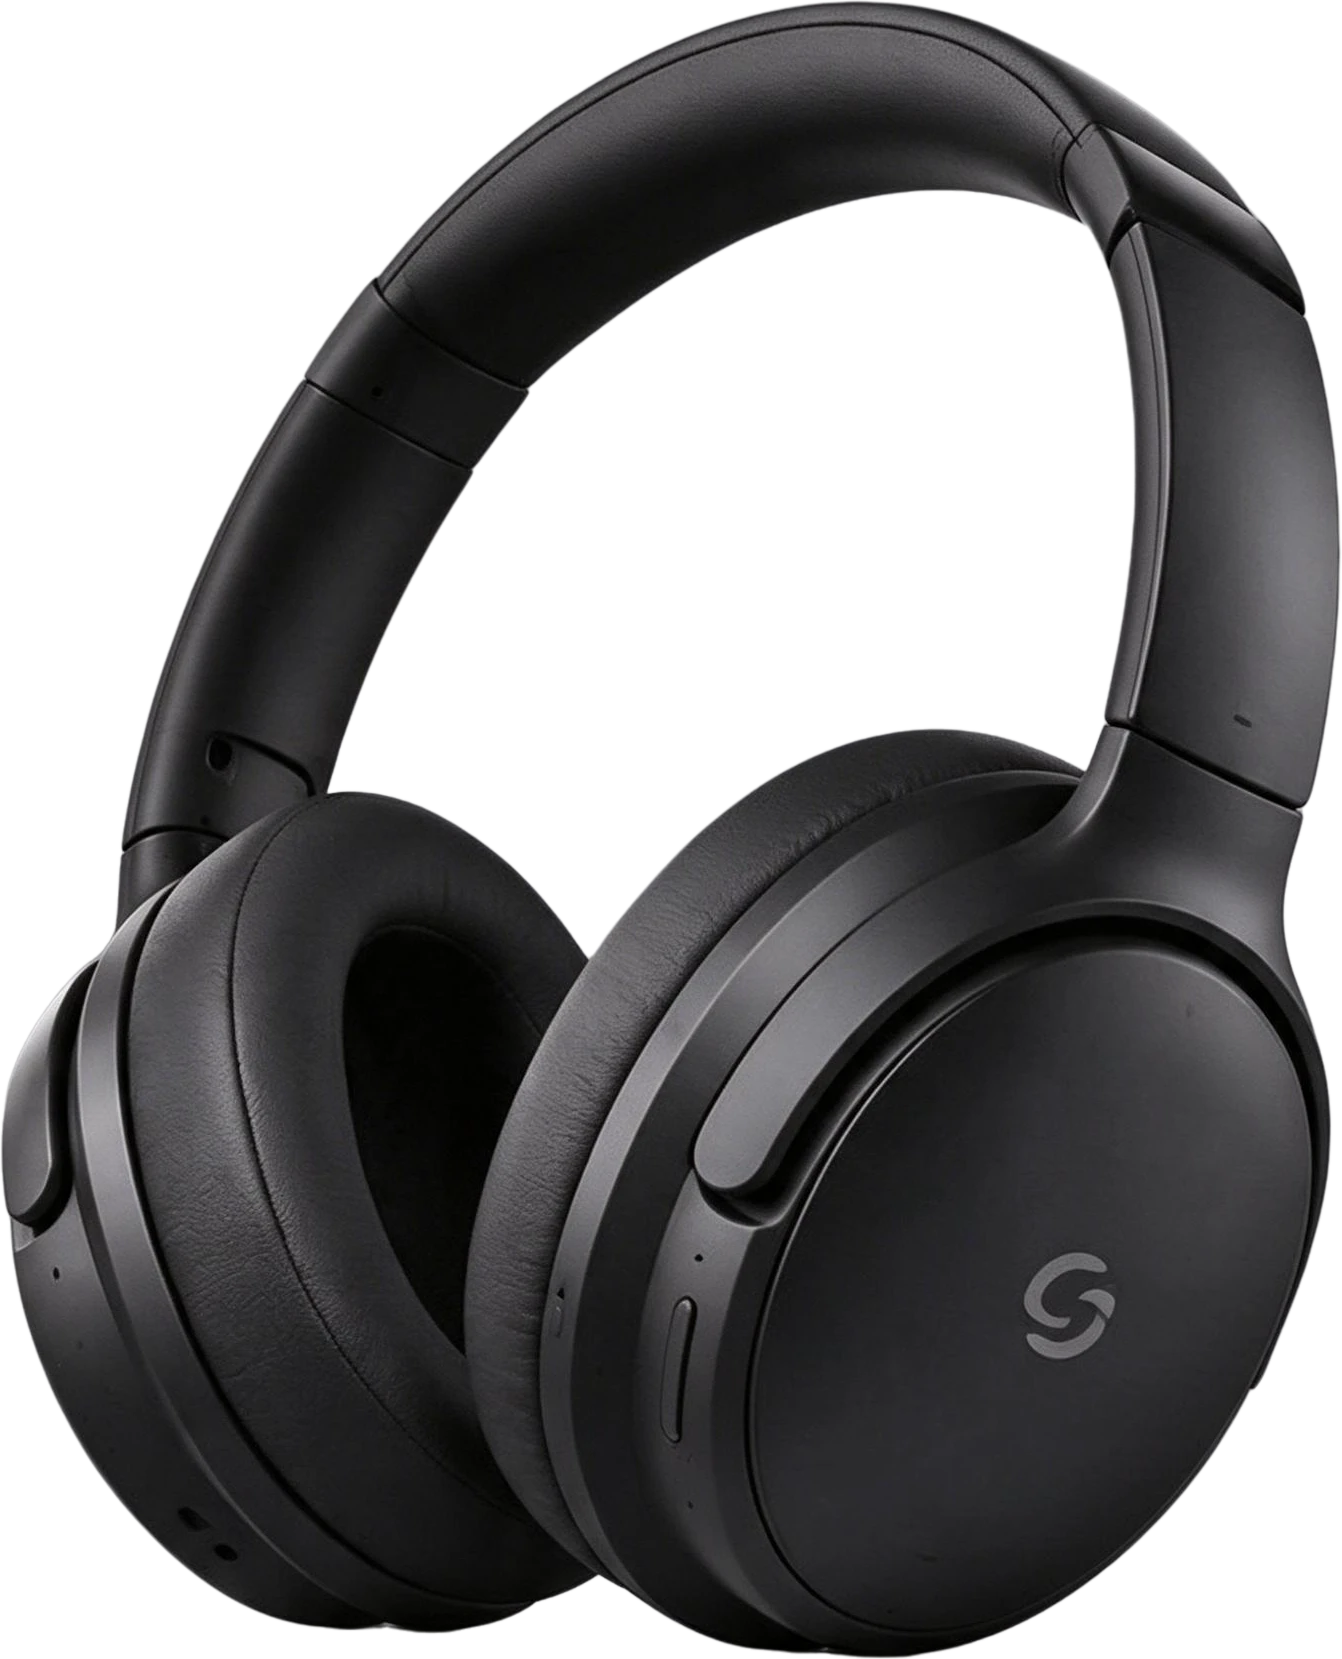
Headphones product banner, a real split: the flat image and the 8 named layers it became.
8 layers in 66 s
AI-generated desk illustration, a real split: the flat image and the 10 named layers it became.
10 layers in 100 s
Anime room illustration, a real split: the flat image and the 7 named layers it became.
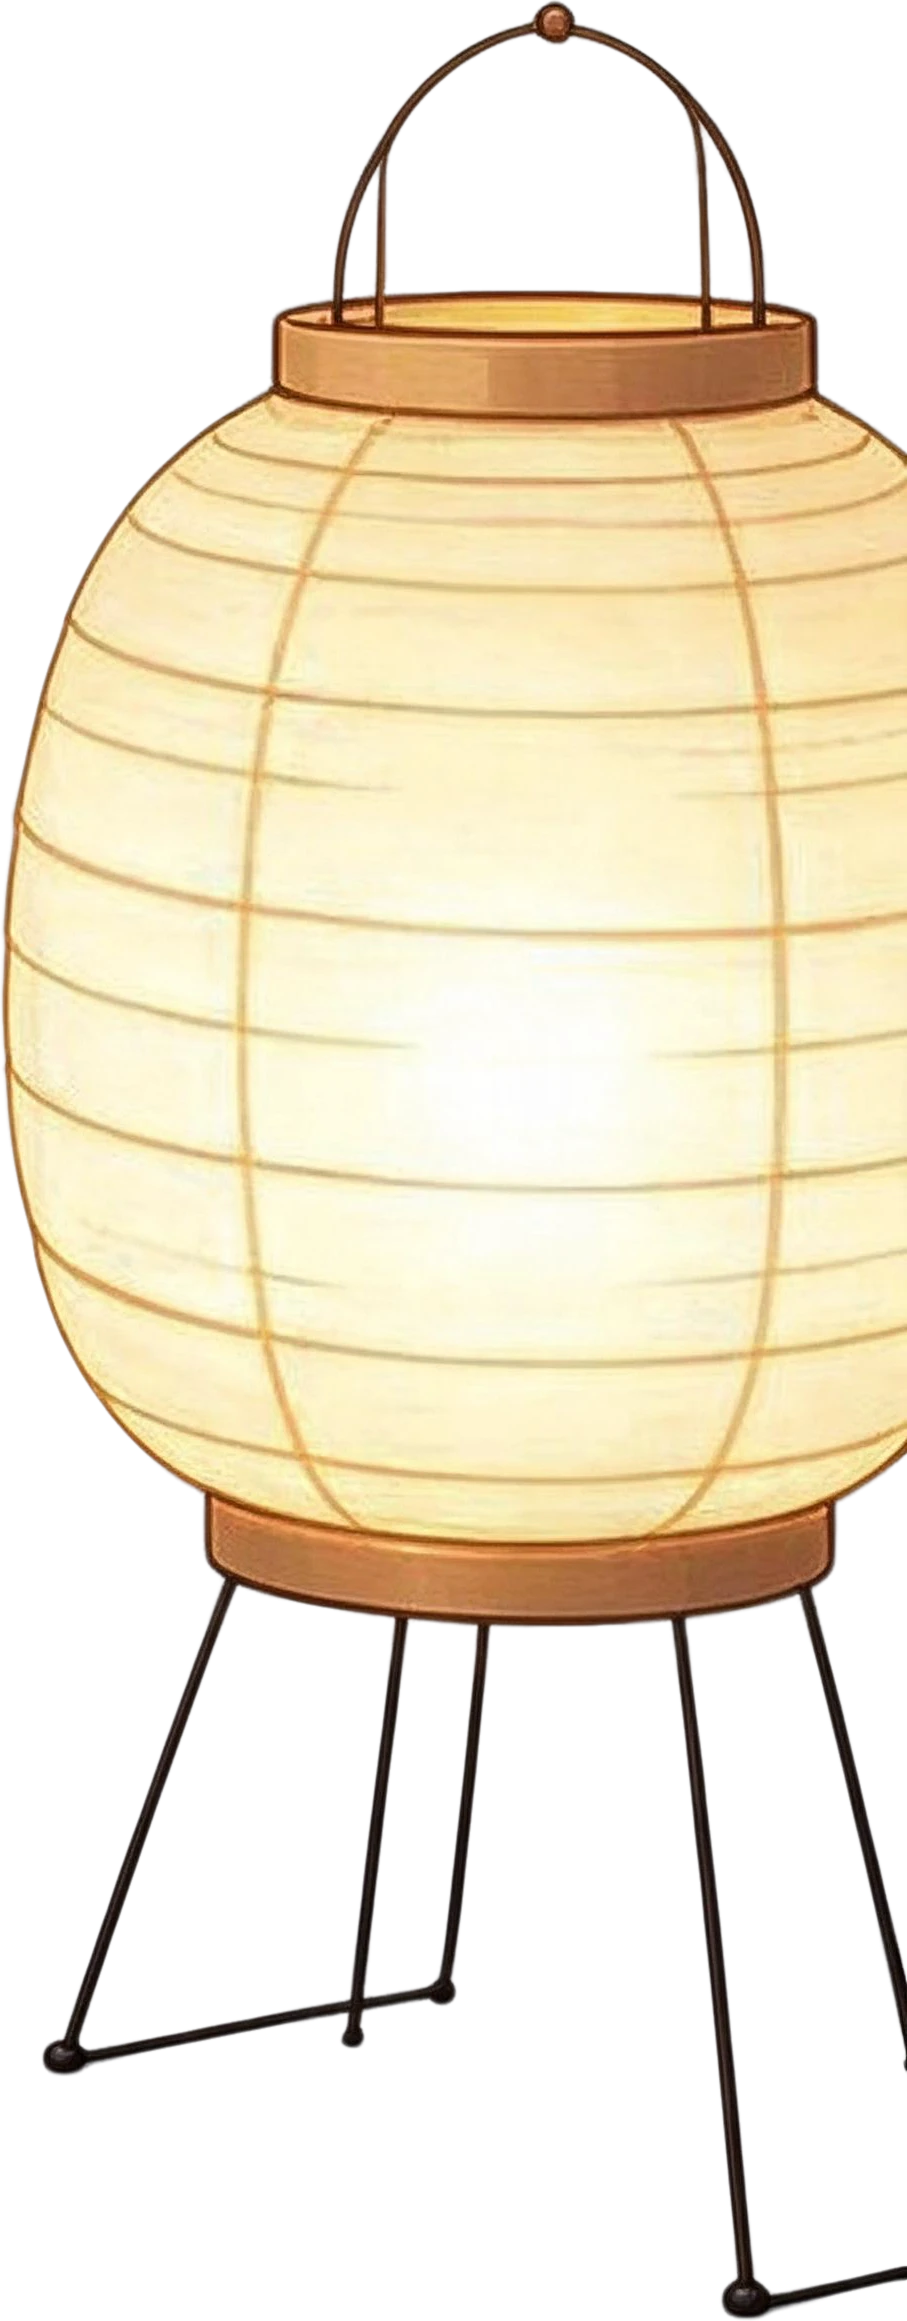
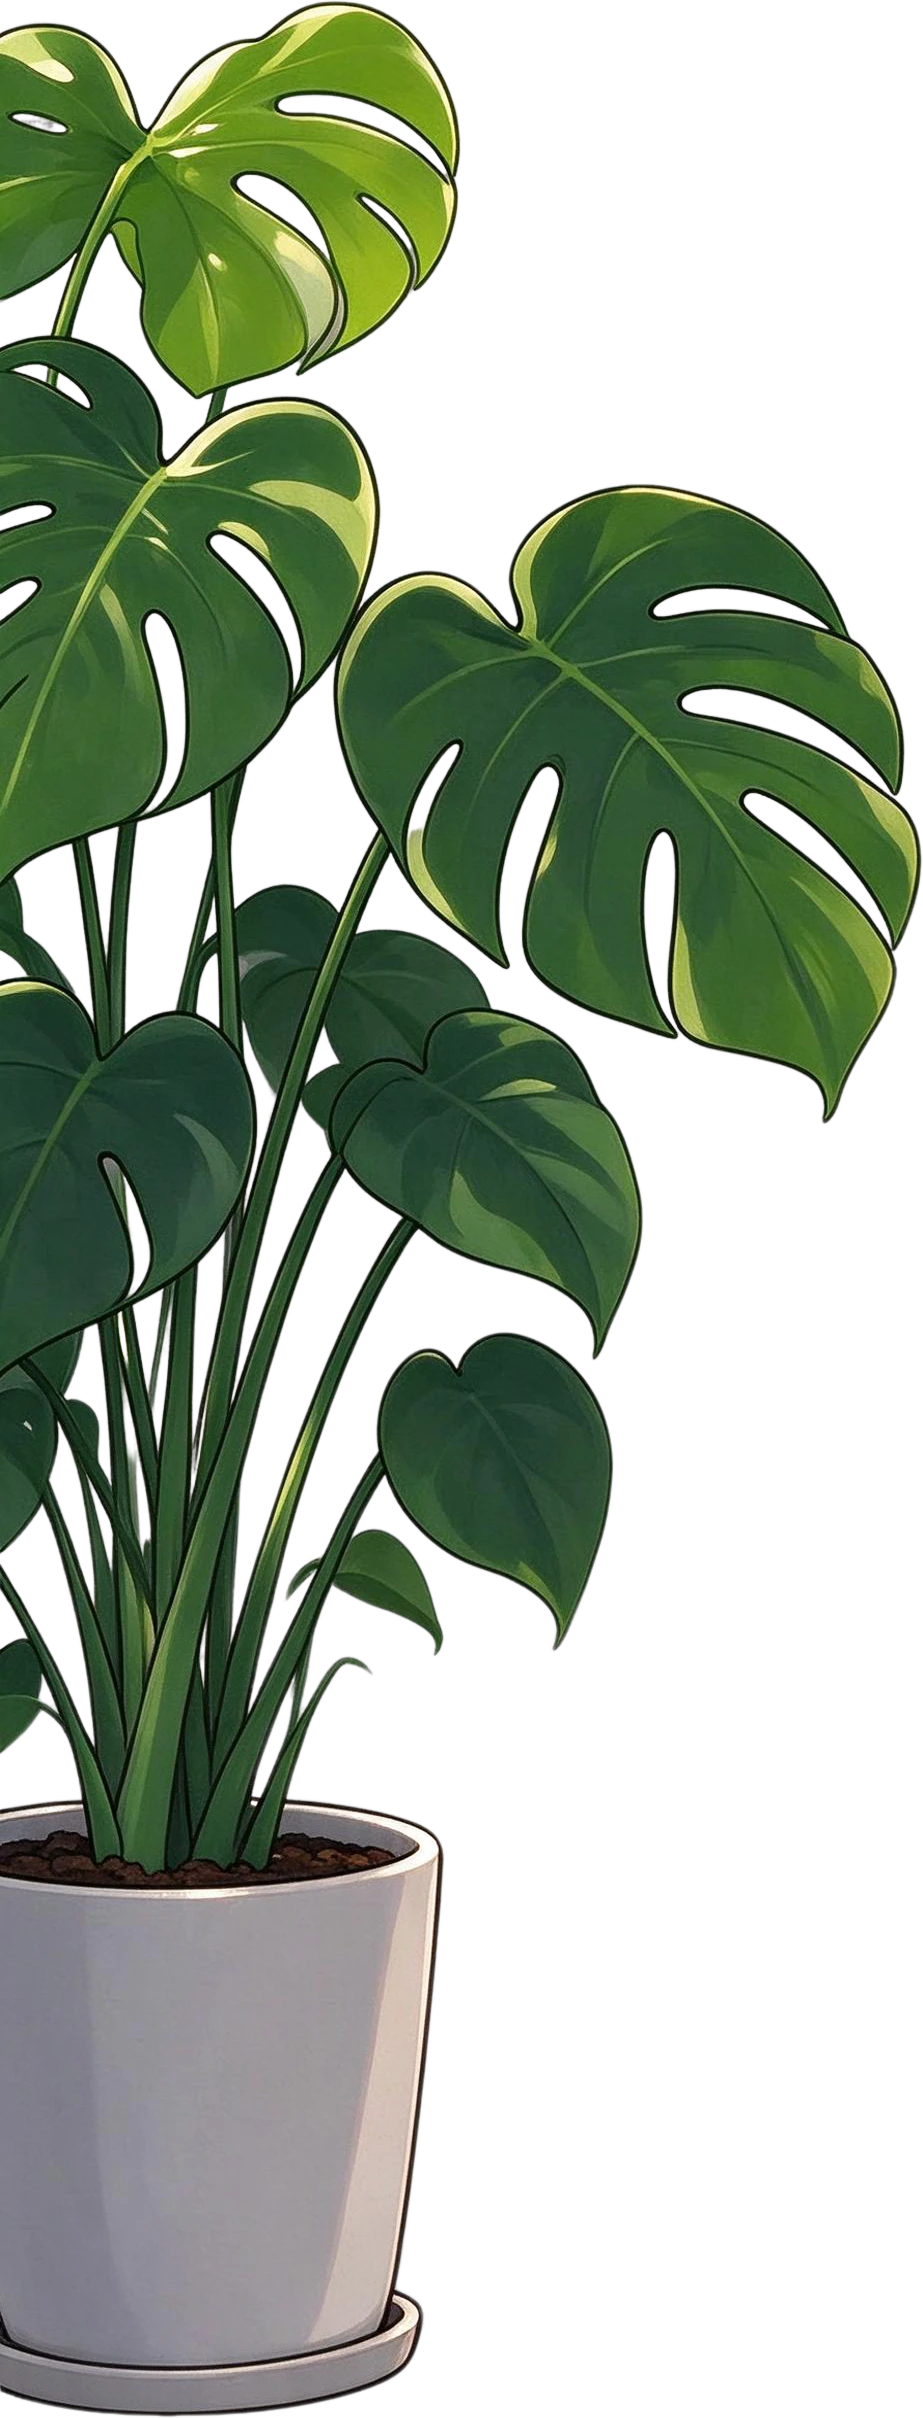
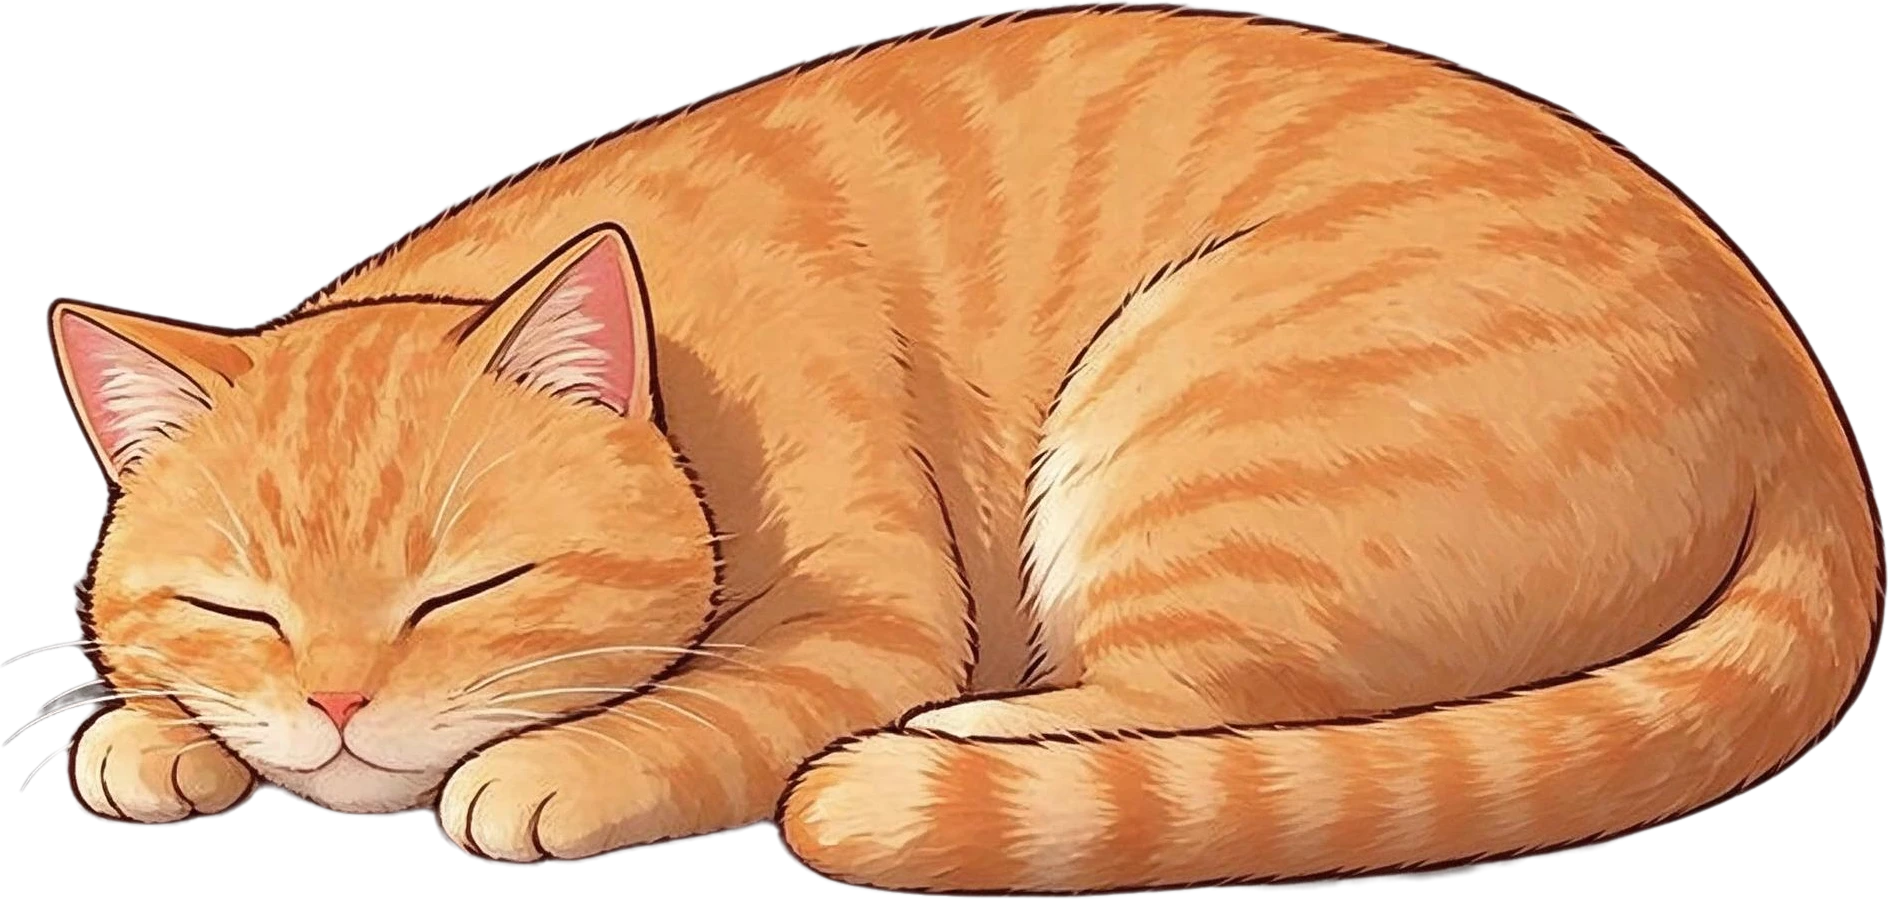
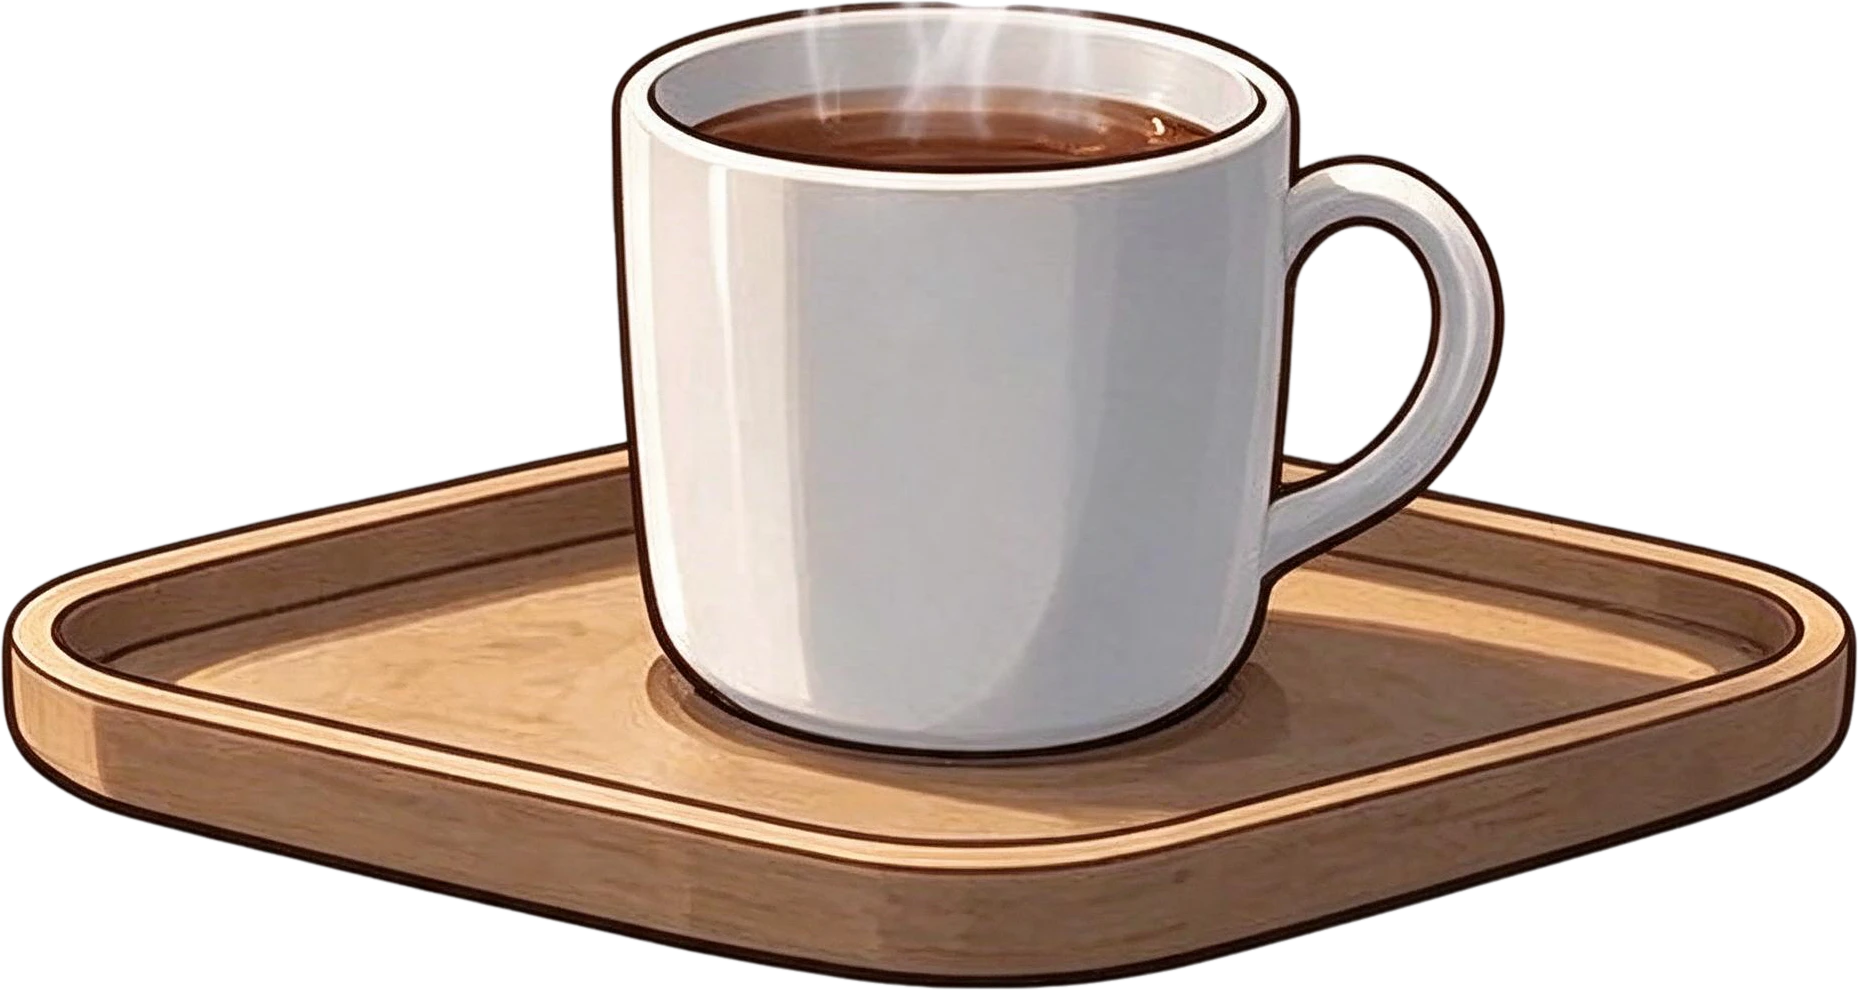
7 layers in 63 s · Instruction: “girl with dark blue hair holding an open book, orange sleeping cat, monstera plant in a white pot, stack of three books, mug of coffee on a wooden tray, paper lantern lamp on a stand”
Growth report slide, a real split: the flat image and the 12 named layers it became.
12 layers in 97 s
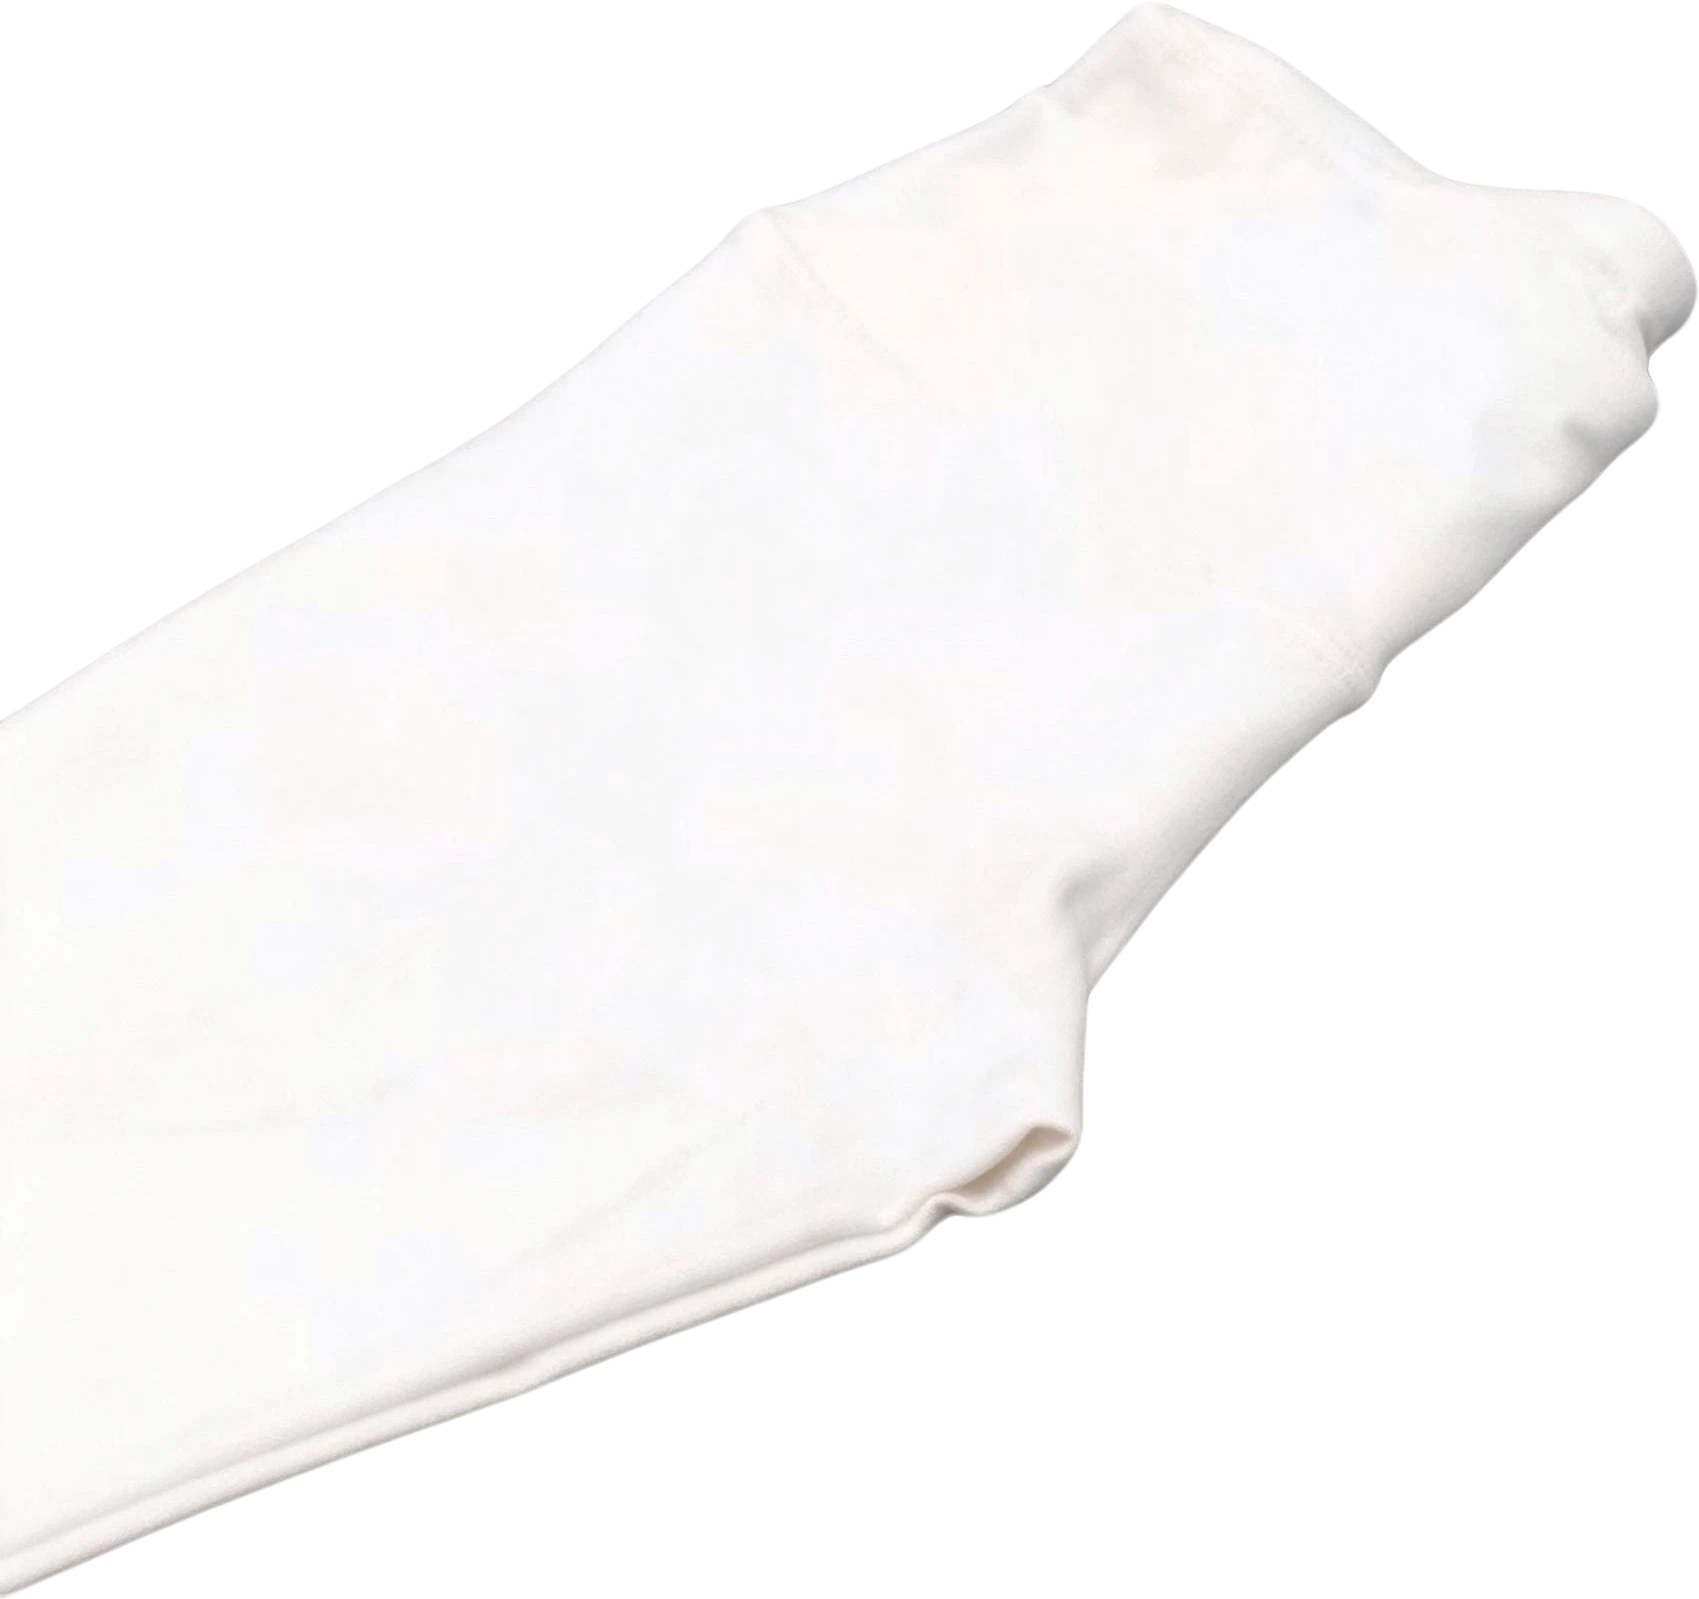
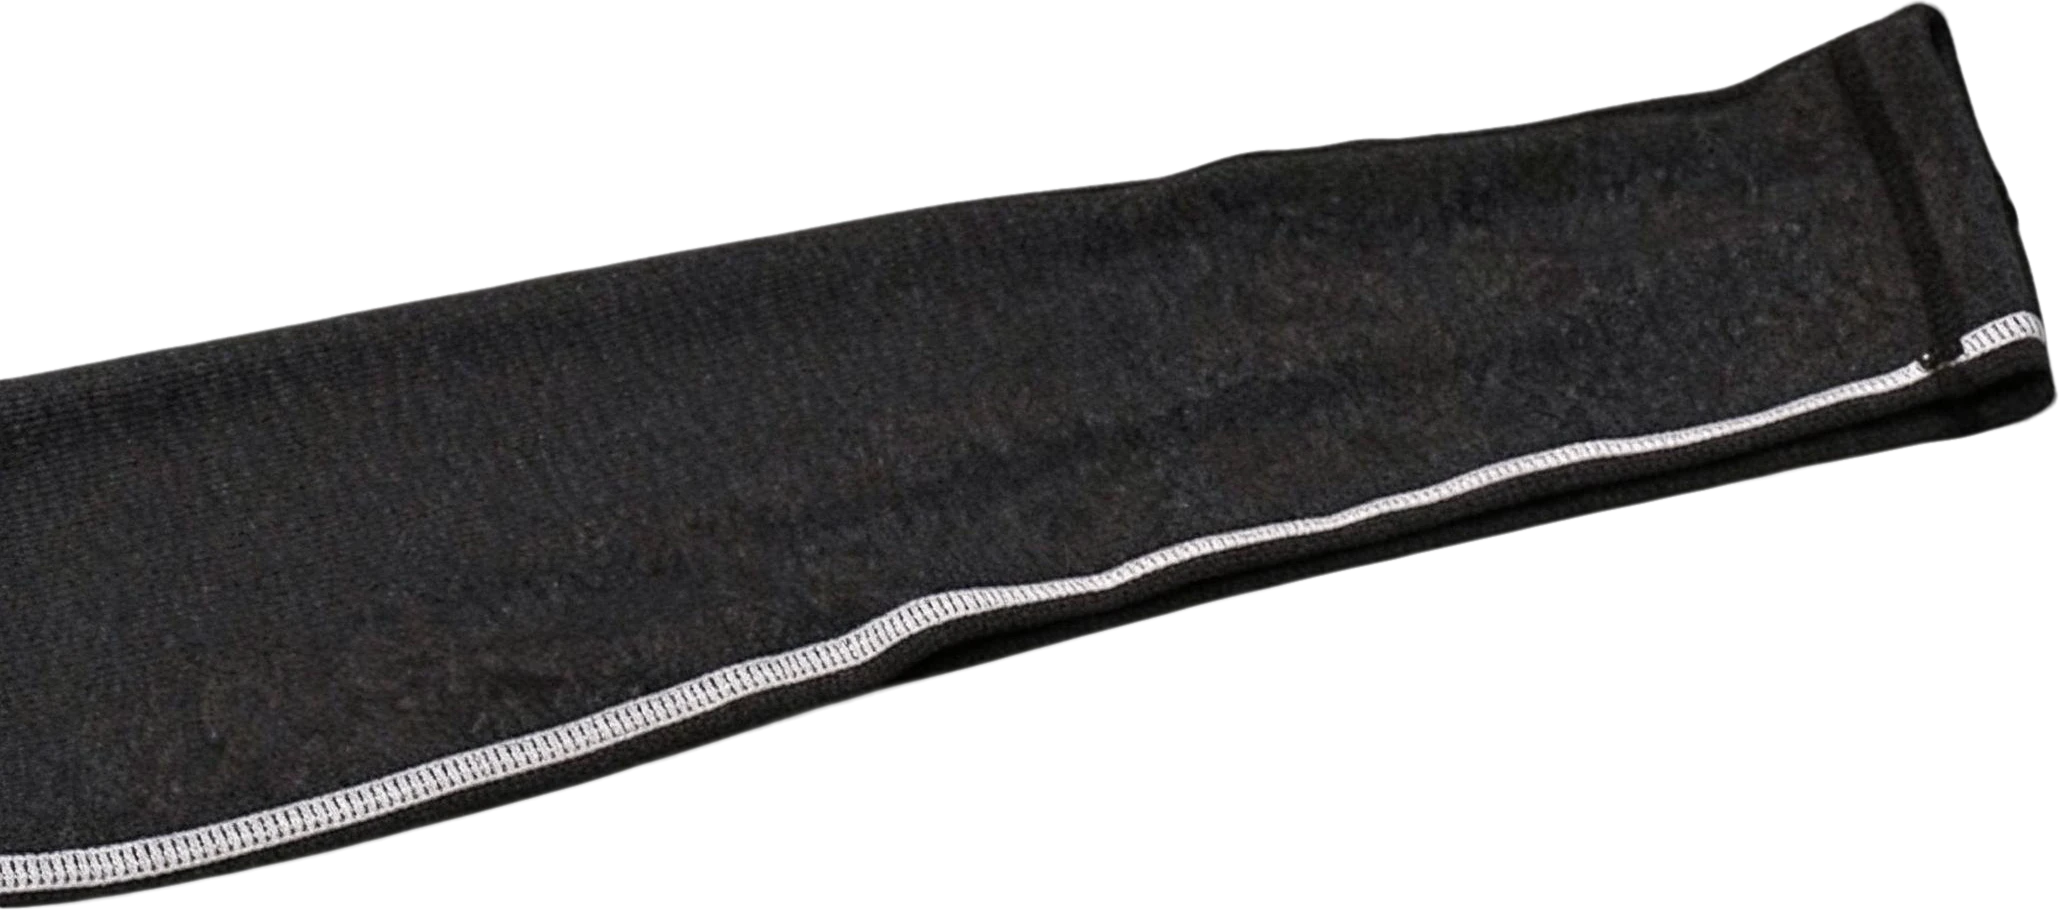
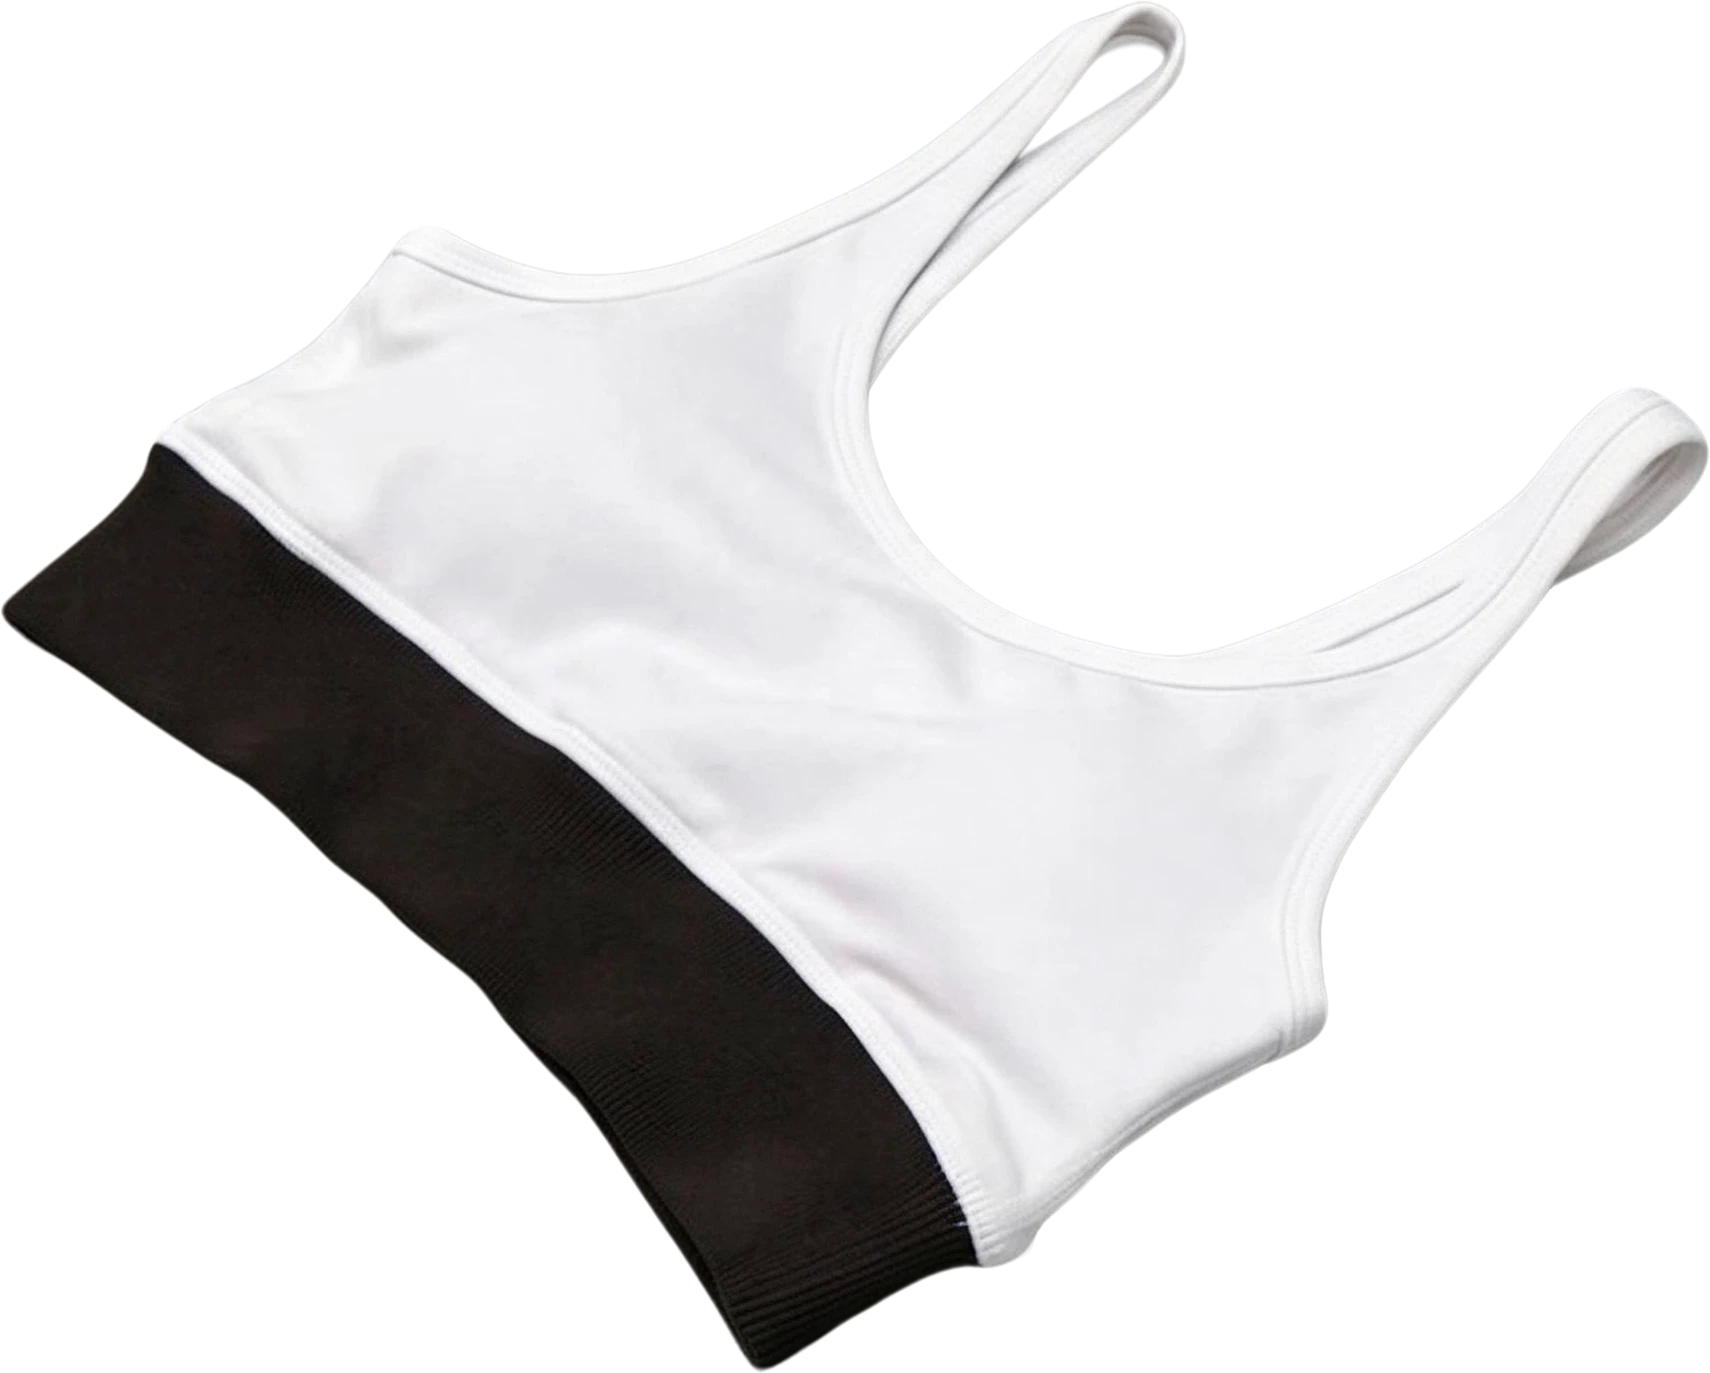
Sportswear flat-lay photo, a real split: the flat image and the 16 named layers it became.
16 layers in 148 s
Two-person photo, a real split: the flat image and the 2 named layers it became.
2 layers in 46 s · Instruction: “Separate the woman on the right”
1
In Canva, open the design, choose Share, then Download, pick PNG and the largest size your plan offers. One page at a time.
2
Drop it into the box above. Keep the pre-filled grouping rule, clear it to split every element, or name only what you need, such as "the headline and the product".
3
Each text block, photo, shape and graphic comes back as its own transparent layer, with the background behind it painted in. It takes 45–120 seconds.
4
Download PSD saves every layer named and in place. Open it in Photoshop or in Photopea and keep working.
Canva to PSD
Canva to PSD means getting a Canva design into Photoshop as a file with separate layers. Canva downloads designs as flat files such as PNG, JPG and PDF and has no PSD option, so LayerGrab splits the downloaded PNG into named transparent layers and saves them as a layered PSD.
The social post on the right is the kind of design people build in Canva: a product photo, a headline, an offer line, a badge and a button. Split from one flat PNG, each of those came back as its own layer, ready for Photoshop.
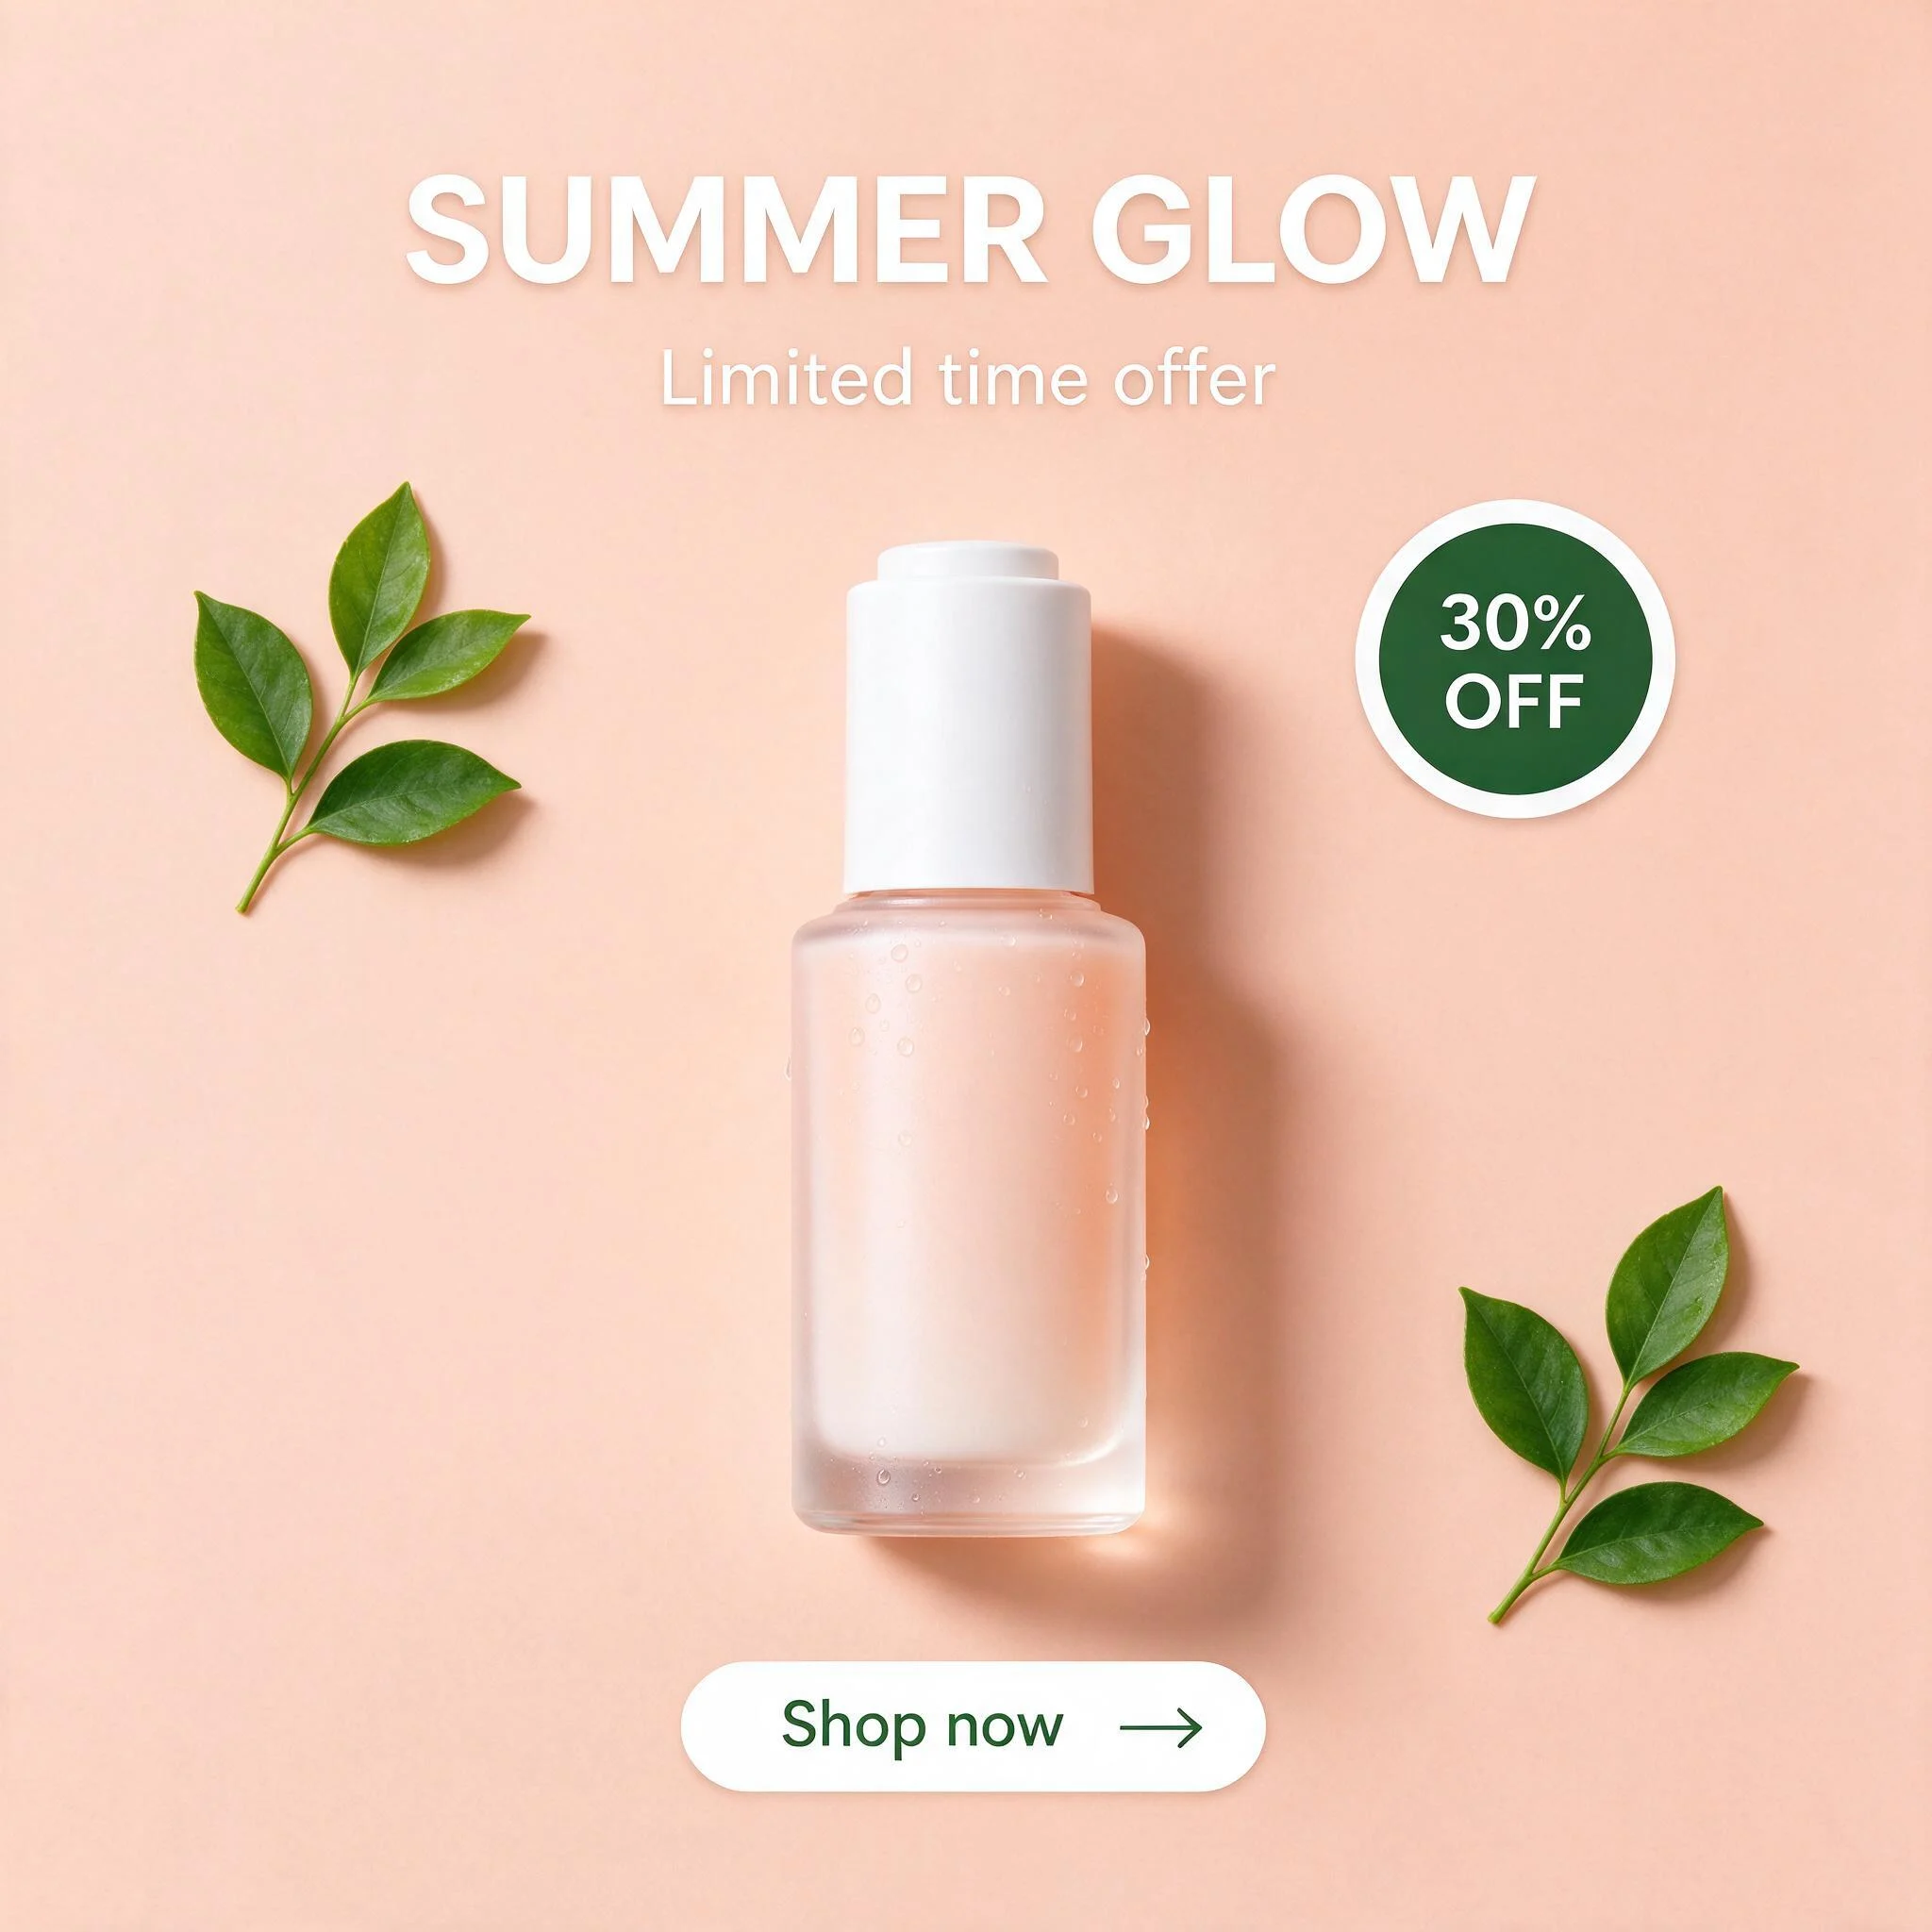
The PSD keeps every element where it was in the design, with a name that says what it is, so the layer panel reads like the design you made: “SUMMER GLOW Text”, “30% OFF Badge”, “Skincare Serum Bottle”.
The background layer has the area behind each element painted in, so you can move the product or the headline without leaving a hole.
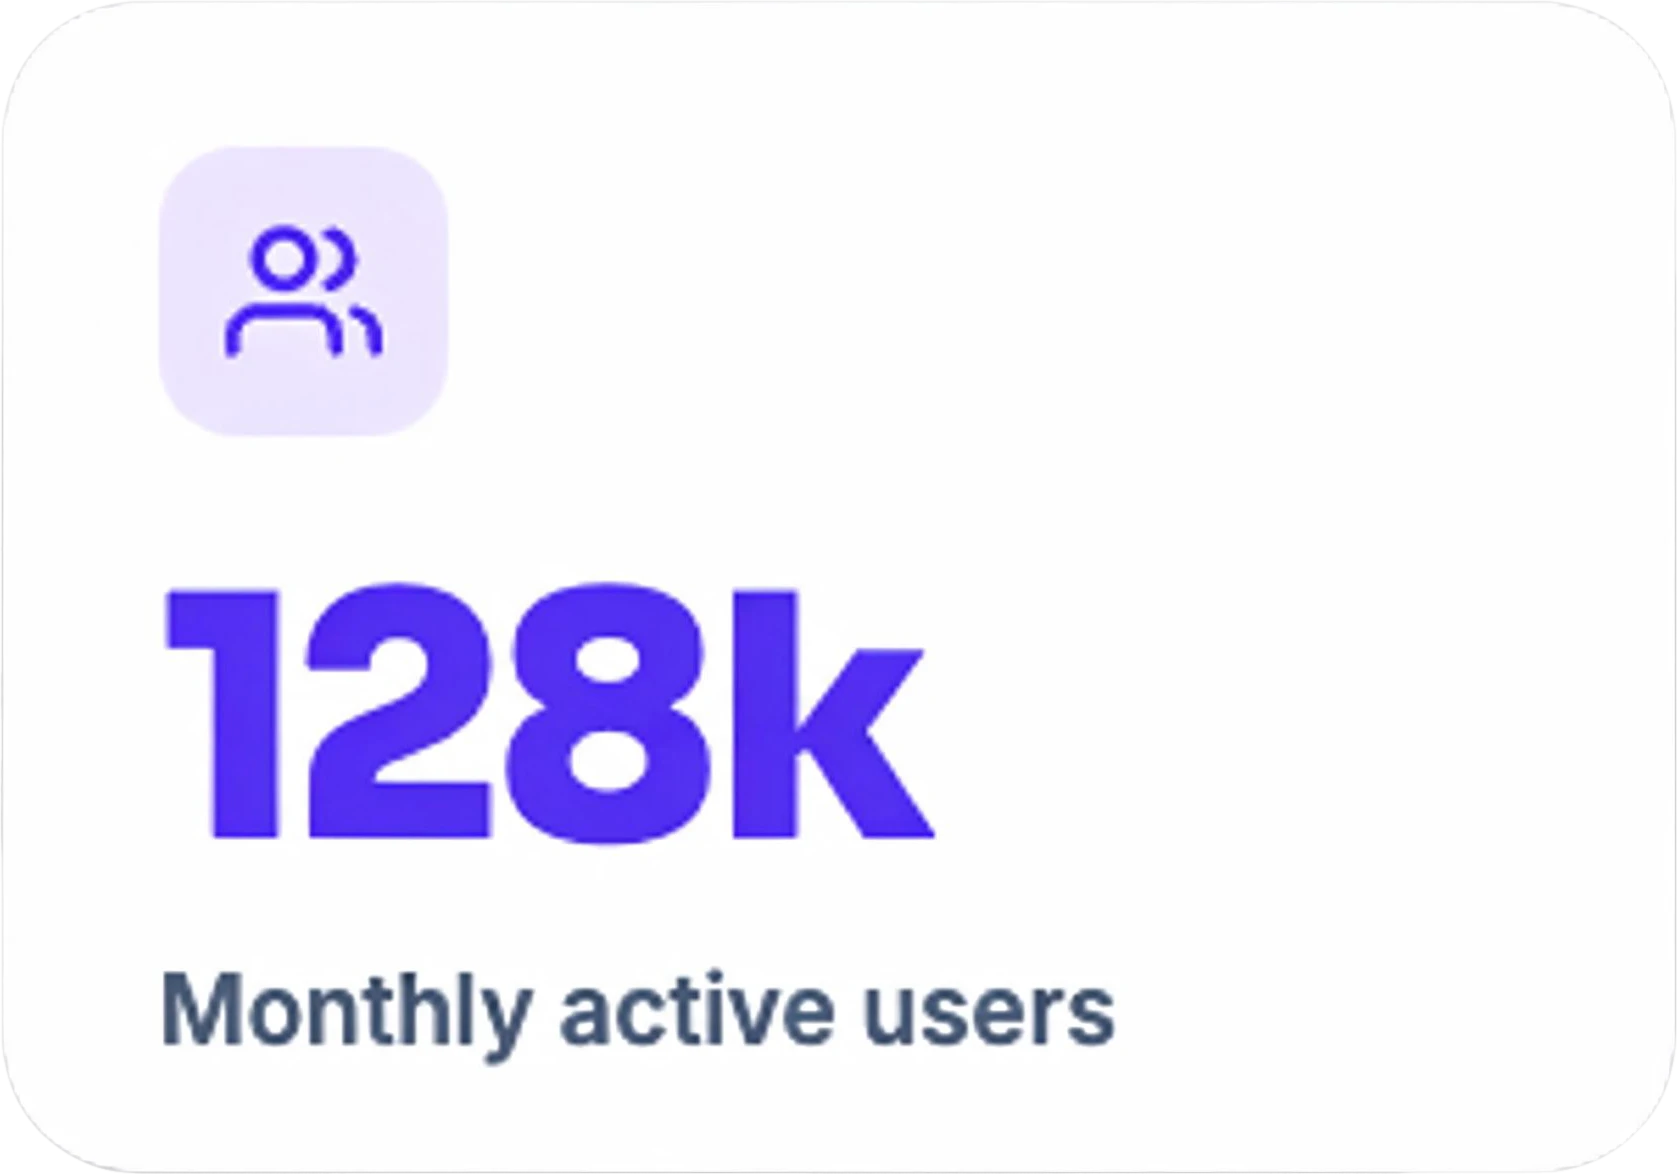
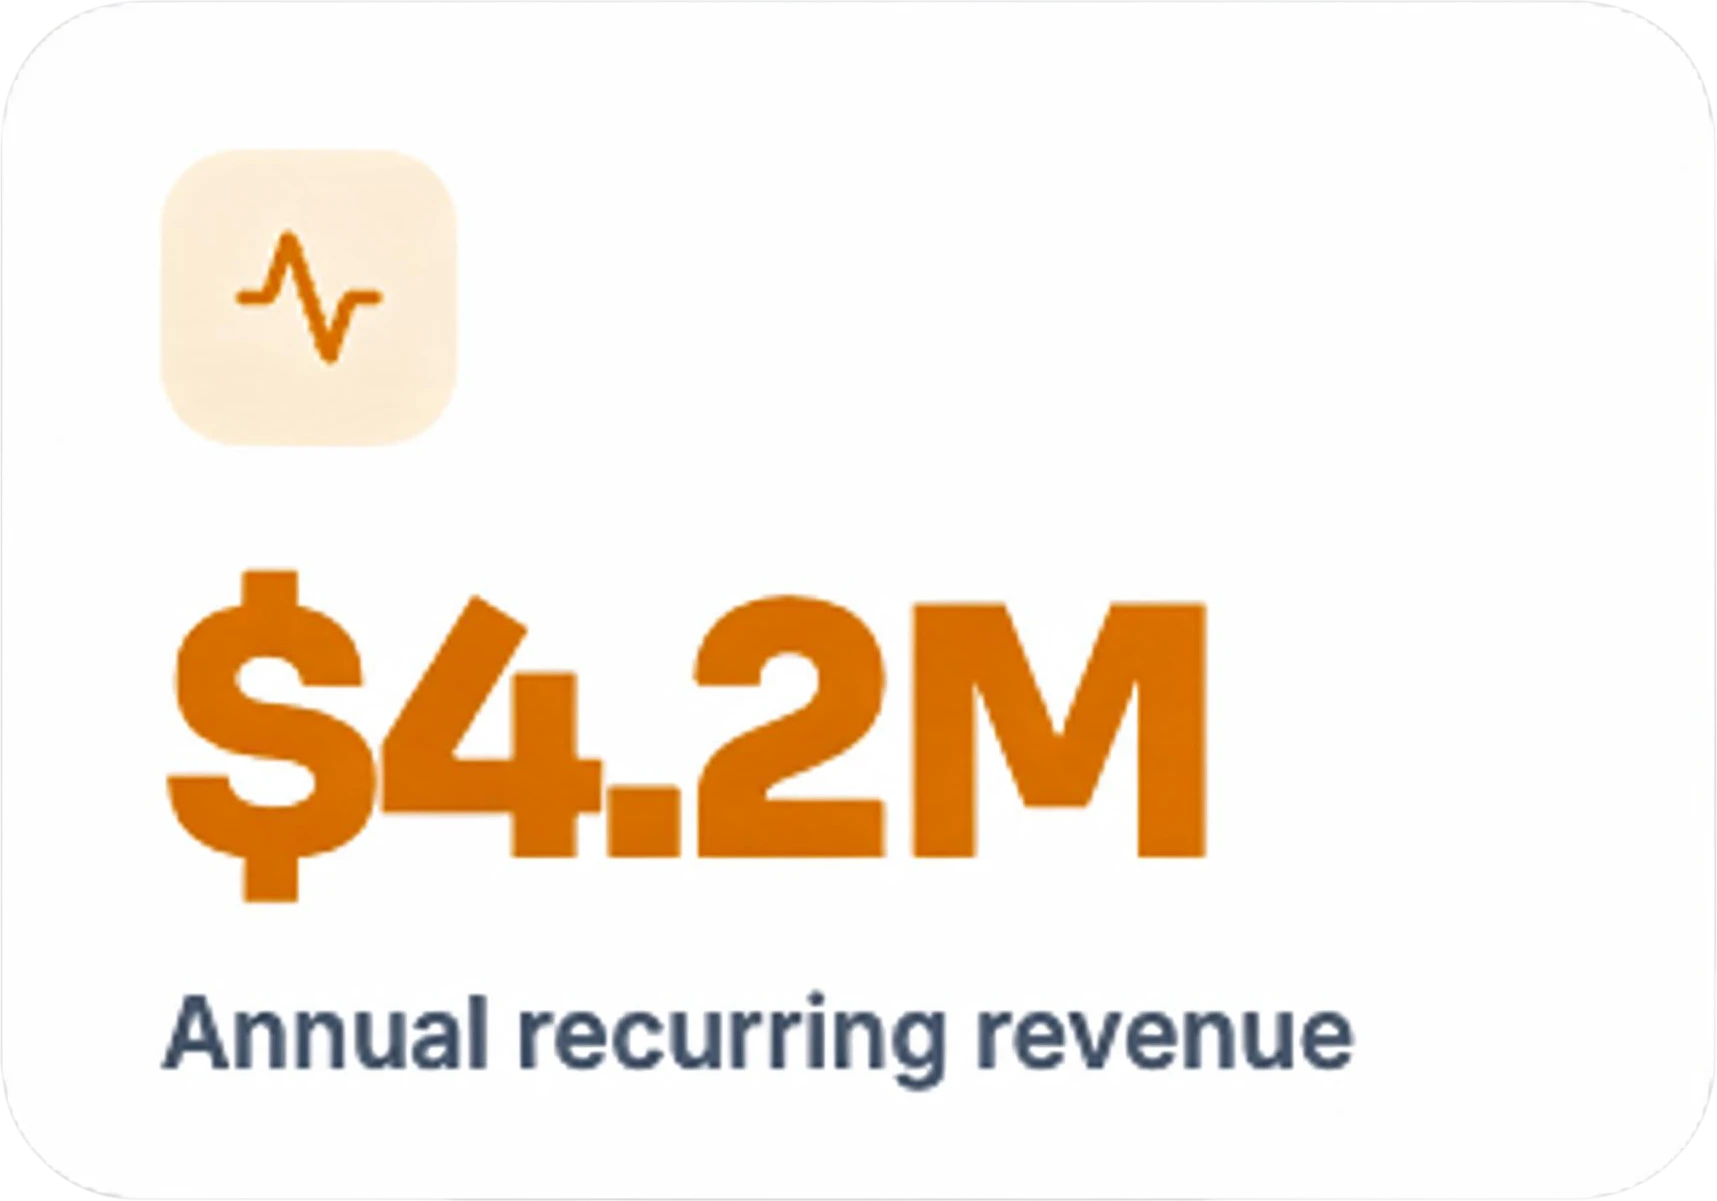
A Canva presentation page works the same way. This report slide came back with the title, the subtitle, each metric card, the chart, the badge and the logo on separate layers.
Download a single page as PNG; for a multi-page design, split the pages one at a time.
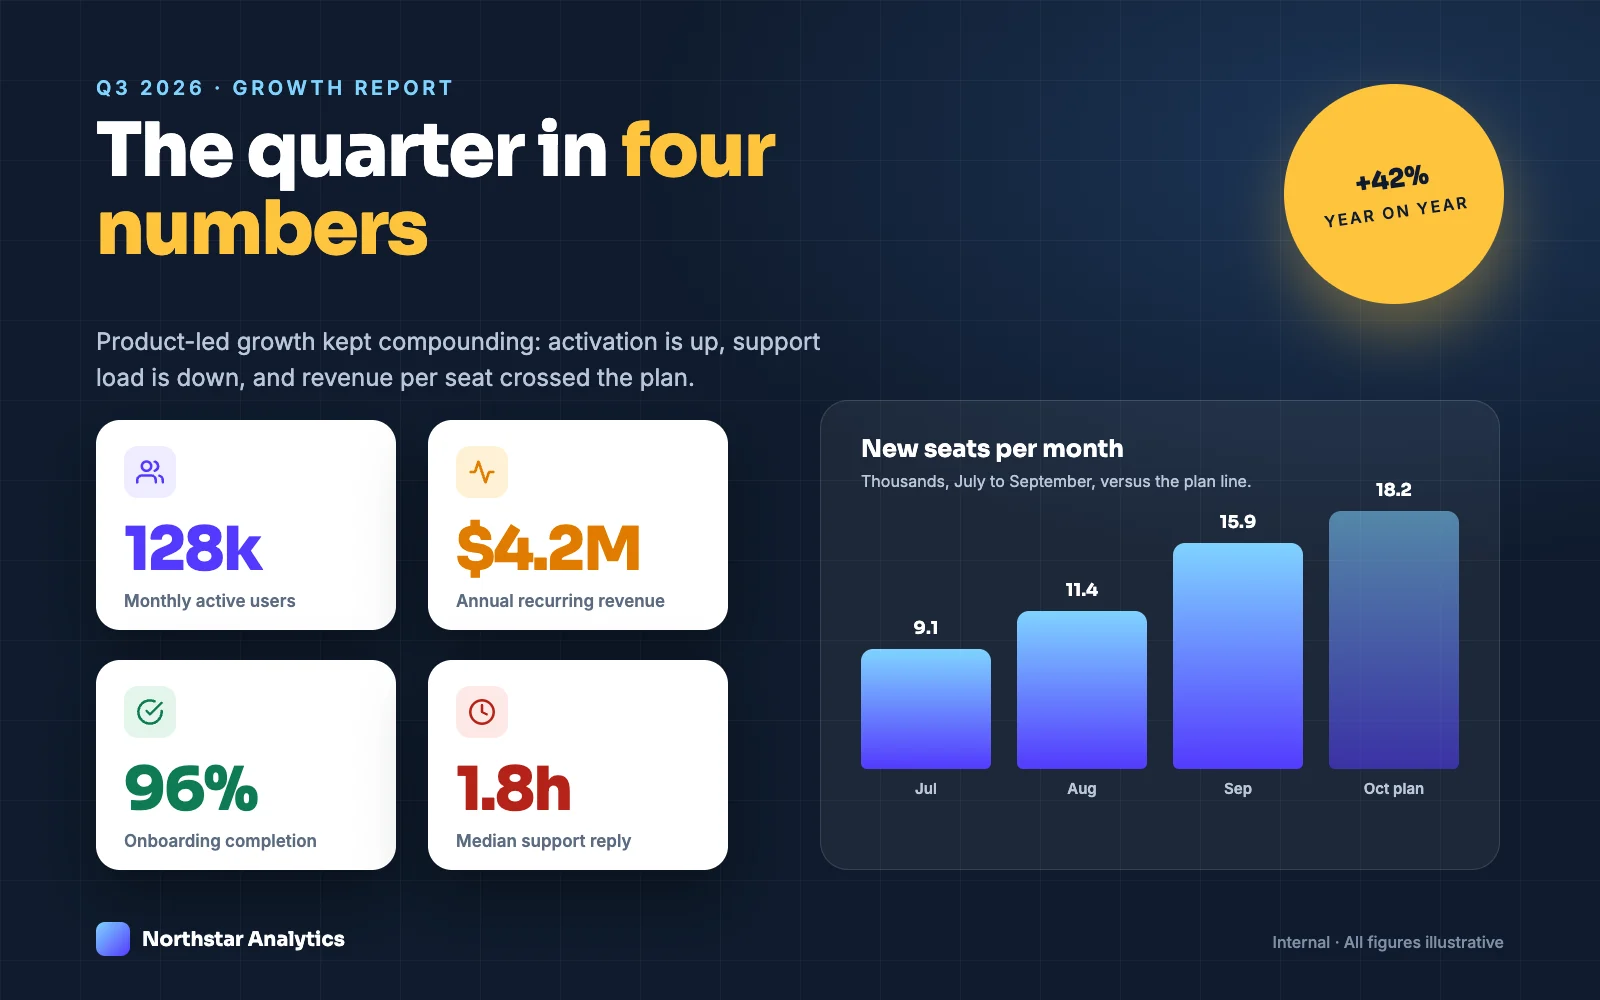
12 layers
 Footer Internal Note Text
 Northstar Analytics Logo
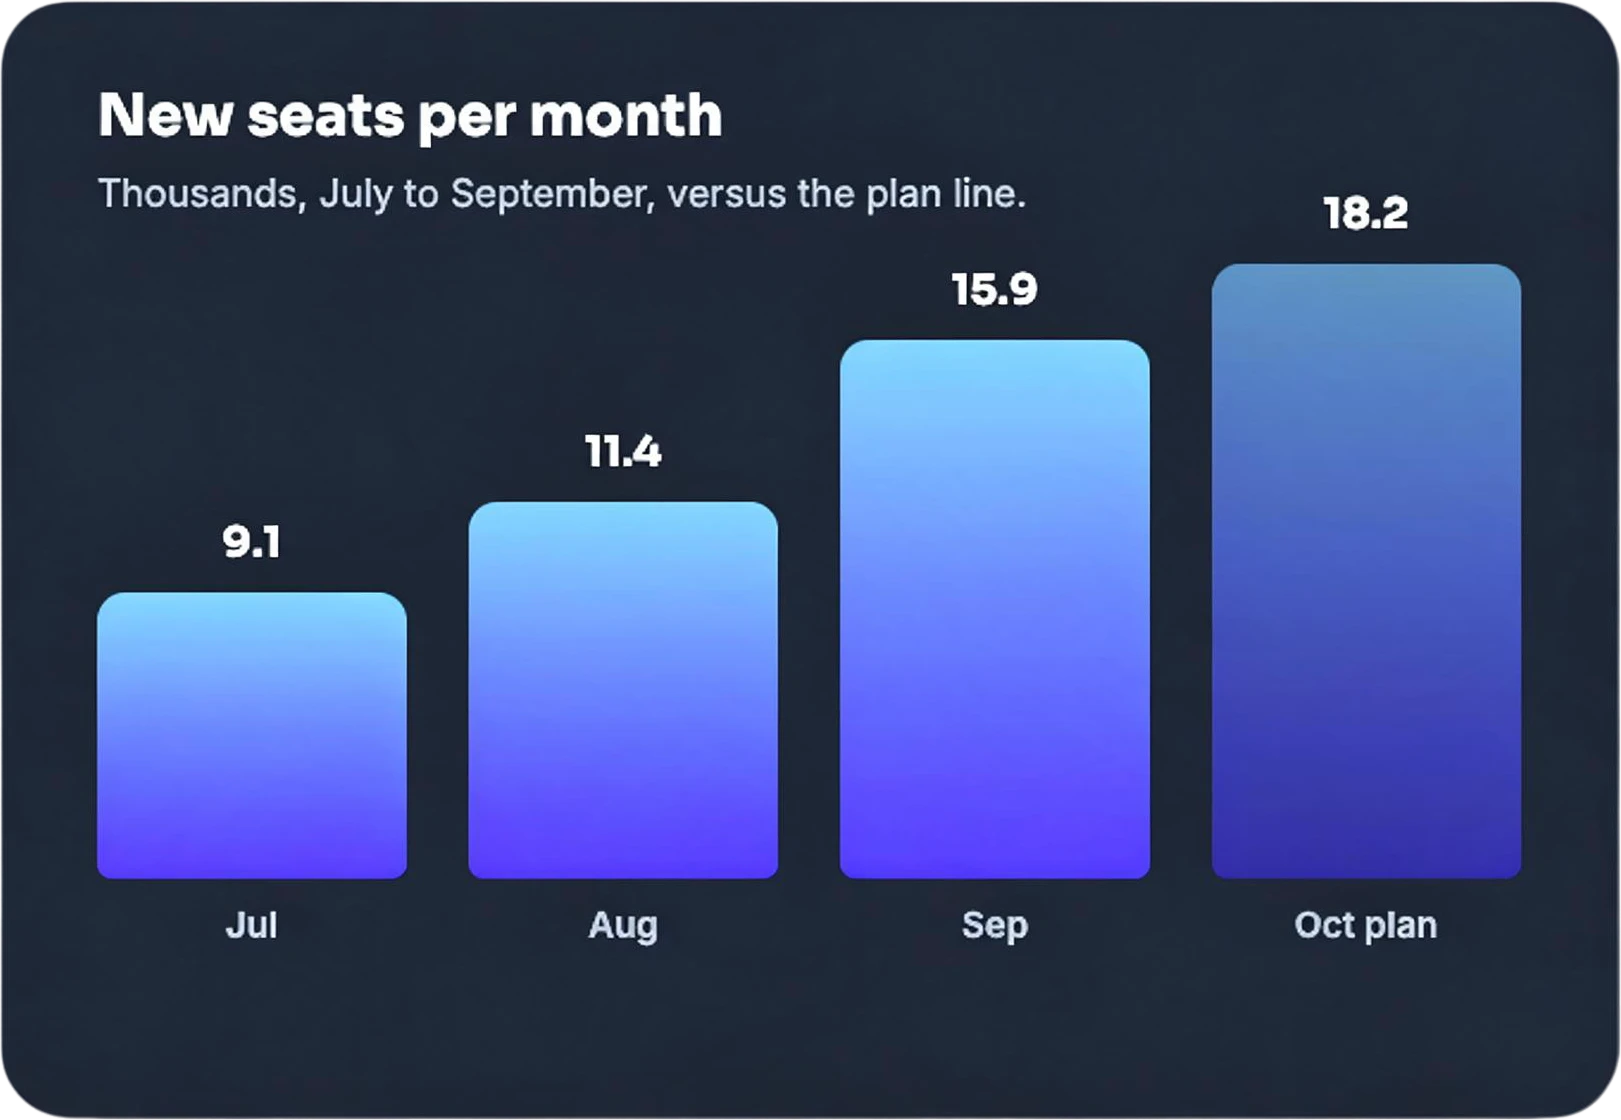 New Seats Per Month Bar Chart Panel
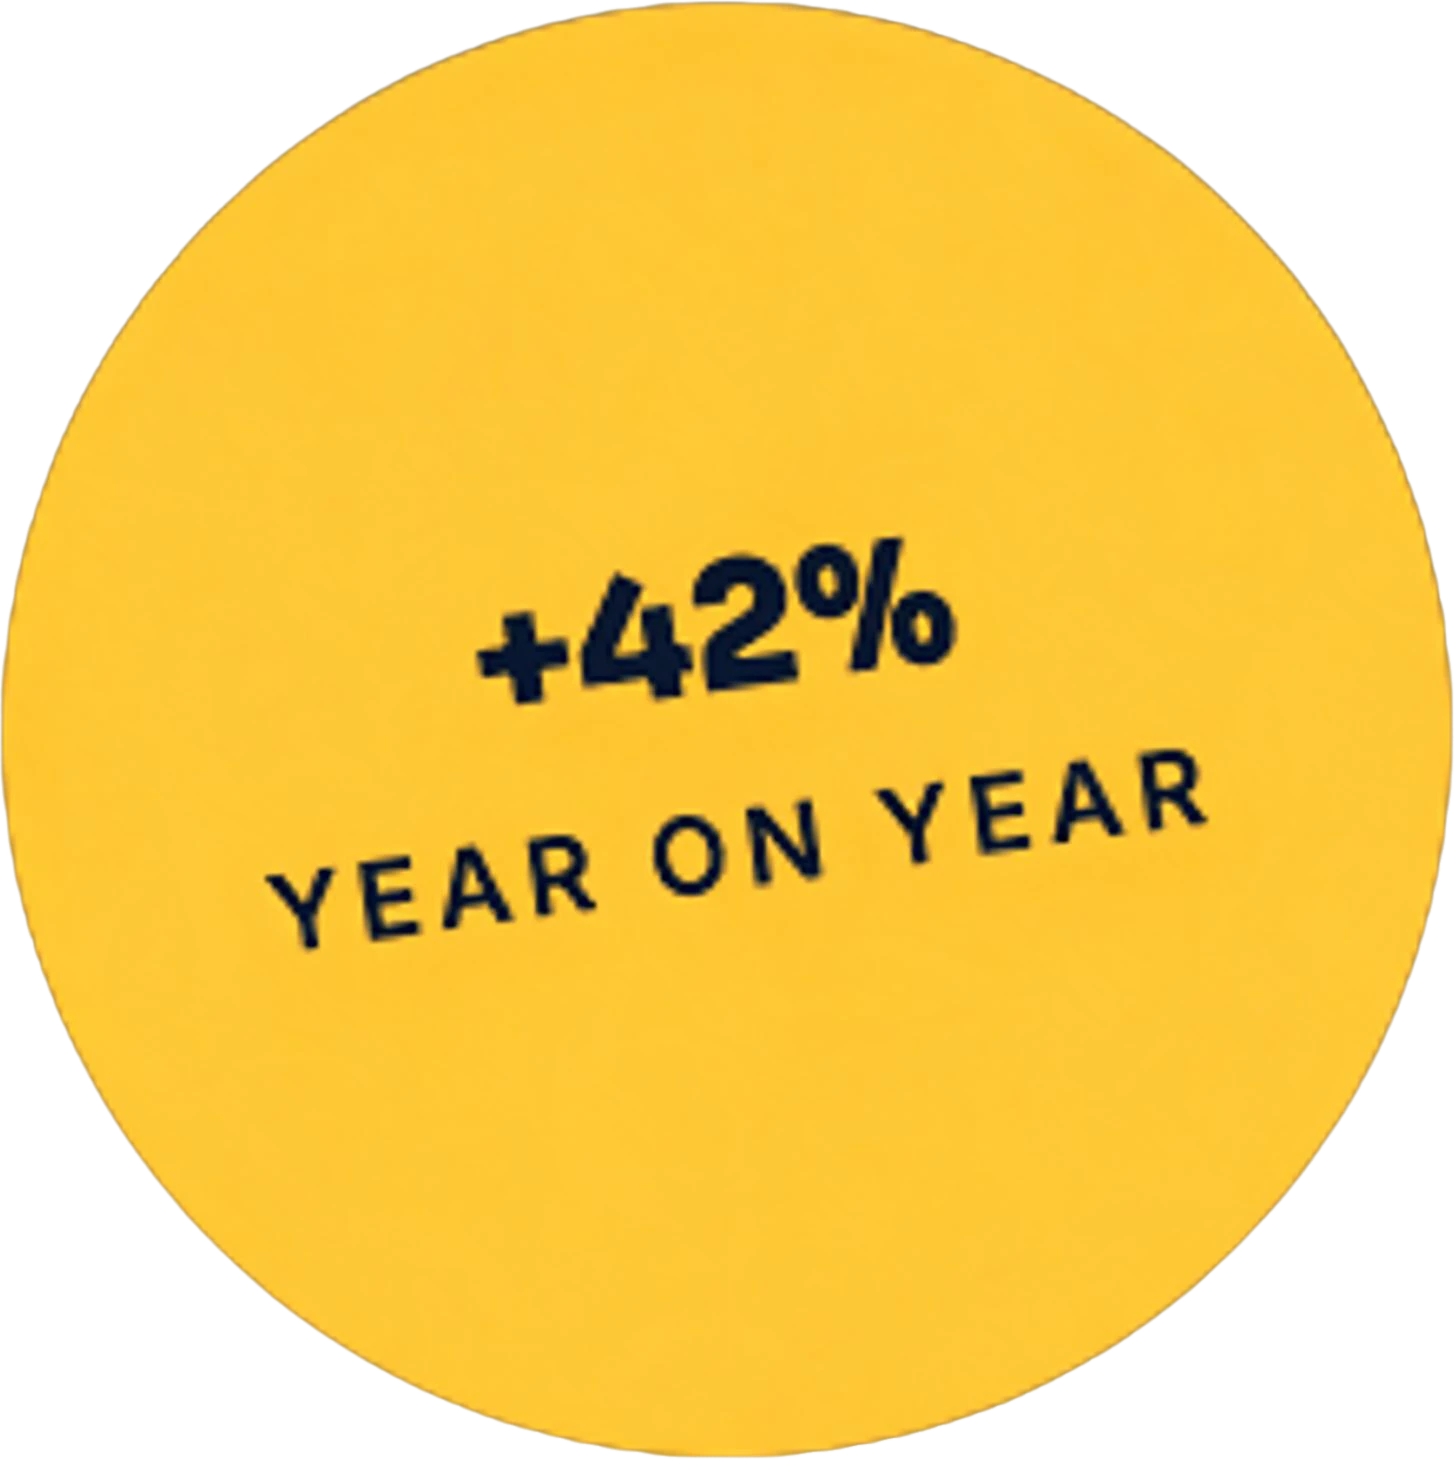 Yellow +42% Year on Year Badge
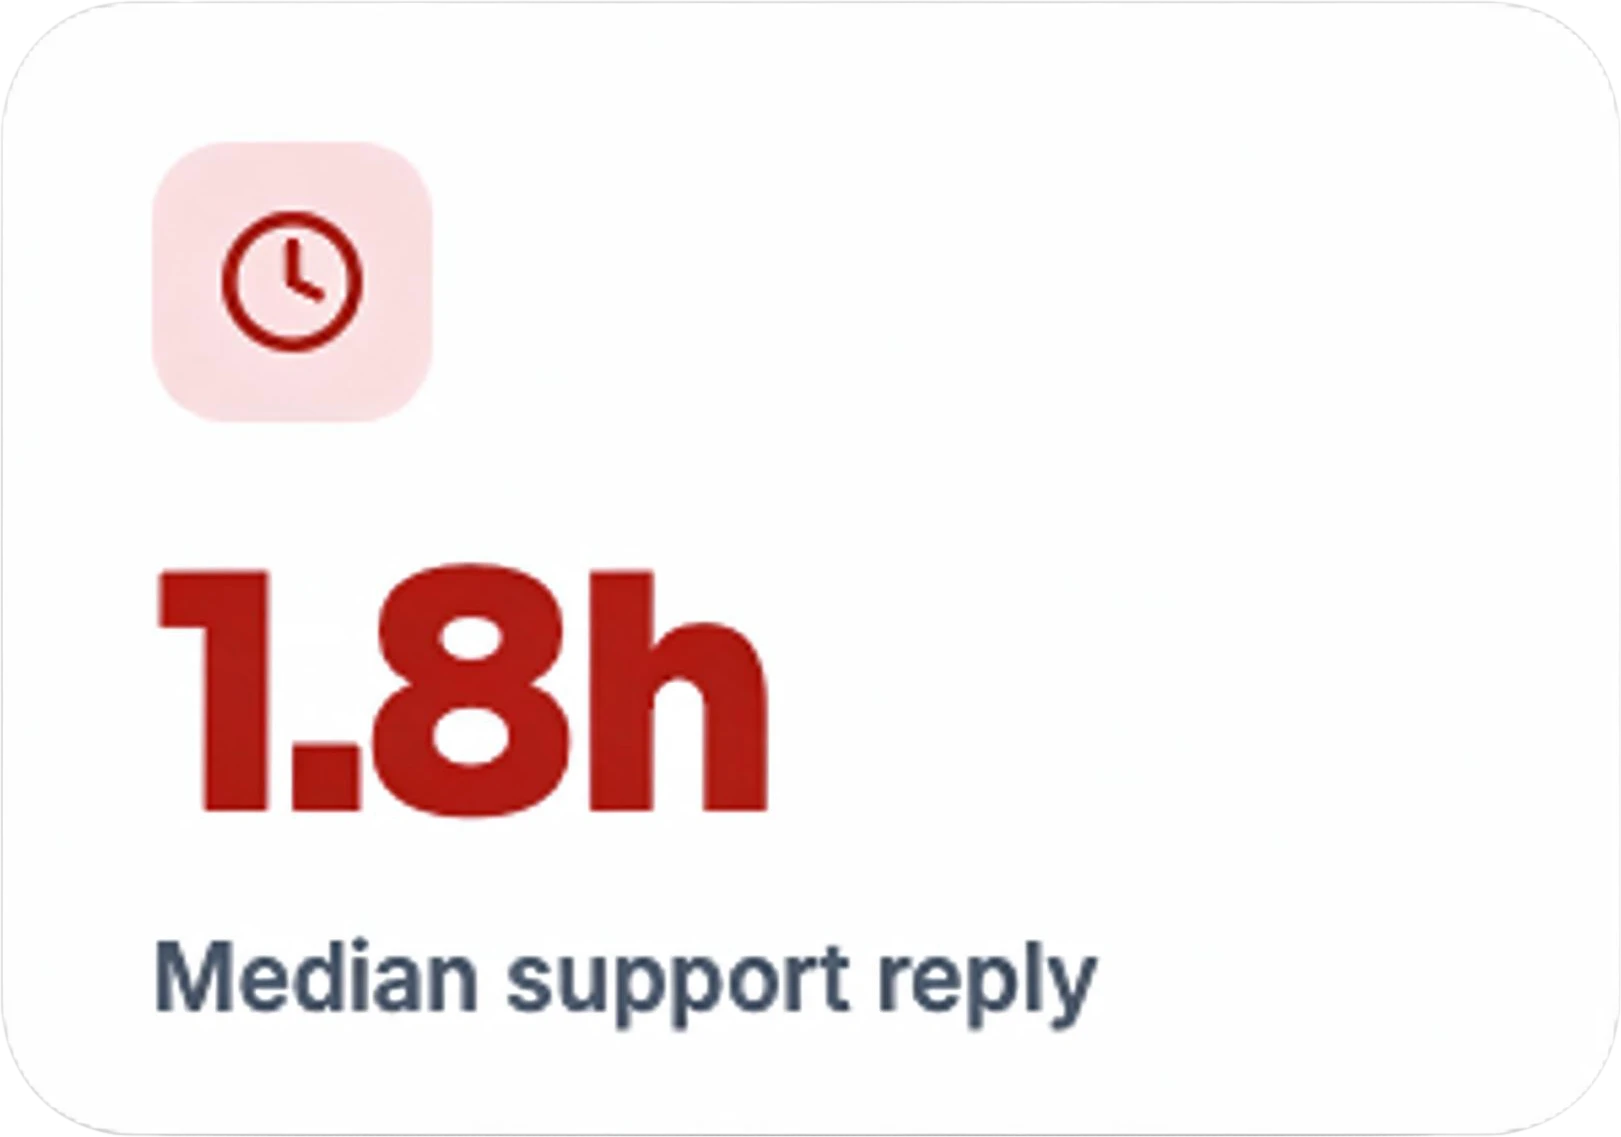 Metric Card Median Support Reply
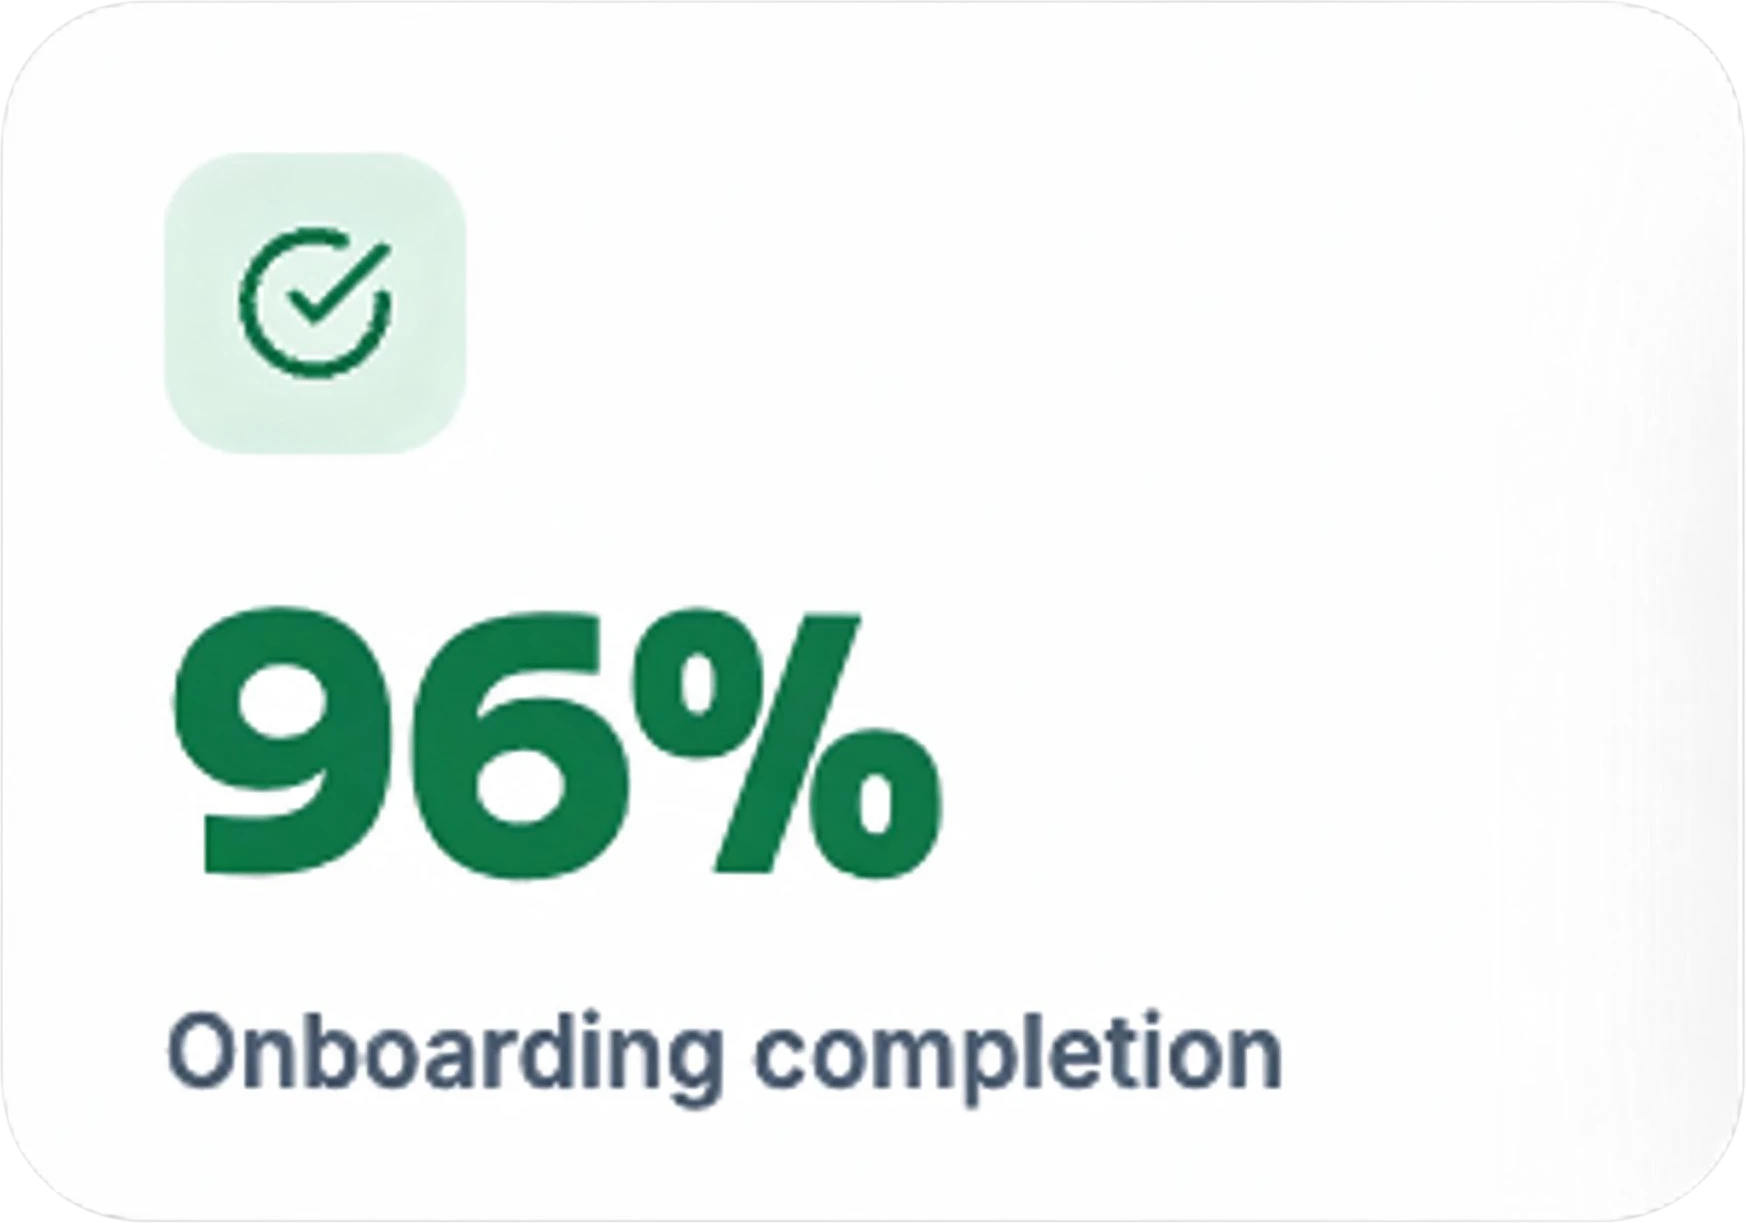 Metric Card Onboarding Completion
 Background (filled)
Positions, sizes and the look of every element come across. Live text, fonts, vector shapes and Canva effects do not: a PNG download has already turned them into pixels, so each layer is a bitmap of one element.
For a design that is mostly text, plan to retype the words in Photoshop over the clean background. For a design built around photos and graphics, the layers are usually ready to use as they are.
If you will keep editing the design, stay in Canva: it keeps your text and shapes editable, and splitting a download cannot give them back.
If you only need Photoshop to open the design, open the PNG directly. To split a flat picture into layers inside Canva itself, see our Canva Magic Layers comparison.
No. Canva downloads designs as JPG, PNG, WebP, SVG, PDF, PPTX, DOCX, GIF or MP4, depending on the design type and your plan, but not as PSD. Canva can import Photoshop files, which is the other direction. To get a Canva design into Photoshop with layers, download a PNG and split it here.
No. A PNG download turns Canva text into pixels, so each text block comes back as an image layer of the lettering. To change the words, hide that layer and retype them in Photoshop; the background behind the text is already filled in.
PNG at the largest size available. A larger image gives cleaner layer edges. You do not need a transparent background; the split repaints the background itself.
Technically yes: any design you can download as PNG can be split. What you may do with the result is governed by Canva’s license for that template, and splitting it does not change those terms.
Each layer that comes back costs 10 credits ($0.10), and the filled background counts as one. The social post above came back as 7 layers plus the background: 8 layers, 80 credits. Name only the parts you need to pay for fewer.
Last updated 2026-11-08